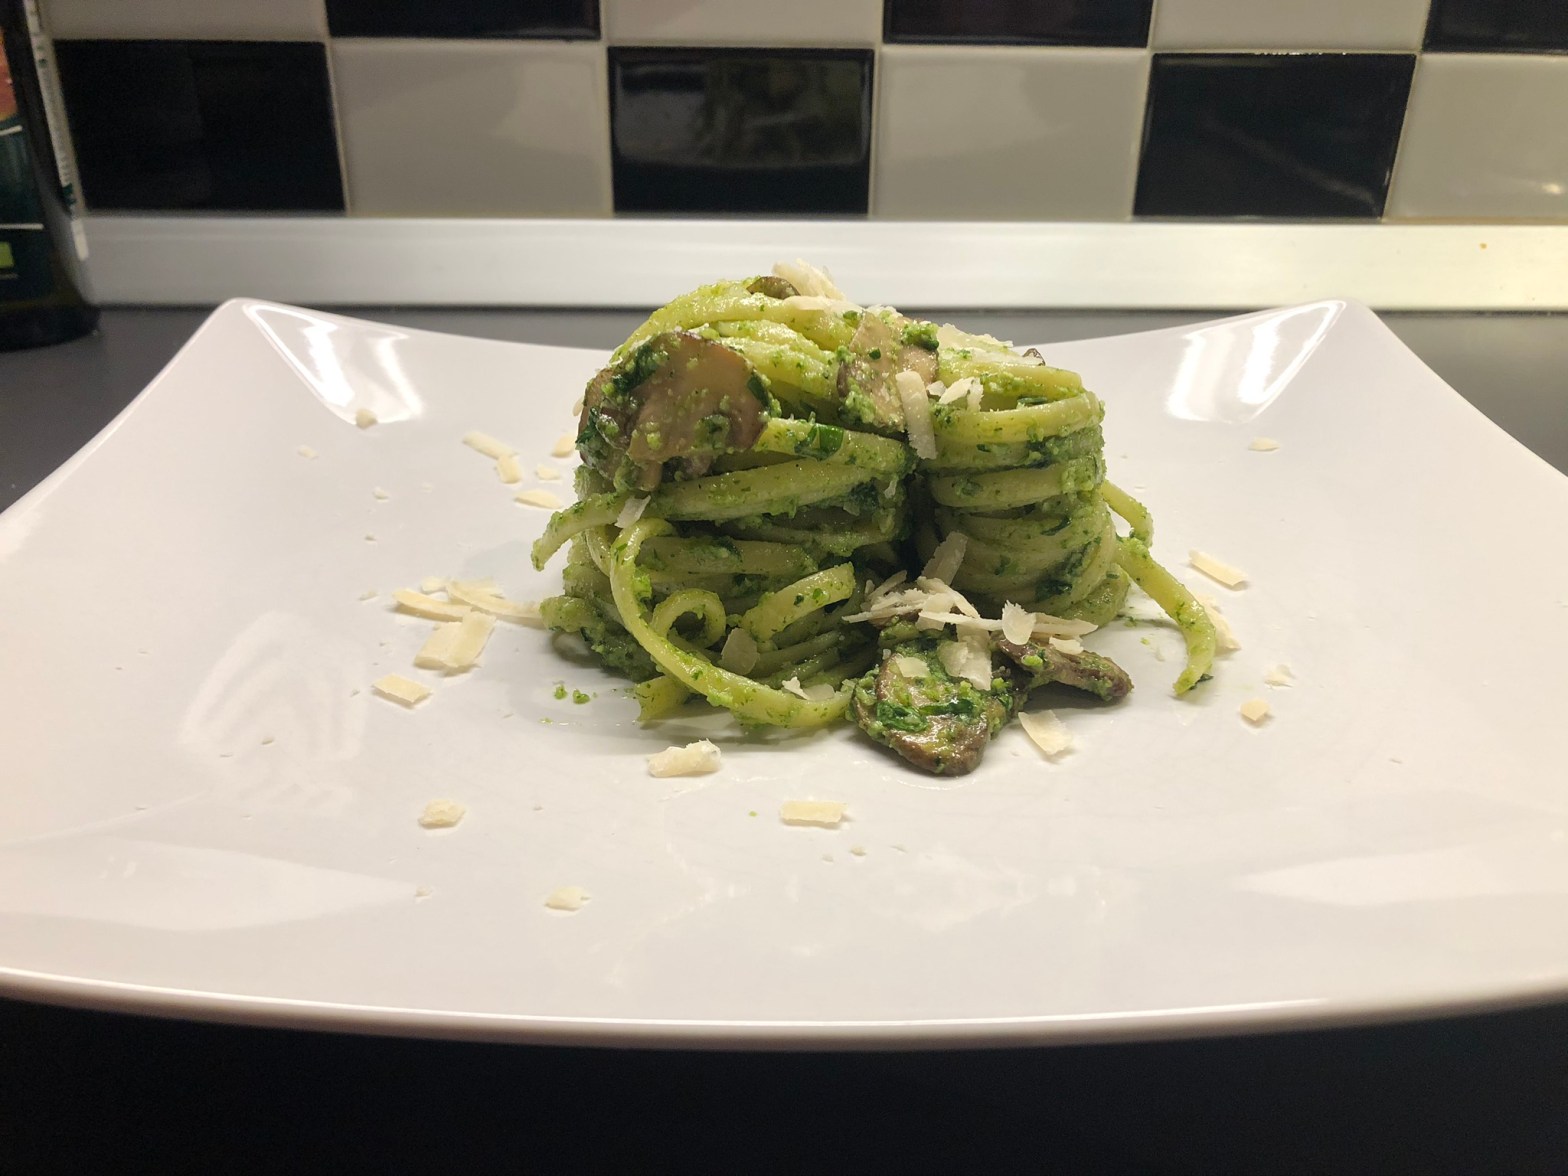
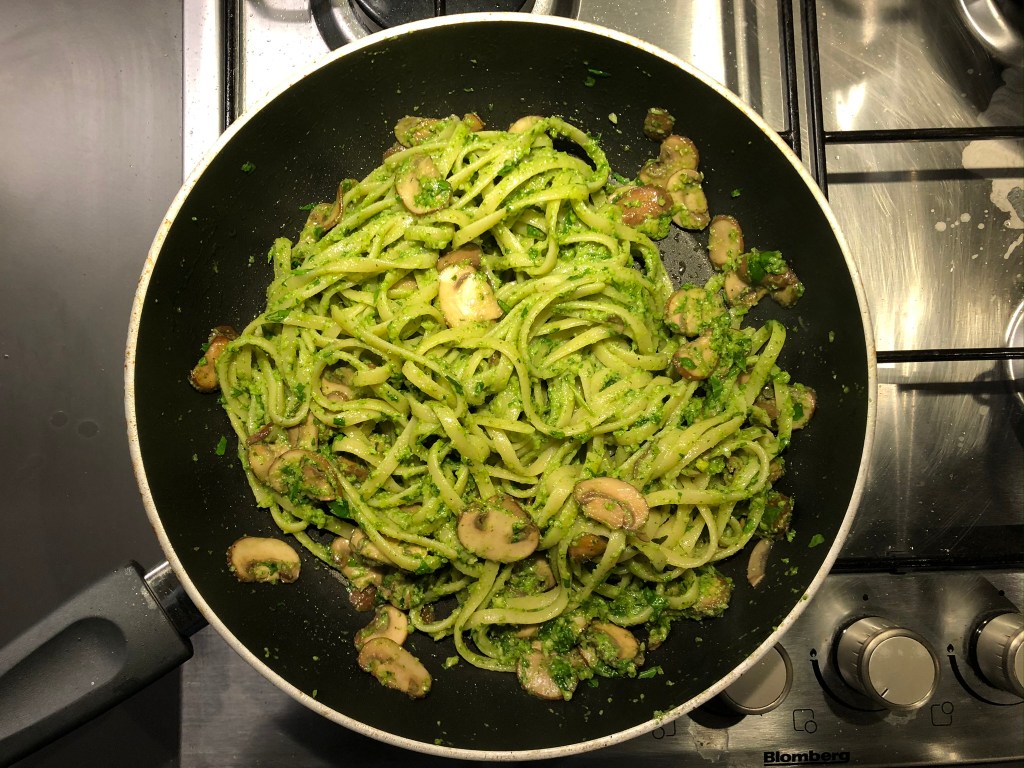
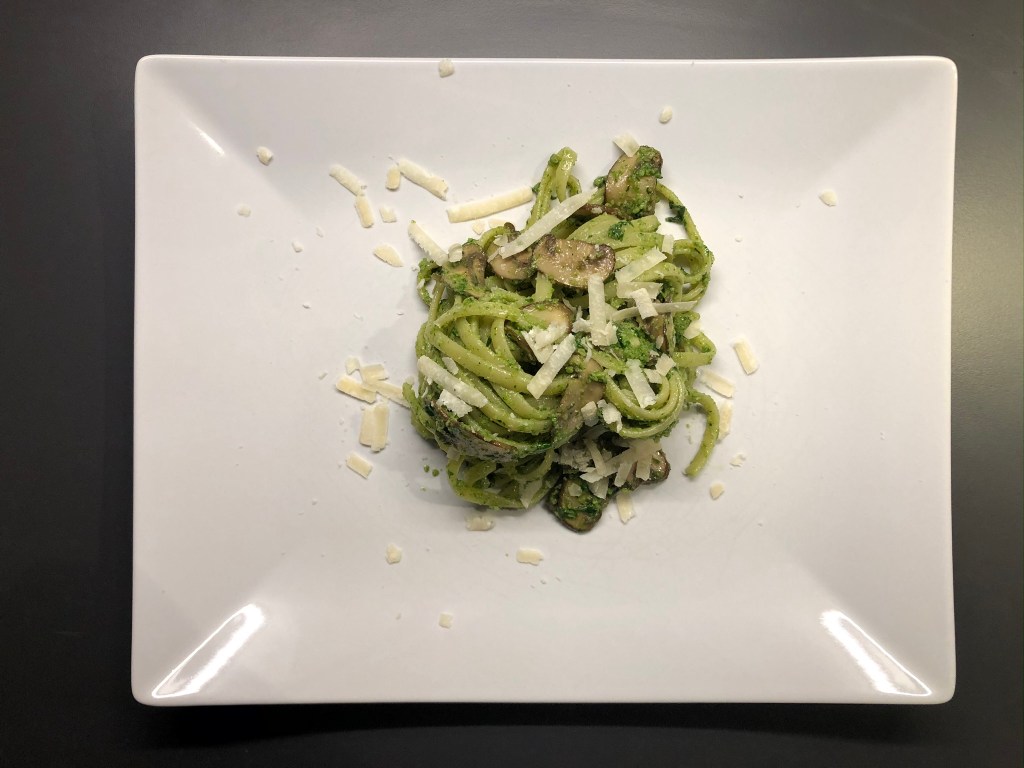
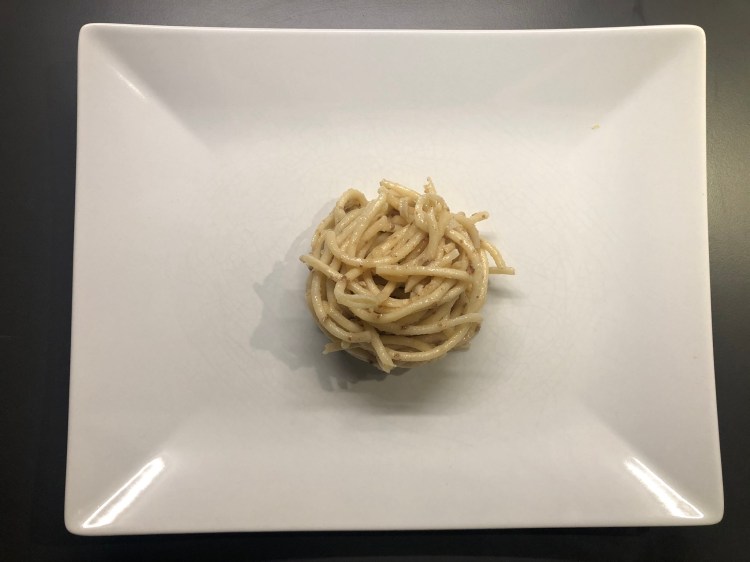
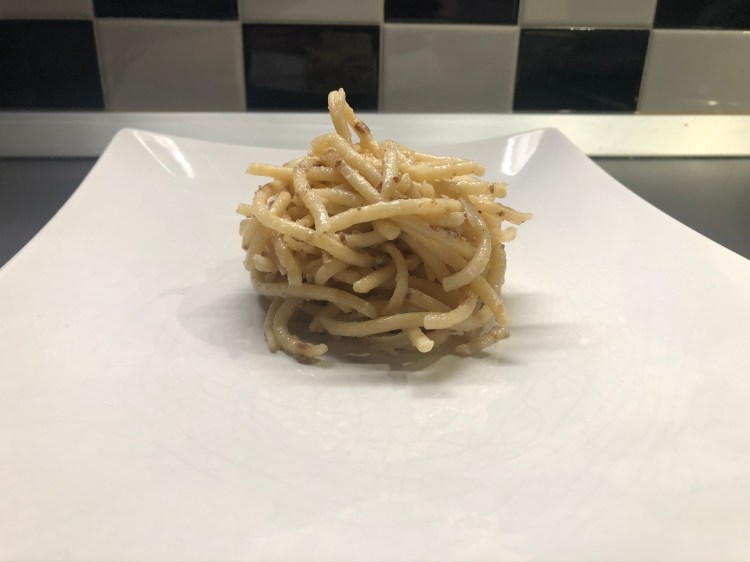
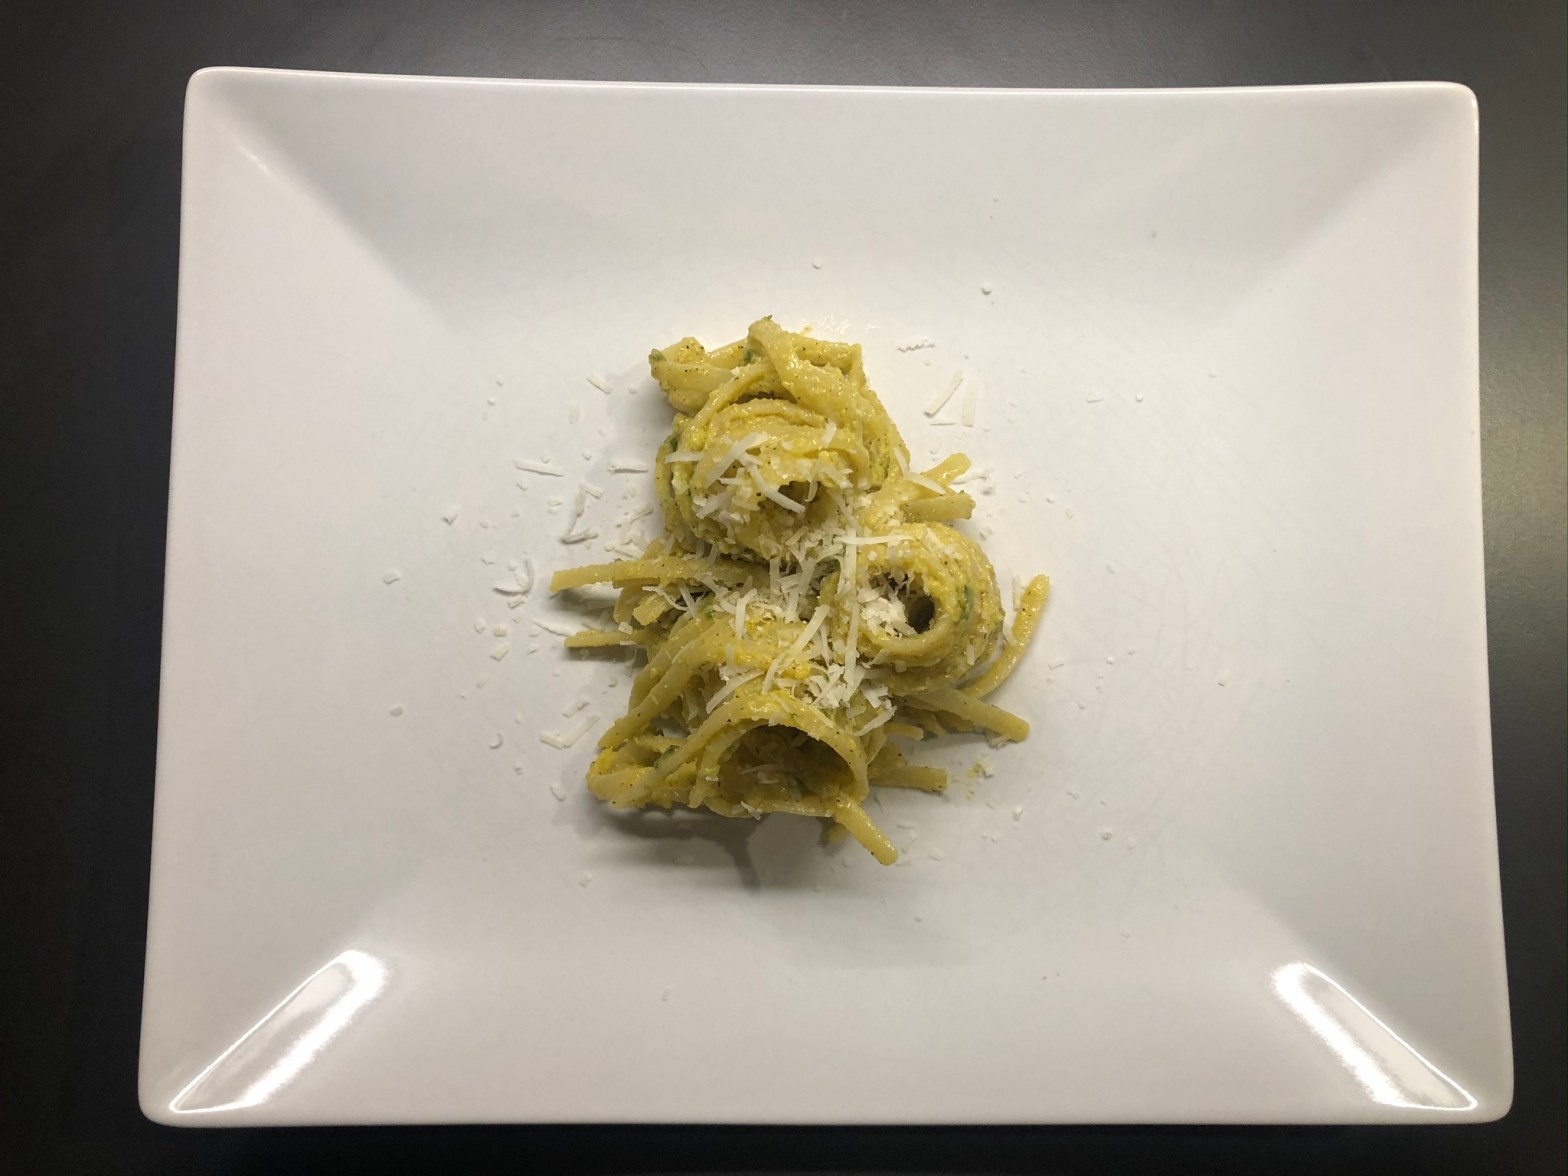
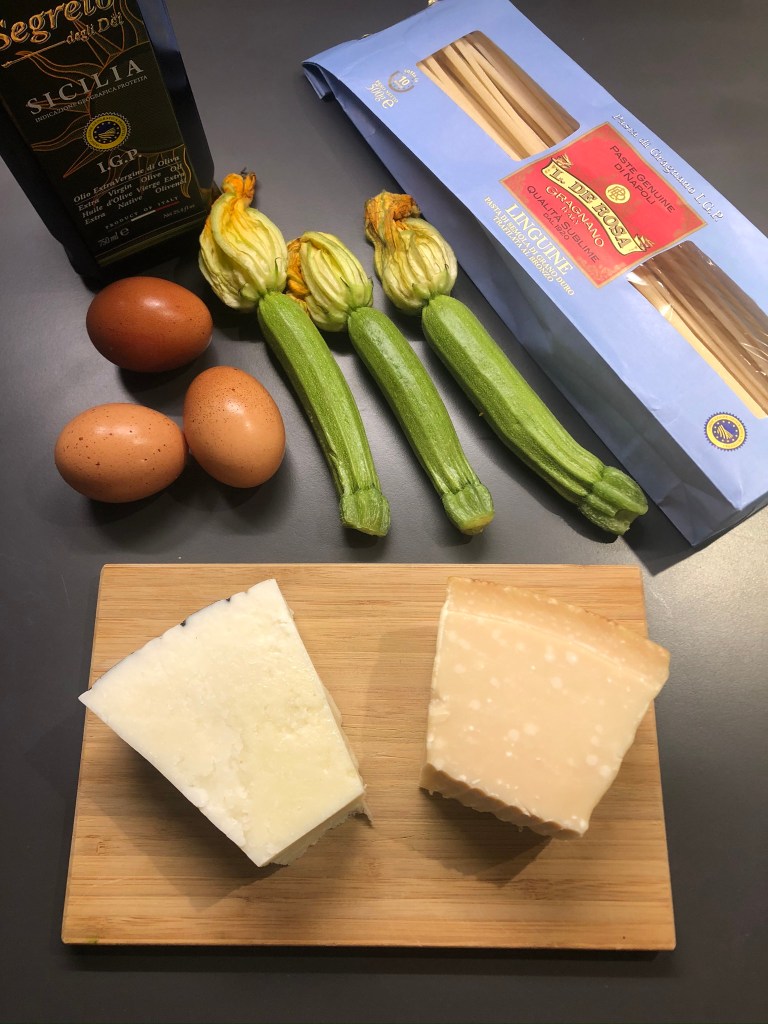
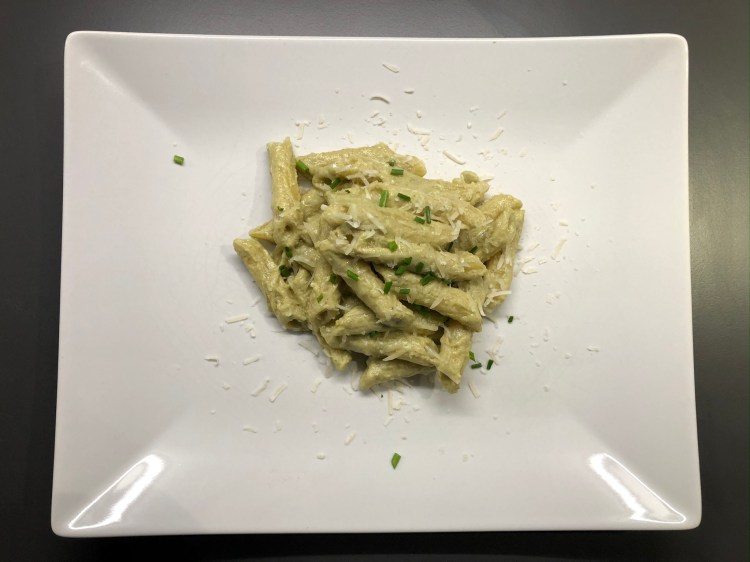
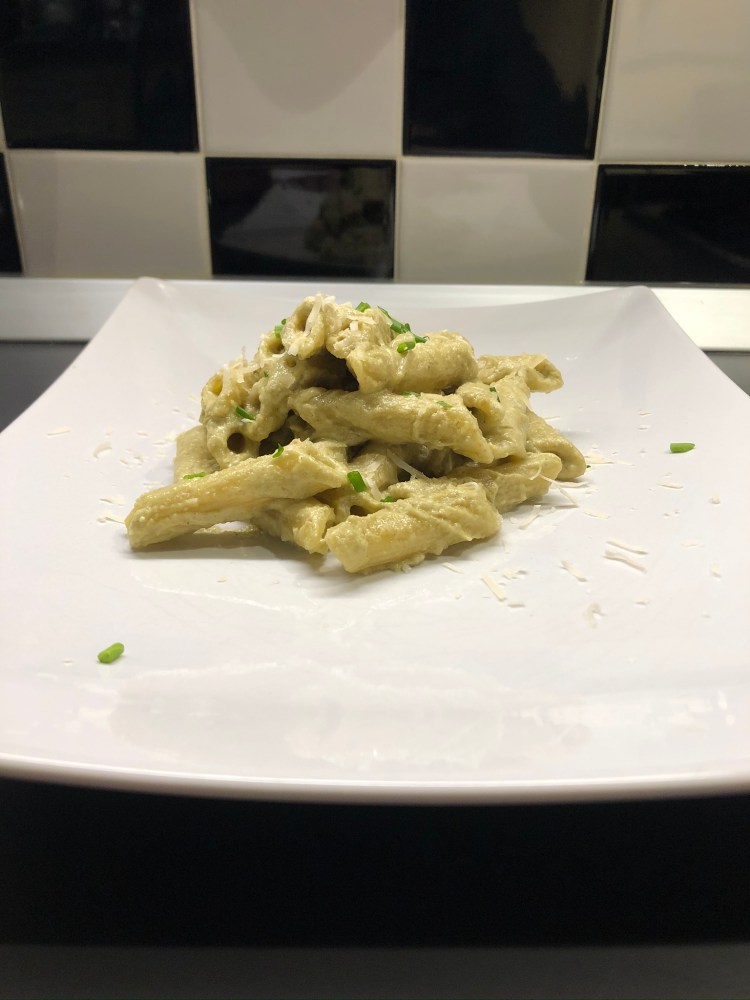
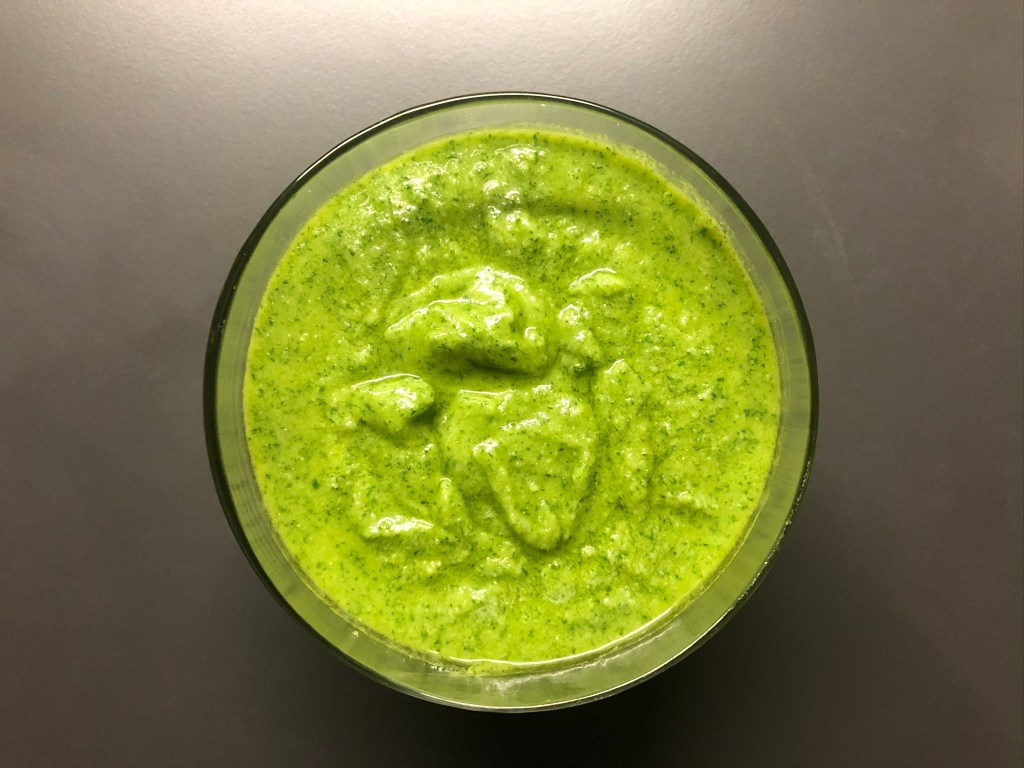
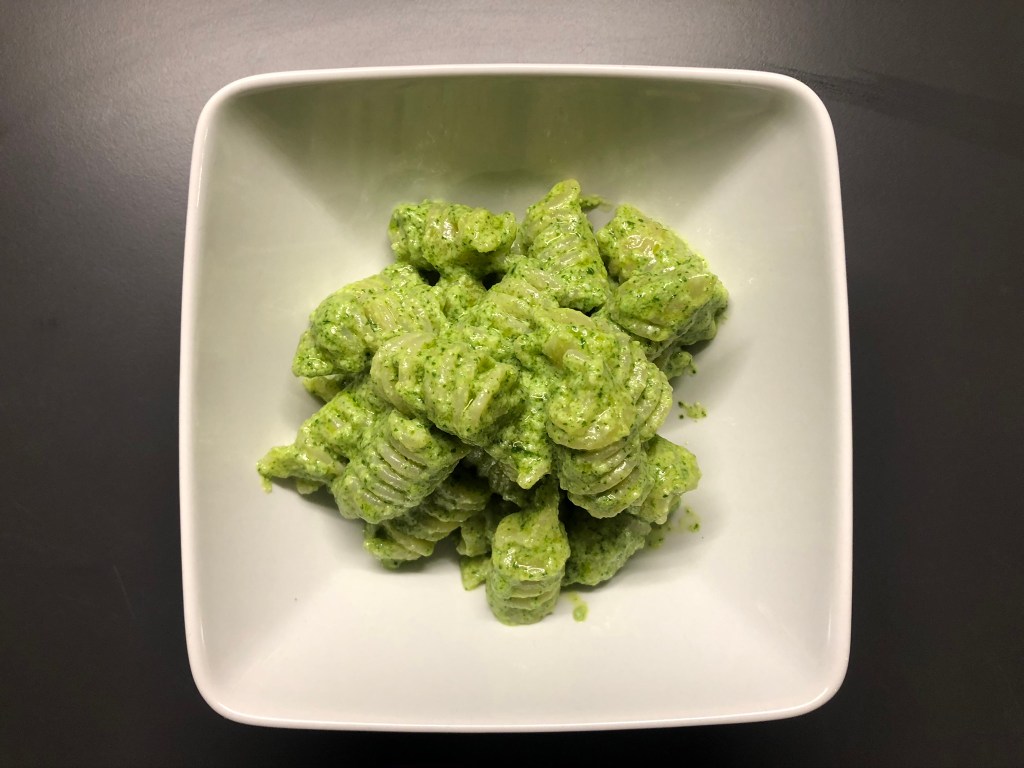
Not every green pesto from Italy is with basil. A pleasant change is this pesto from rocket that I am writing about today. I cooked it some time ago and found it very tasty. Recently I was visiting some friends and we cooked together in the evening. My friends wanted to try this rocket pesto and unfortunately it tasted a bit bitter.
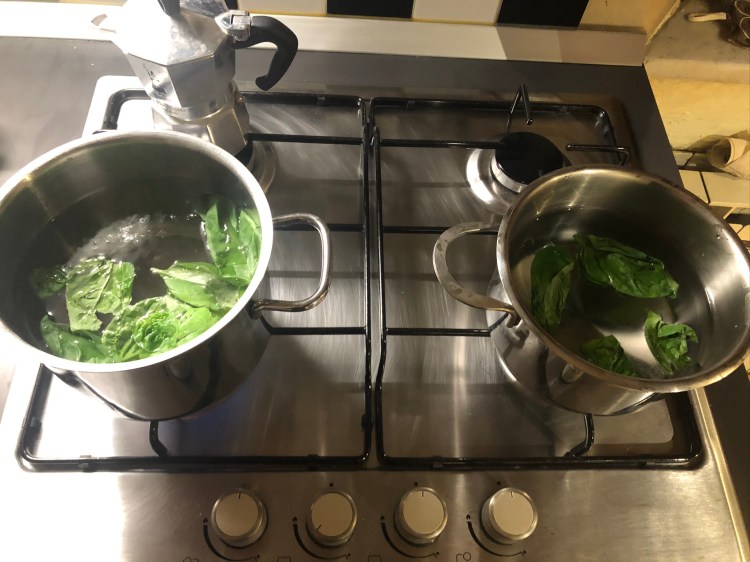
The first time I cooked it in Italy I took fresh rocket from the market. It was not bitter at all and you could eat it just like that. With my friends we took rocket from the supermarket and unfortunately it was a bit bitter. Because of Corona I am currently in Germany and I cooked the pesto again yesterday for my family here. This time I blanched the rocket in boiling water which took the bitter taste away. So it tasted again like the first time.
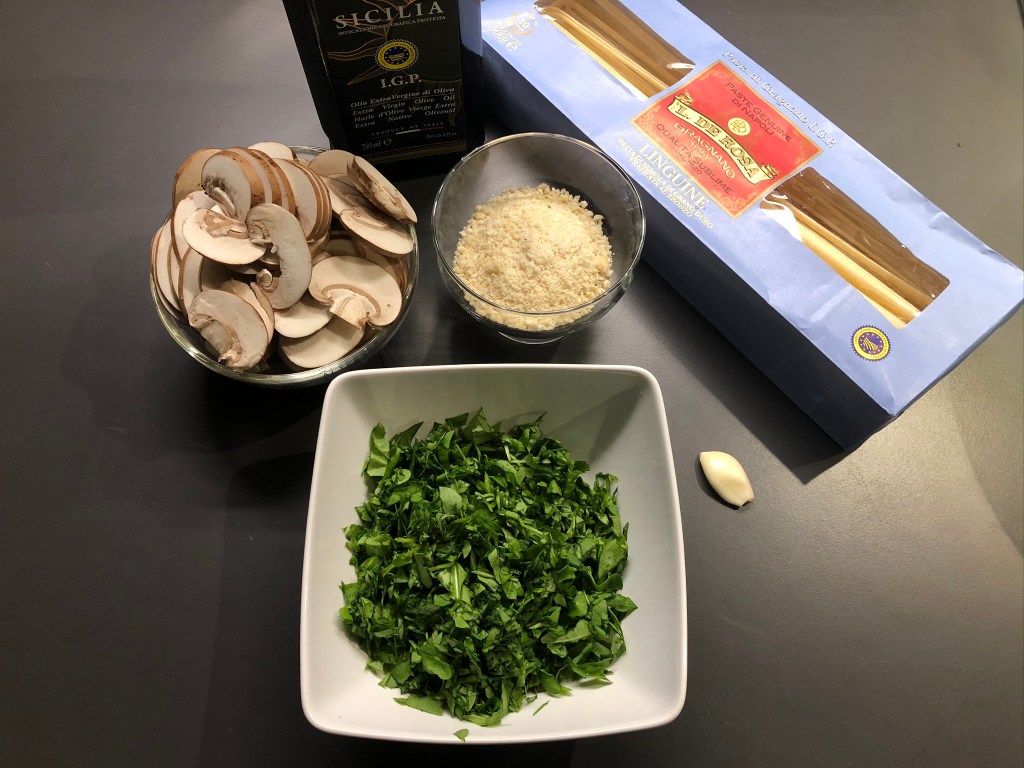
Ingredients for two servings:
200 g pasta
60 g mushrooms (champignons)
1 garlic clove
65 g rocket salad
50 g almonds
50 ml olive oil
Salt
Pepper
Cooking:
If the rocket is too bitter, first blanch the lettuce leaves briefly in boiling water and then crush them with a mortar.
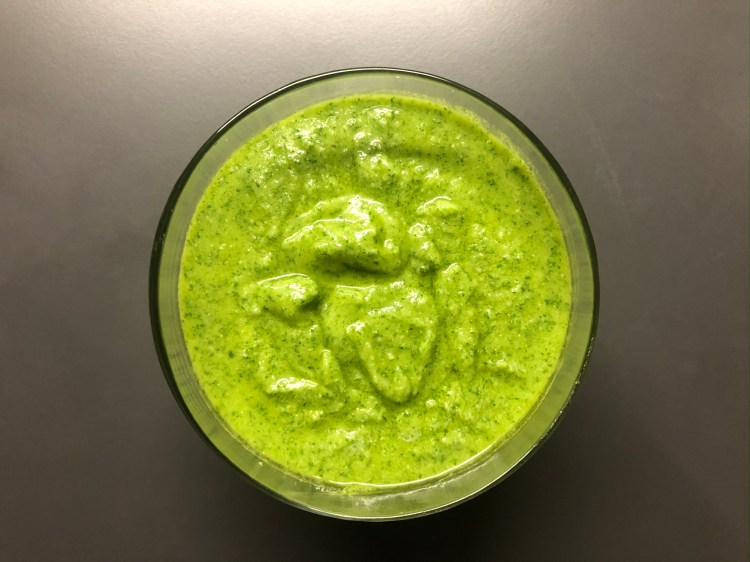
Crush the almonds as well and mix together with the rocket, the oil and some salt until it gets a creamy consistency.
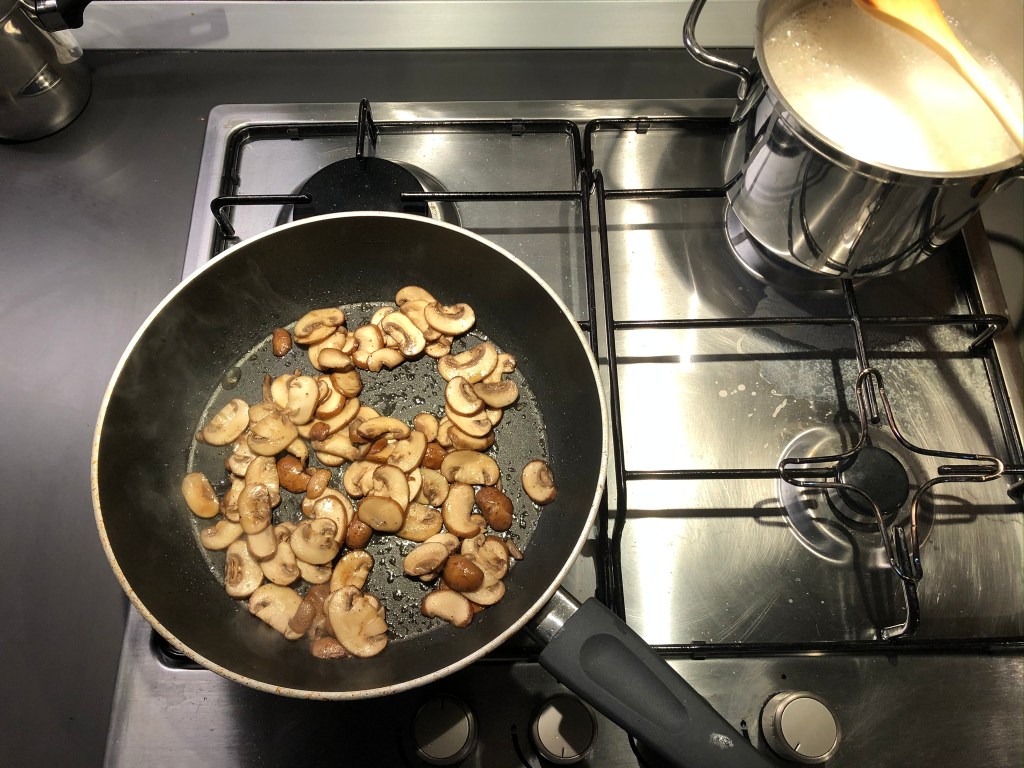
Put on the water for the pasta and bring to the boil (1 litre per 100 g of pasta) and do not add salt until the water boils (10 g of salt per 100 g of pasta). Then add the pasta to the water.
Heat some olive oil in a frying pan and fry the clove of garlic in it, then remove it.
Cut the mushrooms into thin slices and then put them in the pan. Add some salt and pepper and fry for 5 to 7 minutes, stirring frequently.
When the pasta is al dente, drain it, but most importantly put some of the water aside.
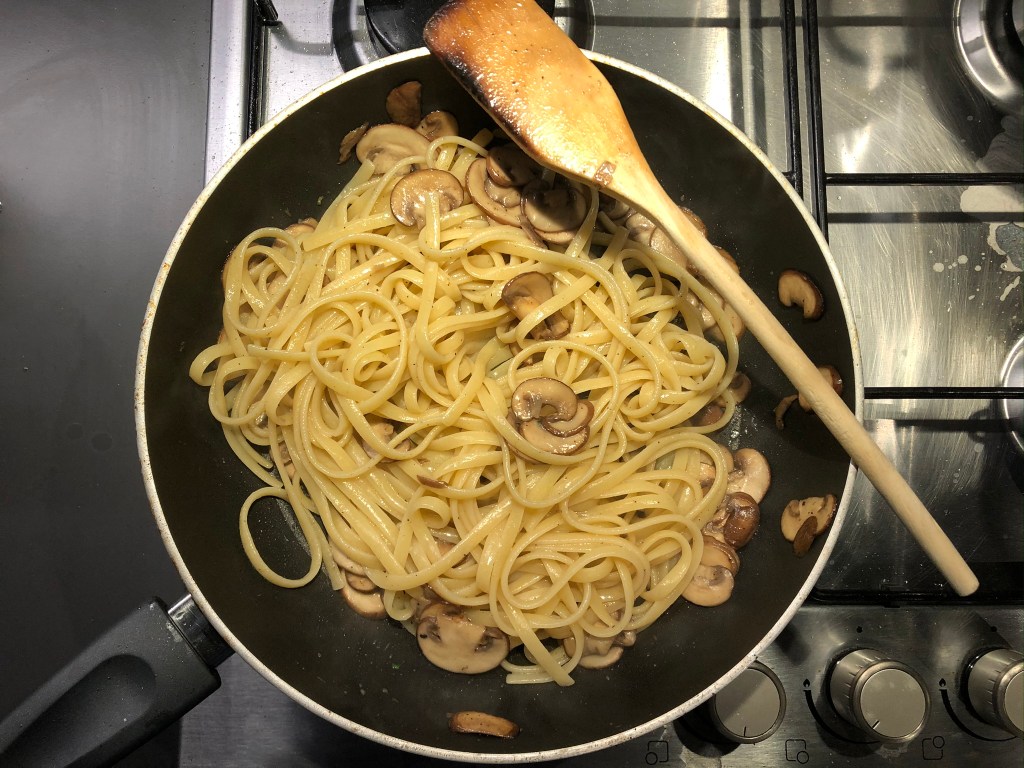
Add the pasta to the mushrooms in the pan and stir for about a minute.
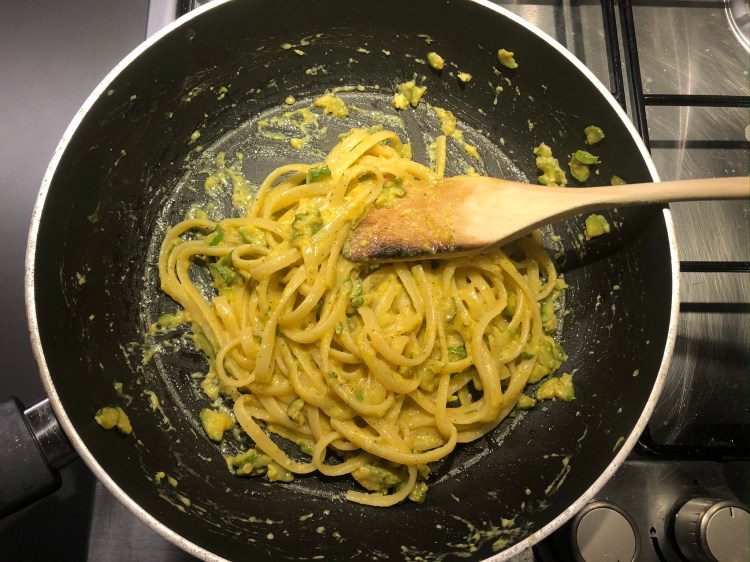
Then add the pesto and stir well again, if necessary add some more water to make it creamier.
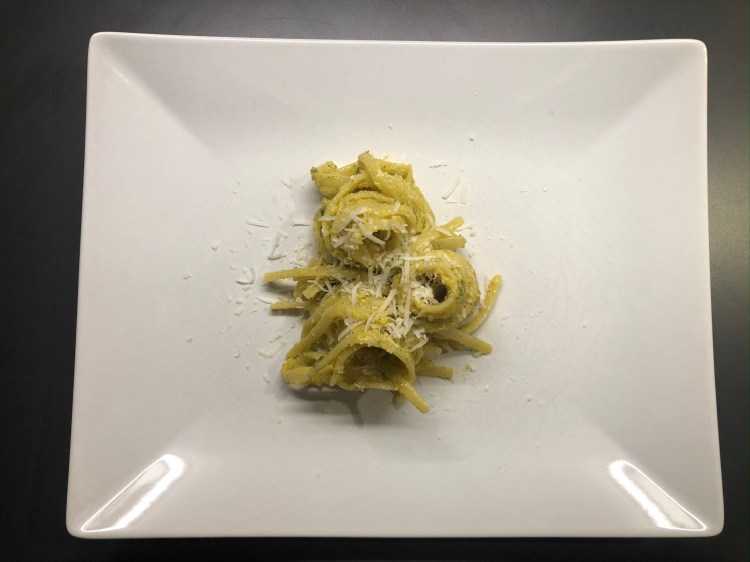
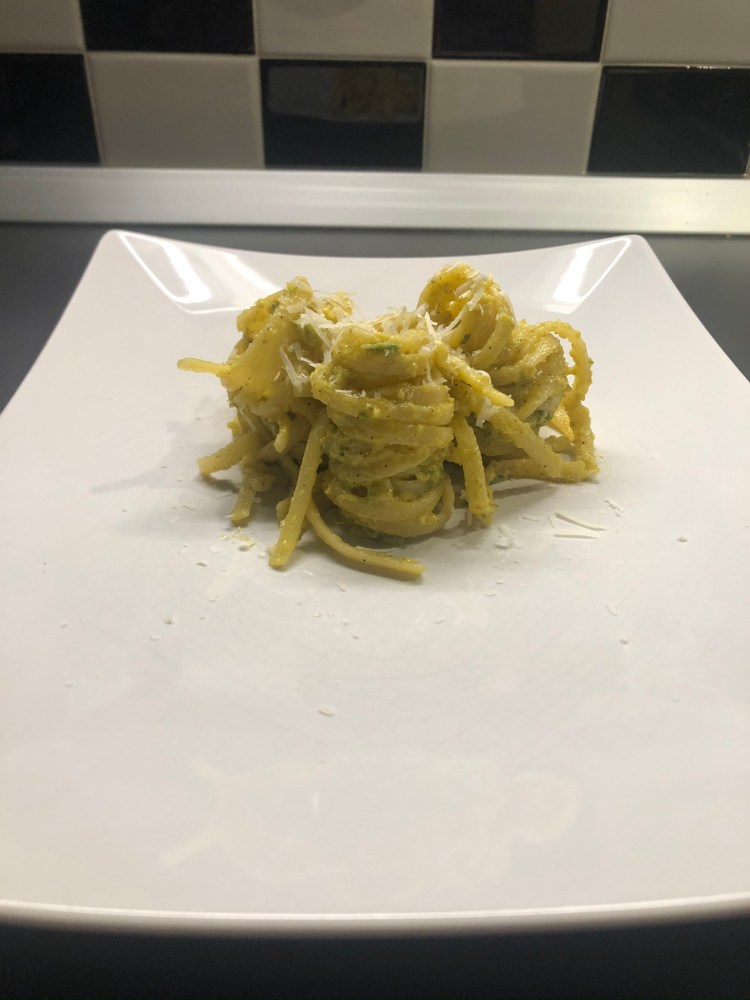
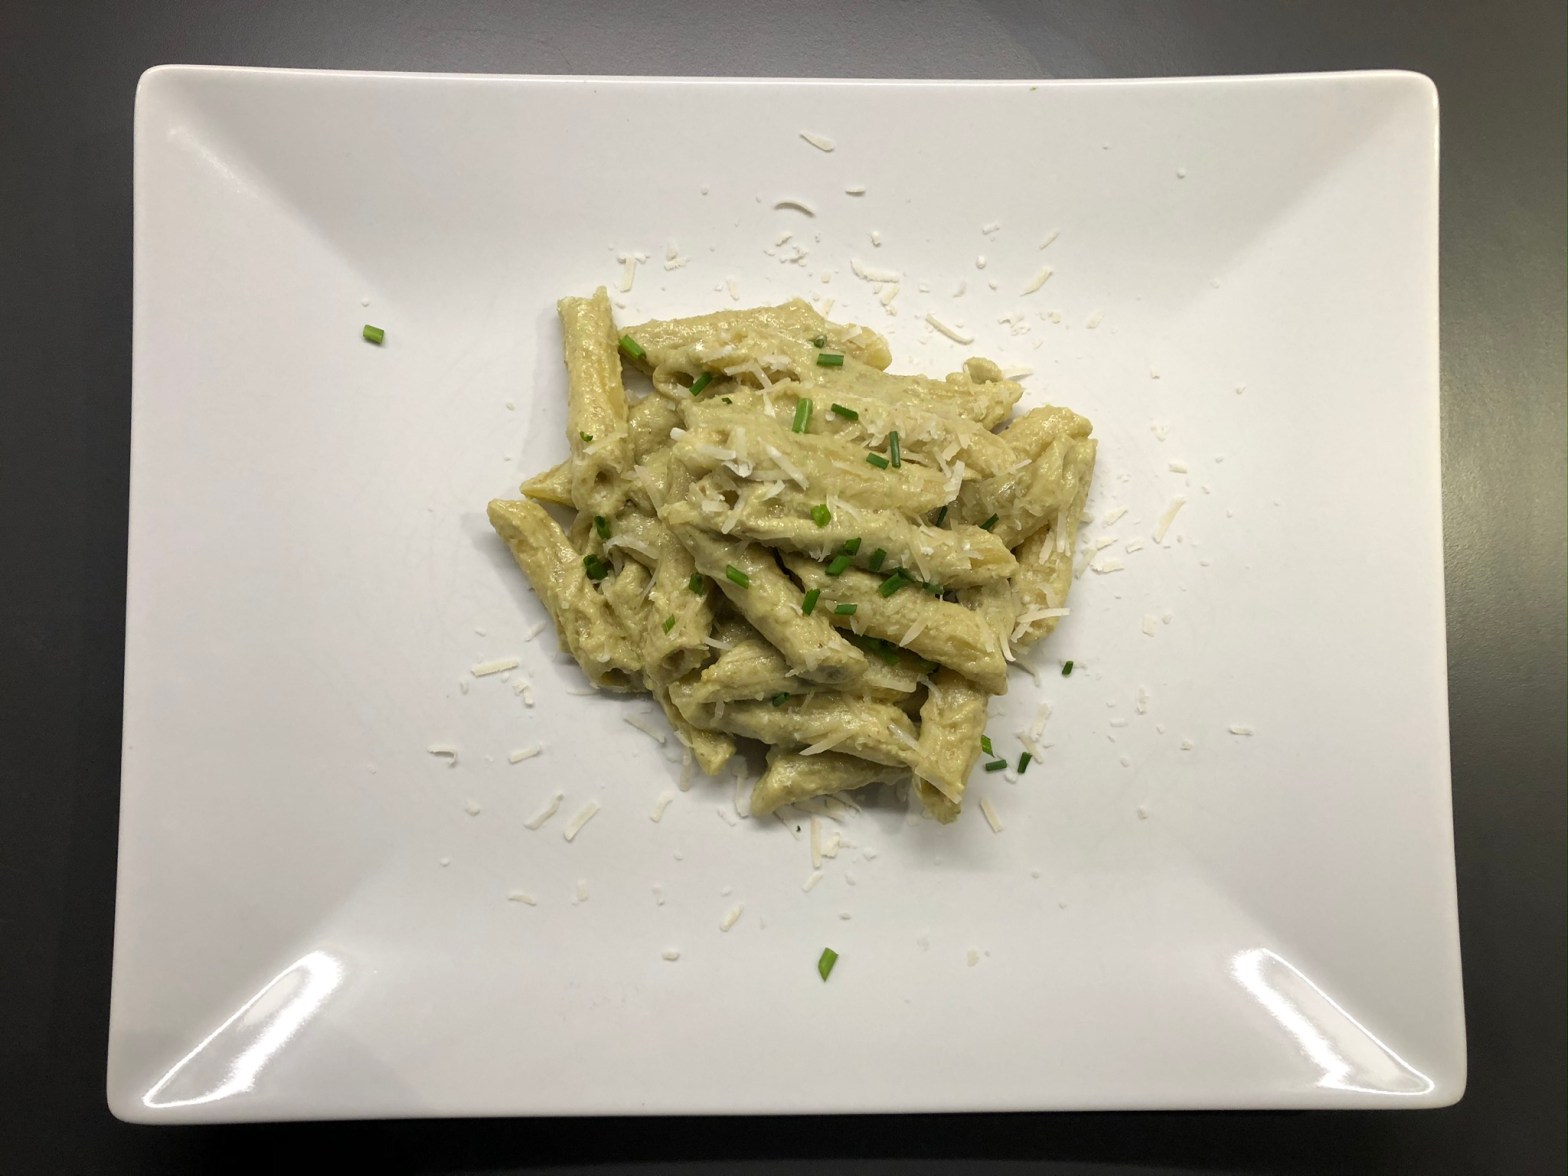
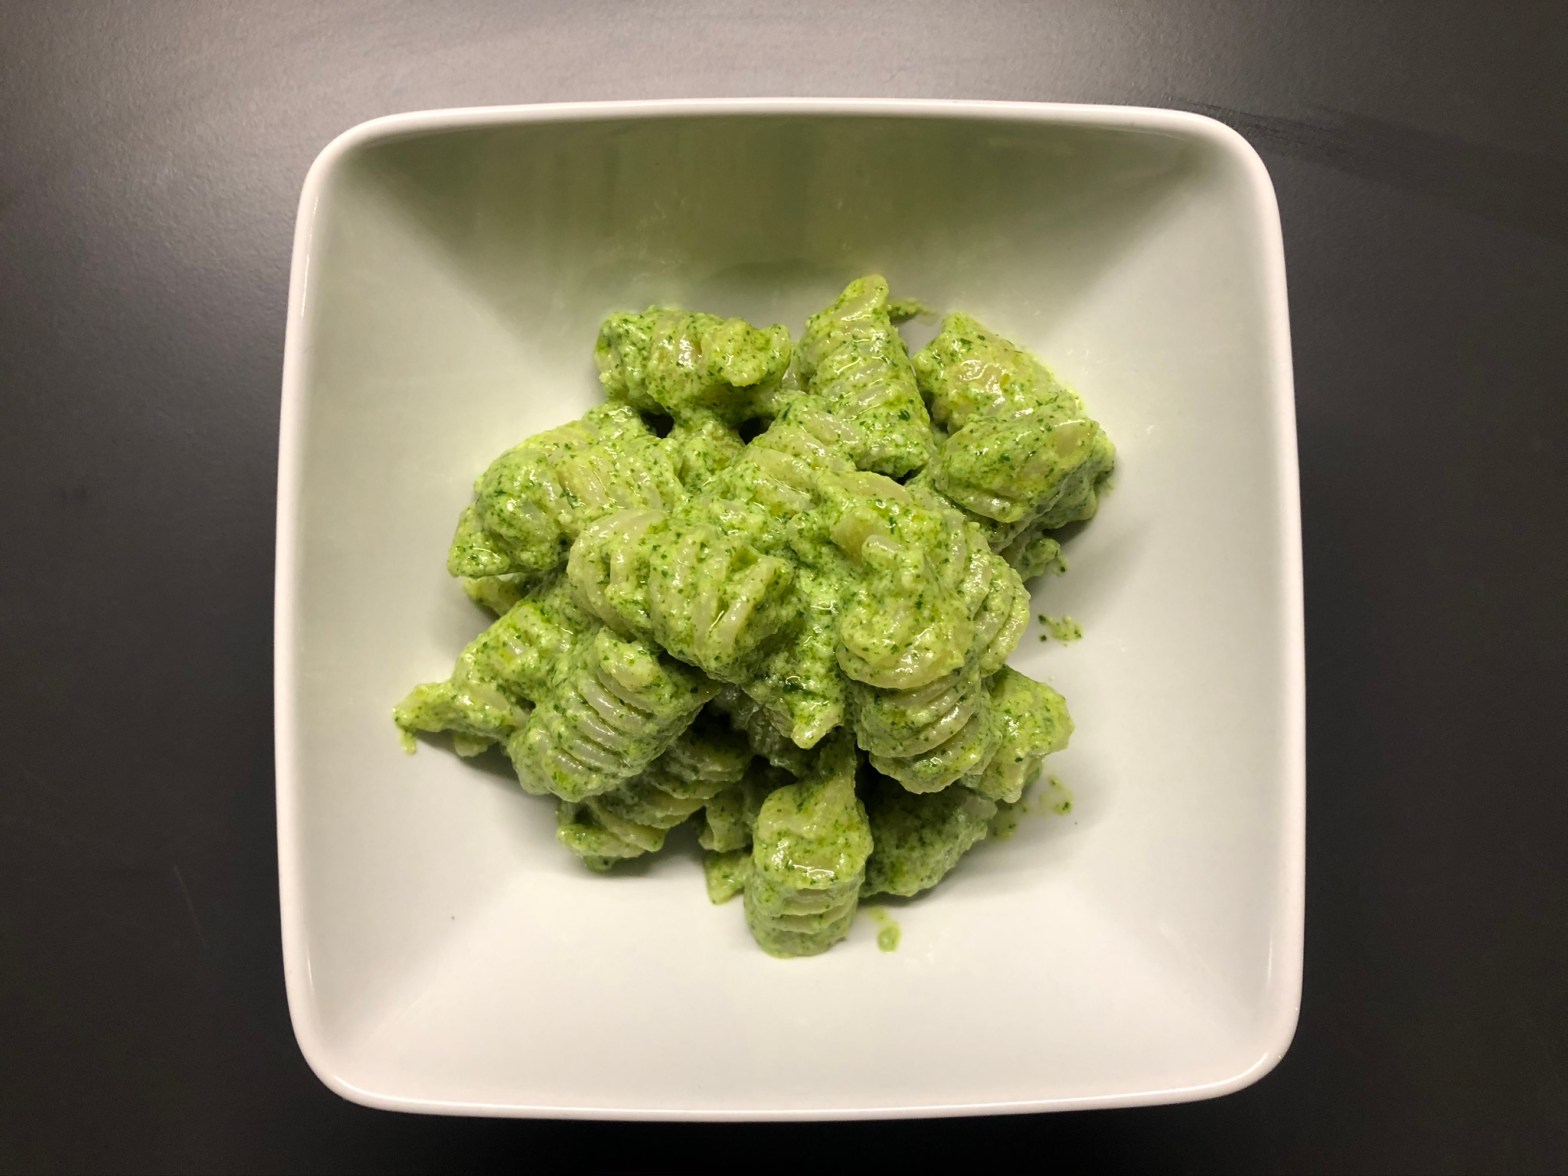
With the blanching it tastes the same as the first time. The blanching takes away the bitter but not the real taste of the rocket. Together with the mushrooms and the almonds it gives a very tasty and quickly prepared pesto without basil. And of course…don’t forget the Parmigiano!
For quite a long time I wanted to try to prepare a filled pasta, but I was always a little frightened by the effort. When I was in Naples last year I ate Chochiglioni alla sorrentina there, which I can only recommend to everybody…visit Naples and try the local cuisine of course. For the Conchiglioni alla sorrentina the three typical italian ingredients are in the foreground. Fresh tomatoes and fresh basil and in the best case also fresh buffalo mozzarella from Campania.
By chance I discovered that every Friday a small trader from Naples comes to Pisa and sells very fresh mozzarella di buffala campana. Although I must say that this mozzarella is almost too good to be cooked with. If you are used to the typical mozzarella made of cow’s milk that you can get in Germany or outside Italy, then normal mozzarella from Italy is a revelation. The enhancement of this is fresh mozzarella di buffala campana…something I would leave a good steak for any time!
Conchiglioni are a special kind of pasta that are suitable for stuffing. Unfortunately they are not easy to get even here in Italy, so I had to switch to a similar variety with an even more difficult name.
The ingredients for 2 persons are:
200 g of conchiglioni
100 g mozzarella di cuffala campana
100 g tomatoes (preferably a smaller variety with a stronger taste)
1 garlic clove
20 g Parmigiano
15 g basilolive oil (1-2 tablespoons)
Salt
Cooking:
First, peel the tomatoes as usual, cut them crosswise at one end and bathe them briefly in boiling water. Then the skin can be easily removed.
Then cut the tomatoes into small cubes and set aside. Next, fry the clove of garlic in some olive oil until it is lightly brown from all sides and take it out again.
Then add the tomatoes and simmer at low to medium heat. At the same time bring the water for the pasta to a boil. As always per 100g of pasta, 10g of salt and 1 liter of water. But first add the salt to the already boiling water!
After about 5 minutes season the tomatoes with a little salt, then add the finely chopped basil and let it simmer again for another minute or two.
The mozzarella is also cut into small pieces and placed in a bowl.
Remove the tomatoes and basil from the heat, add the mozzarella to the bowl and also mix with about half of the grated Parmigiano. The result should be a rather tough but not homogeneous mixture. As soon as the pasta is al dente, drain and cool with cold water. The cold water is especially important here, as the conchiglioni should not continue to cook.
As an exception you can add a dash of olive oil to pasta. This will give them a nice light tan when they are later grilled in the oven. Then spread the conchiglioni on a baking tray and fill with the tomato and mozzarella filling.
Sprinkle the rest of the Parmigiano Reggiano over it and then put it in the oven for 10 to 12 minutes at 180°C with top heat or grill function.
If you still have some basil leaves left, you can use them later for decoration.
Unfortunately I have to admit that it was not so easy with the pasta I used, as it always fell over. Thus the result unfortunately gets a small deduction concerning the appearance.
But the taste was the better. Even if the mozzarella was a little too good to cook at first, it was worth it. It kept its typical taste very well and the fresh tomatoes and basil did the rest.
That’s why I stick to it, the Italian cuisine knows how to create a great dish with only a few simple ingredients and just a little salt!
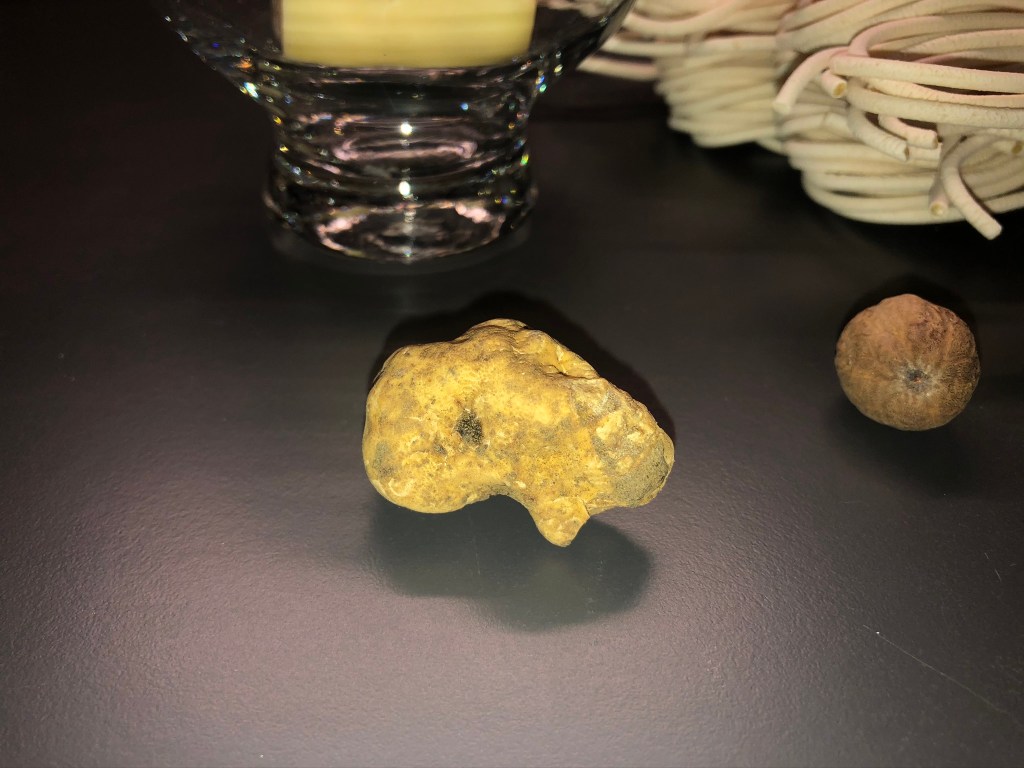
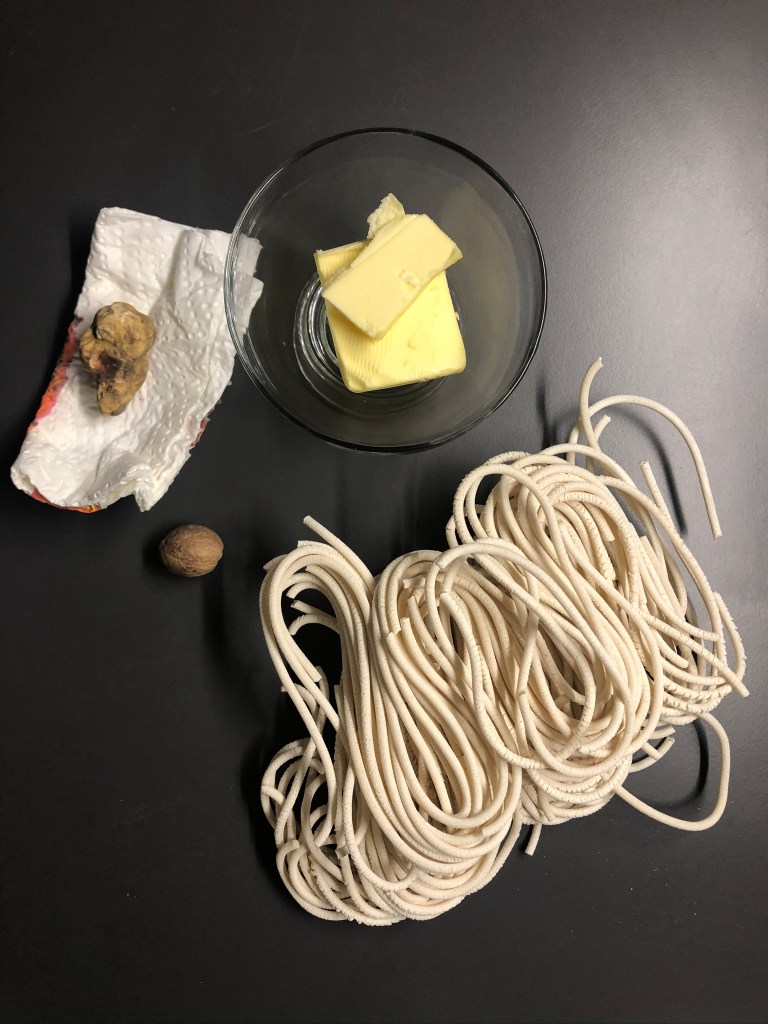
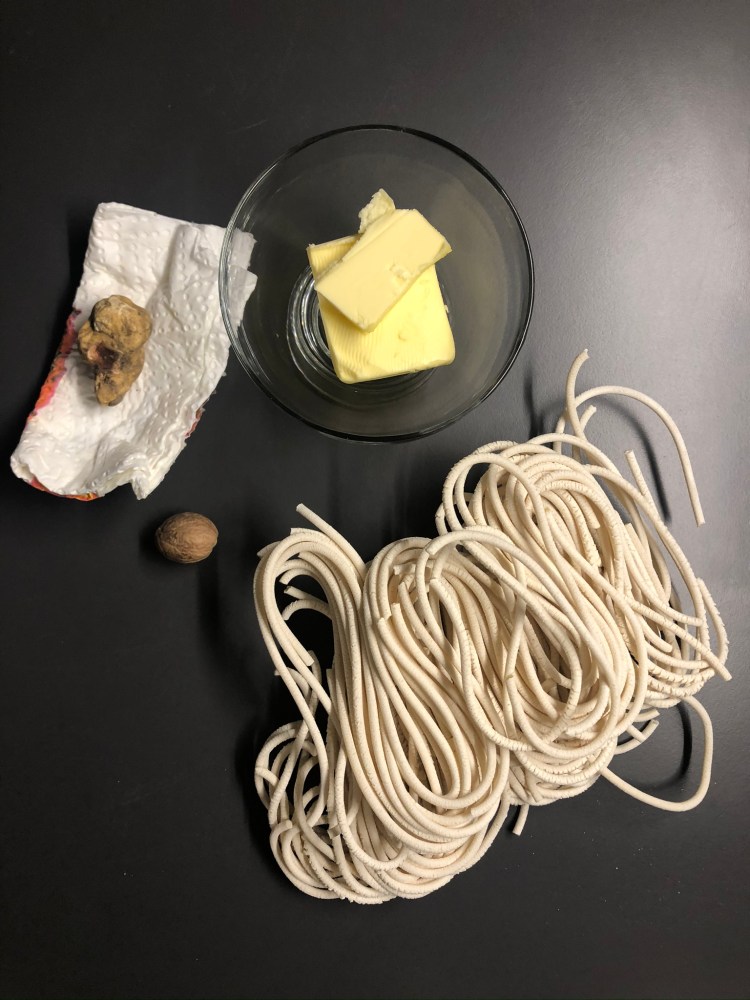
Today it will be something special. Italy is known not only for pizza and pasta but also – together with France – as the most important truffle growing area in Europe. Right now, from mid-November to early December, is the best time for white truffles. I’ve often walked past the truffle shop here in the pedestrian zone but today I went in and bought a white truffle. So far, I have eaten one or the other dish that has been refined with truffles but never something in which the truffle was so in the foreground. The recipe itself is actually just butter, as a flavor carrier and some nutmeg. I think that’s why it’s not directly typical Italian and likely to find itself in cookbooks in many countries.
The smell of this white truffle is already incredibly intense. Once opened this small glass with it inside and the whole kitchen smells already afterwards.
The ingredients for two servings are:
200 g of pasta
30 g butter
25 g white truffle
salt
nutmeg
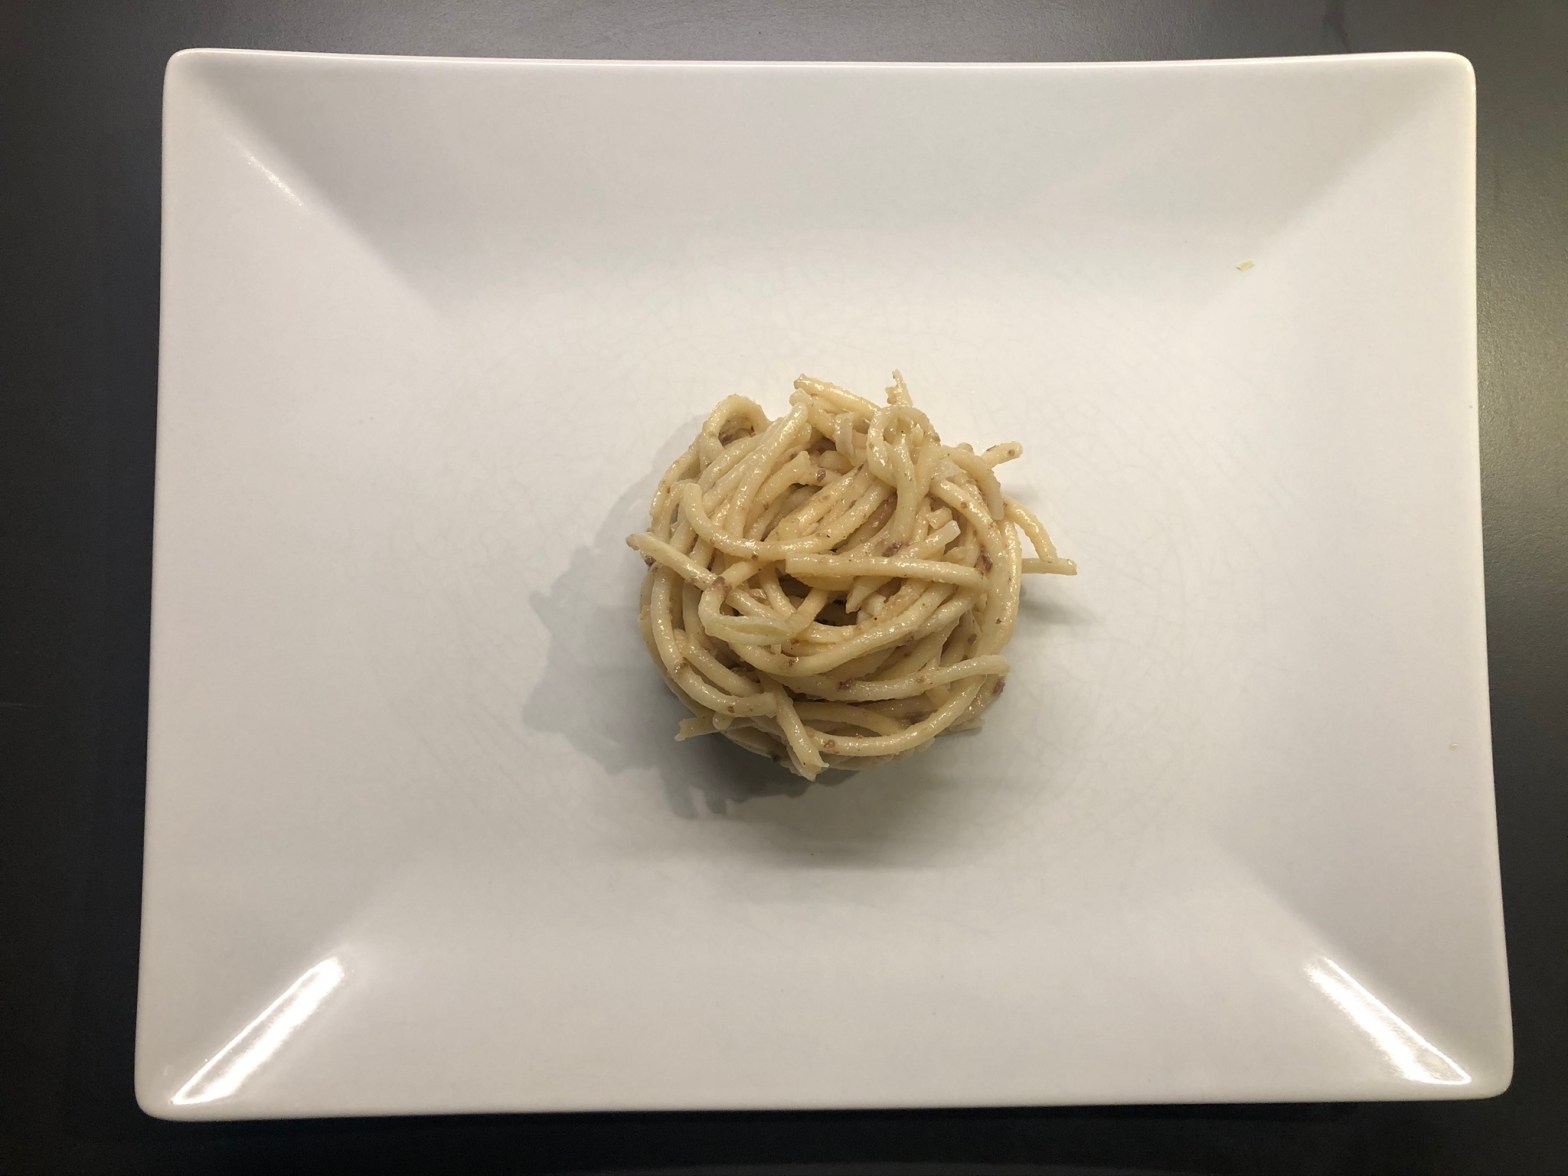
This time I used Pici as pasta. This is a sort that I have never seen outside of Italy. You could describe them as very thick spaghetti, about 4mm or more in diameter. I personally like this thick Pici … they are also easier to cook al dente 🙂 At my place around the corner, there is a small restaurant that makes this pasta fresh, then of course they taste even better. But since I could not bring myself to make pasta by myself, I resorted to the dried version.
A simpler preparation is hardly to find:
First, the truffle should be cleaned carefully with a dry sponge or a toothbrush from soil. Not with water! At the end, when the soil is removed, rub with a damp kitchen towel is ok. Cleaning the truffle really takes some time, so I think it’s a good idea to get it done first.
Then the water (as always 1 l per 100 g of pasta) has to be brought to boilling. Once it started boilling, add 10 g of salt per 1 liter of water and when it begins to boil again after salting, the pasta can be added.
While the pasta is in the water, the butter is melted in a pan and seasoned with salt and nutmeg.
When the pasta is al dente, it is poured off, added to the butter in the pan and stirred well several times.
Then put the pasta in a bowl and rub the truffle over it completely, then mix well again.
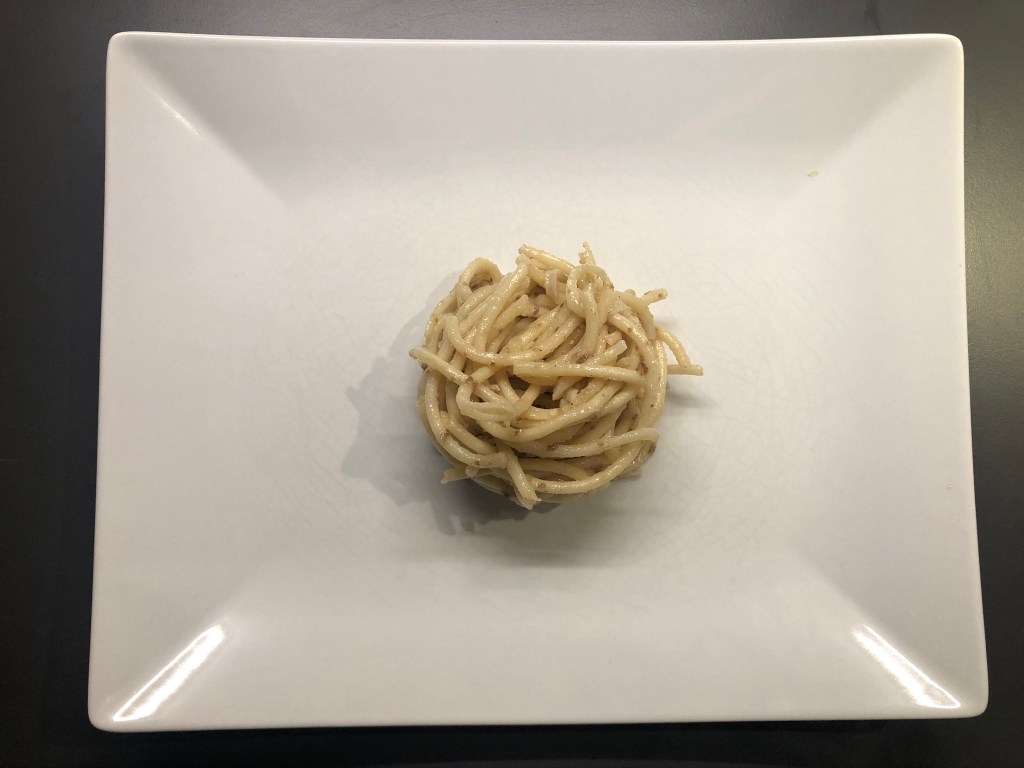
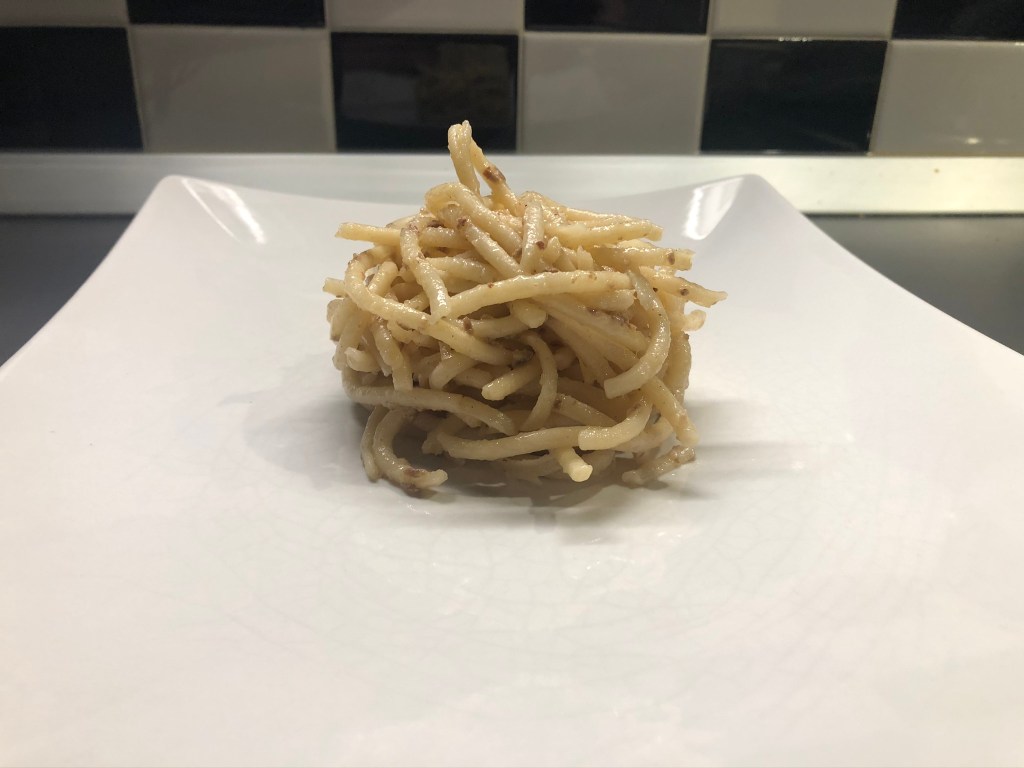
Serve on a plate and enjoy.
It tastes delicious of truffles! Of truffles and butter. The taste is unique and I honestly know nothing with which I could compare it to. Even with the cleaning of the truffle, this was by far the fastest dish I have cooked so far. If the truffle was not that expensive then it would be a very quick and tasty meal for every day. But that’s the reason it stays something special. From January to March, its the best time for the black truffle … 🙂
Pici con tartufo bianco
Heute gibt’s mal etwas Besonderes. Italien ist nicht nur für Pizza und Pasta bekannt sondern auch – zusammen mit Frankreich – als wichtigste Anbaugebiet für Trüffel in Europa. Gerade jetzt, von Mitte November bis Anfang Dezember, ist die beste Zeit für weiße Trüffel. Ich bin schon ziemlich oft an dem Trüffelgeschäft hier in der Fußgängerzone vorbei gelaufen und heute habe ich mir mal einen kleinen weißen Trüffel geleistet. Bisher habe ich zwar schon das ein oder andere Gericht gegessen das mit Trüffel verfeinert wurde aber eben noch nie etwas bei dem der Trüffel so im Vordergrund stand. Das Rezept selbst besteht eigentlich nur aus Butter, als Geschmacksträger und etwas Muskatnuss. Ich denke, dass es von daher nicht direkt typisch Italienisch ist und sich so wahrscheinlich in Kochbüchern vieler Länder finden wird.
Der Geruch dieses weißen Trüffel ist schon wahnsinnig intensiv. Einmal kurz dieses kleine Glas aufgedreht und die gesamte Küche riecht bereits danach.
Die Zutaten für zwei Portionen sind:
200 g Pasta
30 g Butter
25 g weißer Trüffel
Salz
Muskatnuss
Als Pasta habe dieses Mal Pici verwendet. Das ist ein Sorte, die ich außerhalb von Italien noch nie gesehen habe. Man könnte sie als sehr dicke Spaghetti beschreiben, etwa 4mm im Durchmesser. Mir persönlich gefallen dieses dicken Pici…sie lassen sich auch einfacher al dente kochen 🙂 Bei mir um die Ecke gibt es ein kleines Restaurant, dass diese Pasta selbst frisch herstellt, dann schmecken sie natürlich nochmal besser. Aber da ich mich noch nicht dazu durchringen konnte Pasta selbst herzustellen habe ich auf die getrocknete Variante zurück gegriffen.
Eine einfachere Zubereitung geht kaum:
Als erstes sollte der Trüffel vorsichtig mit einem trockenem Schwamm oder einer Zahnbürste von Erde gereinigt werden. Nicht mit Wasser! Höchstens wenn die Erde entfernt ist einmal mit einem feuchten Küchentuch noch etwas abreiben. Das Putzen des Trüffels nimmt wirklich etwas Zeit in Anspruch, daher ist denke ich ganz gut es als erste zu erledigen.
Danach wird das Wasser (wie immer 1 l pro 100 g Pasta) zum Kochen gebracht. Sobald es Kocht kommen 10 g Salz pro 1 l Wasser dazu und wenn es nach dem salzen wieder zu Kochen beginnt kann die Pasta rein gegeben werden.
Wenn die Pasta kocht wird in einer Pfanne die Butter zum Schmelzen gebracht und mit Salz und Muskatnuss abgeschmeckt.
Sobald die Pasta al dente ist, abgießen, zur Butter in die Pfanne gegeben und mehrmals gut umgerührt.
Dann die Pasta in eine Schüssel geben und den Trüffel vollständig darüber reiben und anschließend alles nochmals gut vermischen.
Auf einem Teller servieren und genießen.
Es schmeckt lecker nach Trüffel! Nach Trüffel und Butter. Der Geschmack ist Einzigartig und mir fällt ehrlichgesagt nichts ein mit dem ich ihn vergleichen könnte. Selbst mit dem Putzen des Trüffels, war das mit Abstand das schnellste das ich bisher gekocht habe. Wenn der Trüffel nicht so teuer wäre, dann wäre es ein sehr schnelles und leckeres Essen für jeden Tag. Aber so bleibt es doch eher etwas Besonderes. Ab Januar bis März beginnt dann die beste Zeit für den schwarzen Trüffel… 🙂
There’s an easy way to frighten just about any Italian. You just have to tell that in Germany a carbonara basically means a ham and cream sauce. The reaction to this is most: “No! No, no … ‘followed by expressions I do not want to write here. Why is that? On the one hand, I have generally noticed no pasta here in Italy, which is prepared with cream. For the rather light Italian cuisine, cream is usually perceived as too heavy. Except incredibly tasty desserts. On the other hand, an original carbonara just has nothing to do with what one has made of it in Germany.
The original is made from bacon, mostly guanciale or pancetta, eggs, pecorino and / or parmigiano and pepper. Cream or even white wine you are looking for in vain.
However, today was washing day for me and my entire apartment is full of freshly washed clothes to dry. If I had fried the bacon for a long time I could wash everything again. So I decided on a vegetarian option by simply replacing the bacon with fresh zucchini from the market.
The ingredients for two servings are:
200 g Pasta
1 egg
2 egg yolks
20 g of Pecorino
20 g of Parmigiano
3 small zucchini
pepper
olive oil
Cooking the original, only Pecorino is used, but I like to mix it half in half with Parmigiano. The 20 g per cheese are almost too much here and it depends on how long matured and strong in taste of the cheese is already used. There is a simple rule for the amount of eggs. One egg yolk per person and in addition one whole egg per 2 persons.
Whether you use the carbonara with bacon or how I cook with zucchini today, the procedure always remains the same:
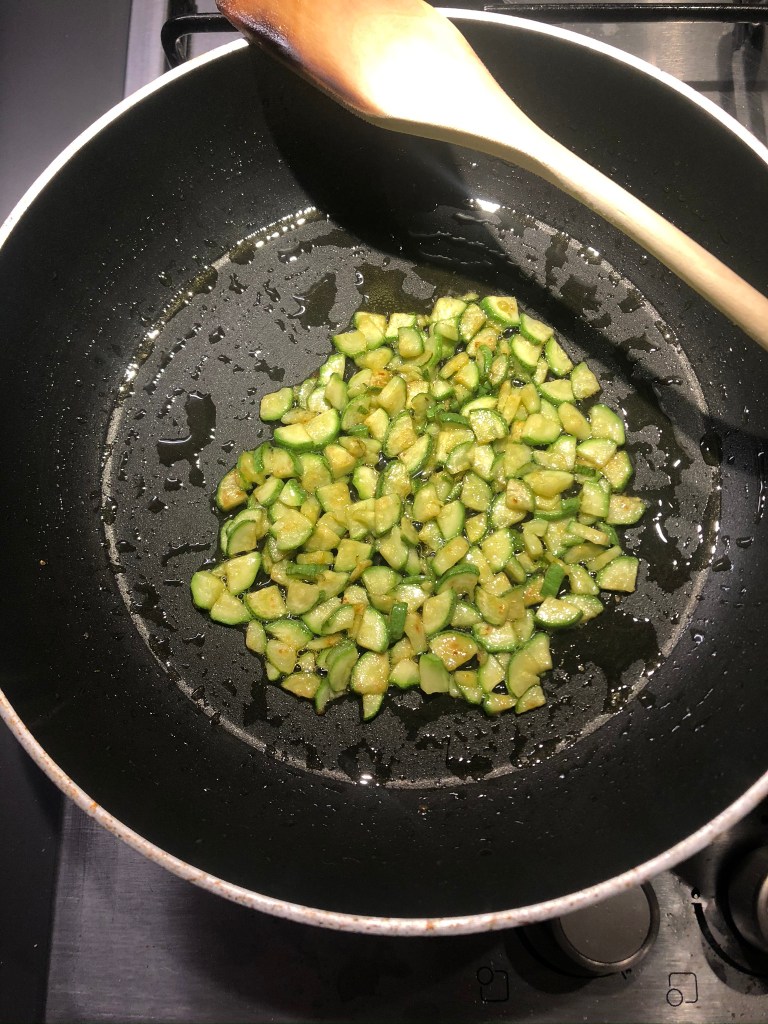
First, the bacon or zucchini is cut into small pieces and slowly poured into the pan in a little olive oil on a low flame.
It is only important to take your time.
If the bacon or zucchini is sizzling, a pot of water – 1 liter per 100 g of pasta – can be boiled up.
In the meantime, grate the cheese as finely as possible and mix with the egg yolk, the eggs and pepper to a slightly thicker mass. Then put aside.
When the water begins to boil put 10 g of salt per 100 g of pasta in and as soon as it is cooked again, add the pasta.
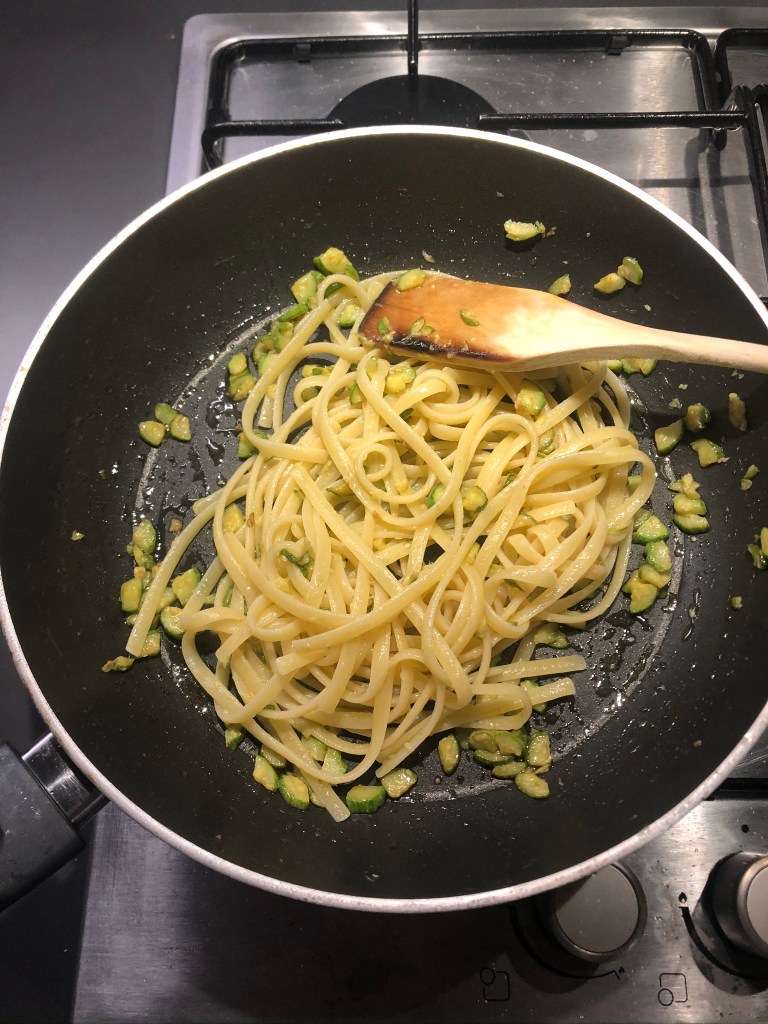
Once the pasta is al dente, drain and add to the bacon or zucchini in the pan and stir a couple of times.
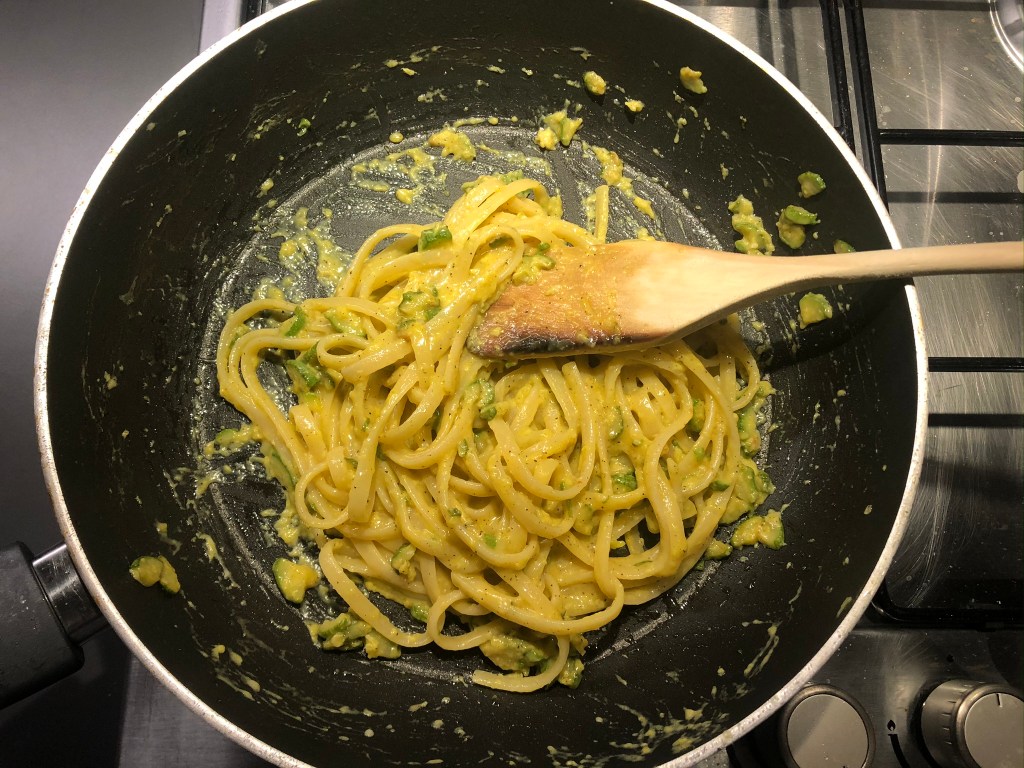
Then extinguish the flame or remove the pan from the heat and pour the egg-cheese mixture over it and stir well in the still-warm pan until a creamy sauce has formed. The egg should not be sautéed but the consistency should be like a scrambled egg maybe even a little more fluidy.
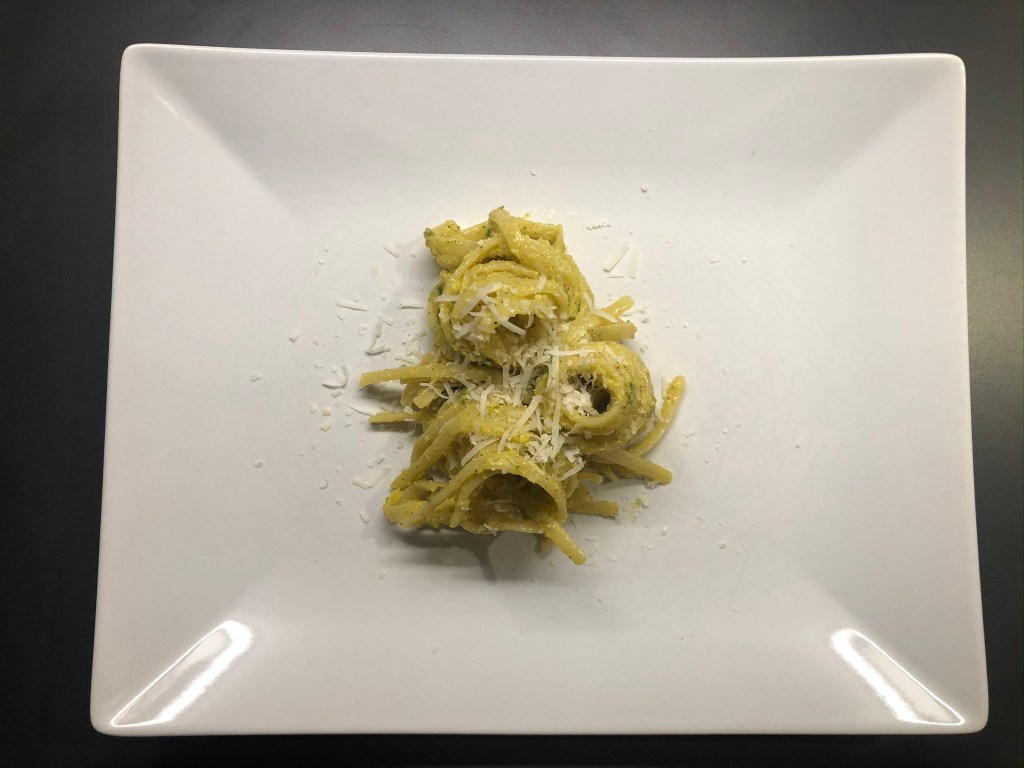
Then just put the pasta on a plate and sprinkle with some grated Pecorino or Parmigiano and serve.
I admit, when I am in Germany I like to eat pasta with ham and cream sauce. I’ve always liked that. It just did not deserve the name Carbonara.
In terms of taste, you can not really compare the original Italian and German variants. They are too different for that. Personally, both of them tastes good, although here I have to admit that a few weeks ago I was invited to dinner with a friend when she cooked an original carbonara with Guanciale. For that one, I would put away every ham and cream sauce I’ve eaten in my life. So therefore, if I have the choice, then the original from Italy.
Carbonara di Zucchine
Es gibt eine einfache Möglichkeit so ziemlich jeden Italiener in Schrecken zu versetzen. Man muss nur erzählen, dass man in Deutschland unter einer Carbonara im Prinzip eine Schinken-Sahne-Soße versteht. Die Reaktion darauf ist meisten ein: ,No! No, no…‘ gefolgt von ausdrücken die ich nicht hier schreiben will. Warum ist das so? Einerseits ist mir generell noch keine Pasta hier in Italien aufgefallen, die mit Sahne zubereitet wird. Für die eher leichte italienische Küche wird Sahne meist als zu schwer empfunden. Unglaublich leckere Nachspeisen mal ausgenommen. Andererseits hat eine originale Carbonara einfach nichts mit dem zu tun, was man in Deutschland daraus gemacht hat.
Das Original besteht aus Speck, meistens Guanciale oder Pancetta, Eiern, Pecorino und/oder Parmigiano und Pfeffer. Sahne oder gar Weißwein sucht man da vergeblich.
Allerdings war bei mir heute Waschtag und meine gesamte Wohnung hängt voll mit frisch gewaschenen Kleidern zum Trocknen. Hätte ich dar über lange Zeit den Speck gebraten könnte ich alles nochmal waschen. Also habe ich mich für eine vegetarische Variante entschieden indem ich einfach den Speck durch frische Zucchini vom Markt ersetzt habe.
Die Zutaten für zwei Portionen sind:
200 g Pasta
1 Ei
2 Eigelb
20 g Pecorino
20 g Parmigiano
3 kleine Zucchini
Pfeffer
Olivenöl
Das Original sieht eigentlich nur Pecorino vor aber ich mische ganz gerne noch zur Hälfte Parmigiano drunter. Die 20 g pro Käse sind hier schon fast etwas zu viel und es hängt auch davon ab wie lange gereift und kräftig im Geschmack der Käse schon ist den man verwendet. Für die Menge der Eier gibt es eine einfache Regel. Pro Person ein Eigelb und pro 2 Personen noch zusätzlich ein ganzes Ei.
Egal ob man die Carbonara mit Speck oder wie ich heute mit Zucchini kocht, das Vorgehen bleibt immer gleich:
Zuerst wird der Speck oder die Zucchini klein geschnitten und in etwas Olivenöl auf kleiner Flamme langsam in der Pfanne ausgelassen. Hierbei ist nur wichtig sich Zeit zu lassen.
Wenn der Speck oder die Zucchini am Brutzeln sind kann ein Topf mit Wasser – 1 l pro 100 g Pasta – für die Pasta aufgesetzt werden.
In der Zwischenzeit den Käse möglichst fein reiben und mit den Eigelb, den Eiern und Pfeffer verrühren bis eine etwas dickerer Masse entsteht. Dann erst einmal bei Seite stellen.
Wenn das Wasser anfängt zu Kochen mit 10 g Salz pro 100 g Pasta salzen und sobald es wieder Kocht die Pasta dazu geben.
Sobald die Pasta al dente ist, abgießen und zu dem Speck oder den Zucchini in die Pfanne geben und ein paarmal umrühren.
Danach die Flamme löschen bzw. die Pfanne vom Herd nehmen und die Ei-Käse-Masse darüber gießen und in der noch warmen Pfanne mehrmals gut umrühren bis eine cremige Soße entstanden ist. Das Ei soll dabei nicht angebraten werden sondern von der Konsistenz her etwa wie ein Rührei oder noch etwas flüssiger bleiben.
Danach nur noch auf einen Teller und mit etwas geriebenen Pecorino oder Parmigiano bestreuen und servieren.
Ich gebe zu, wenn ich in Deutschland bin esse ich gerne Pasta mit Schinkel-Sahne-Soße. Das hat mir schon immer geschmeckt. Es hat nur eben nicht den Namen Carbonara verdient.
Geschmacklich kann man die original italienische und deutsche Variante eigentlich nicht vergleichen. Dafür sind sie zu verschieden. Mir persönlich schmecken sie beide, wobei ich auch hier zugeben muss, dass ich vor ein paar Wochen bei einer Freundin zum Essen eingeladen war als sie eine originale Carbonara mit Guanciale gekocht hat. Dafür würde ich jede Schinken-Sahne-Soße die ich bisher gegessen habe ohne zu zögern stehen lassen. Also von daher, wenn ich die Wahl habe, dann das Original aus Italien.
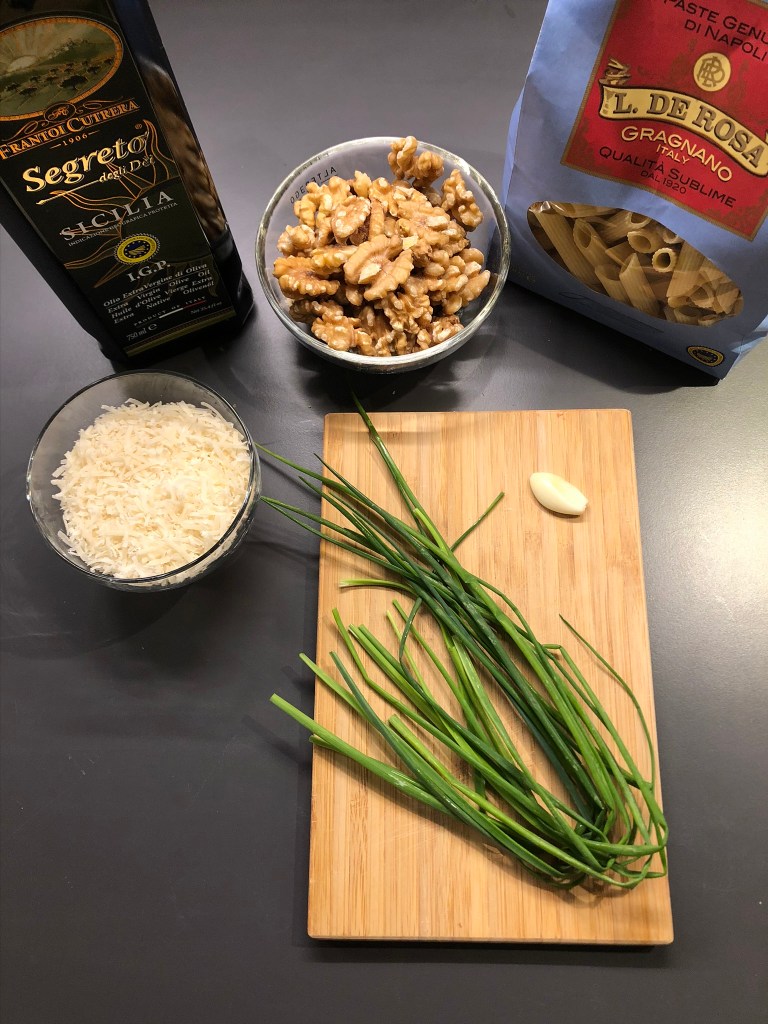
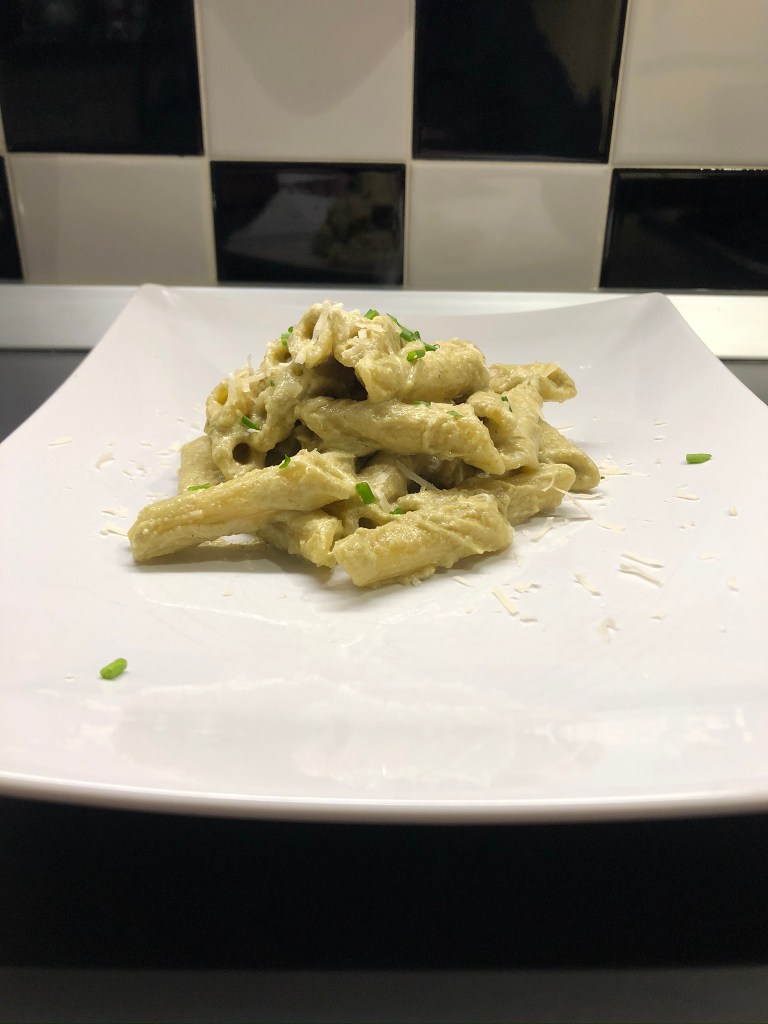
After the experiment with blueberries and rice at the weekend, today I have tried something heartier again. In keeping with the season, I found a sauce based on walnuts with chives and Parmigiano. The recipe is super easy and goes extremely fast … and it’s nearly impossible to do anything wrong.
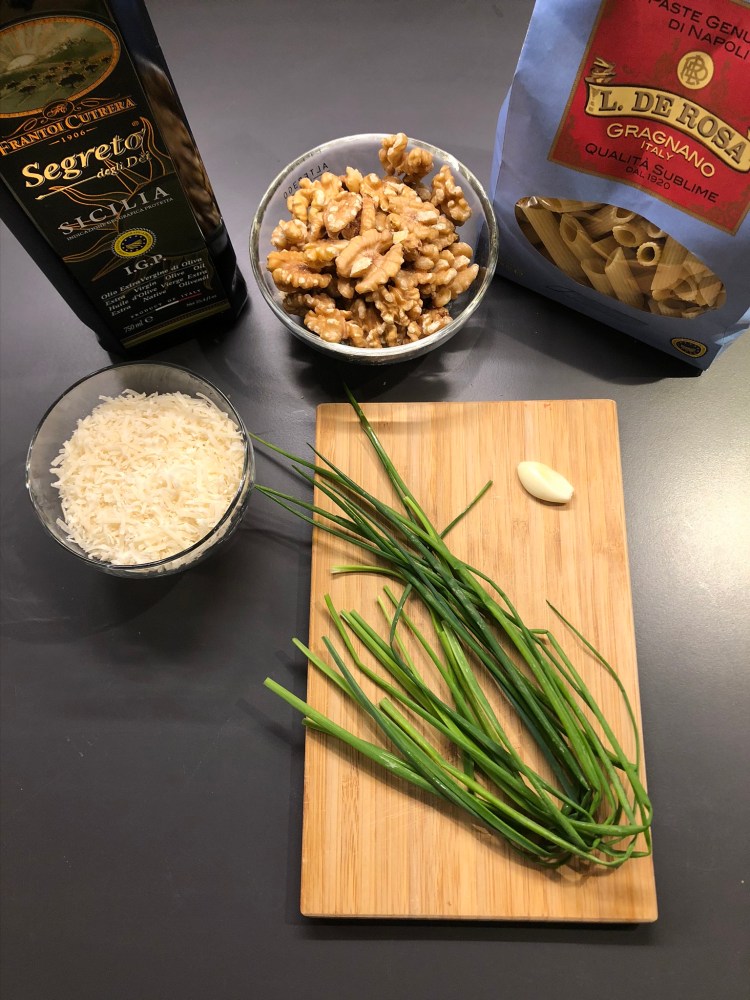
The ingredients for two servings are:
200 g pasta
120 g walnuts
35 g Parmigiano
1/2 glove of garlic
1 bunch of chives
80 ml olive oil
salt and pepper
In addition to the few ingredients, the preparation is very simple:
First, I put a pot of water on for the pasta. As always, add 1 l of water to every 100 g of pasta and when this is boiling add 10 g of salt.
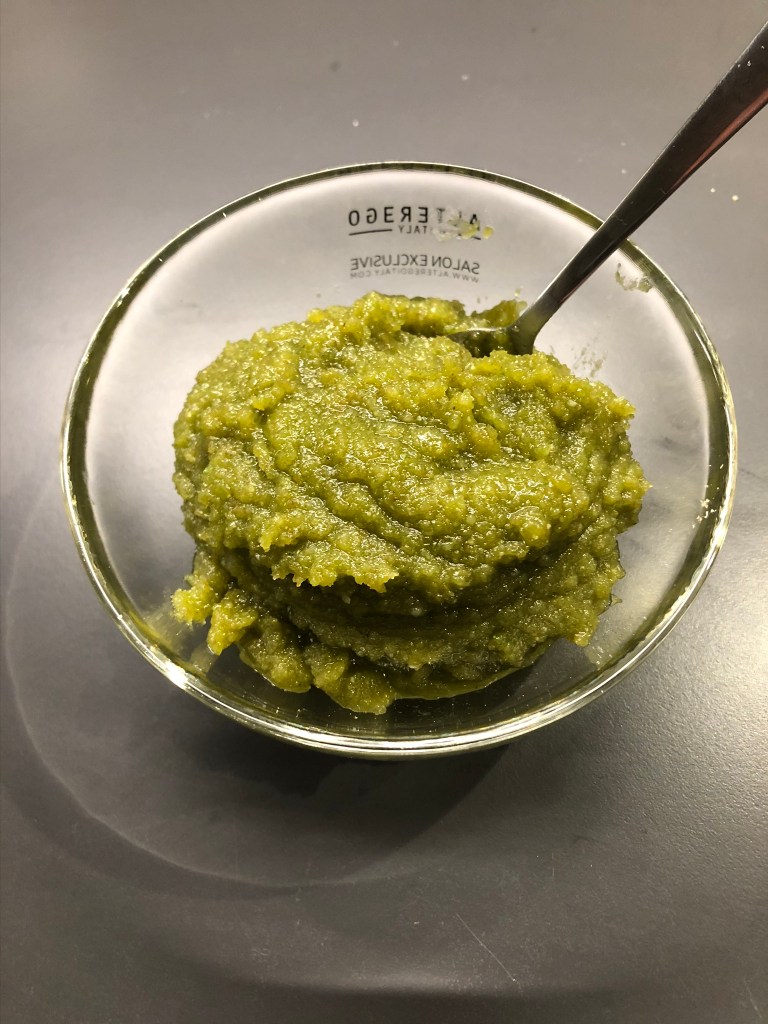
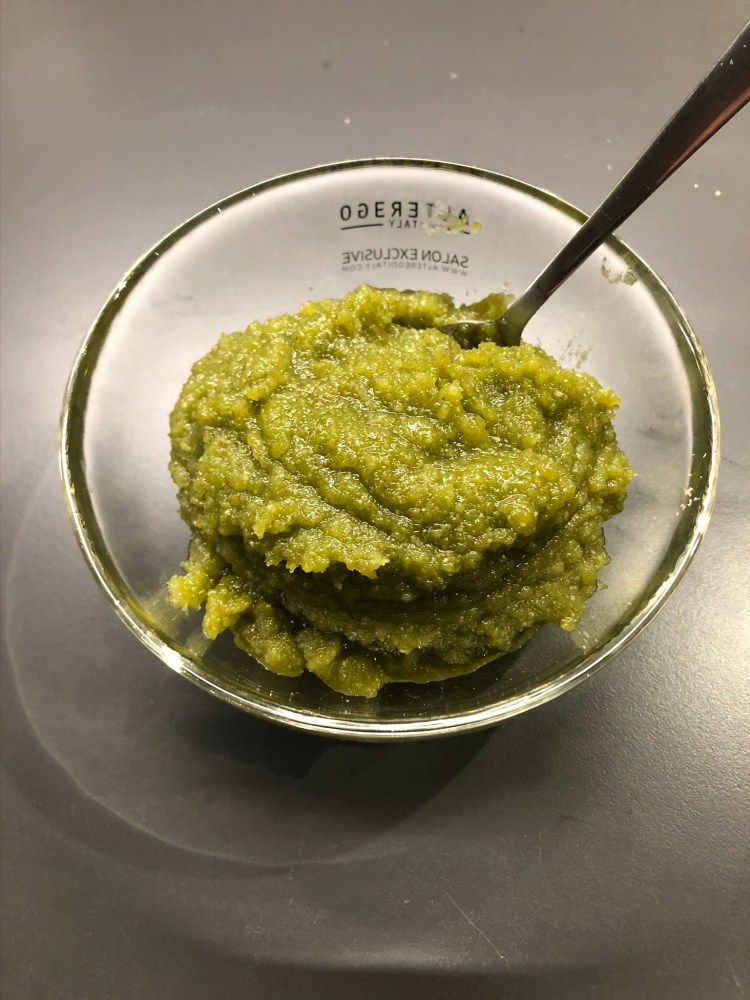
Meanwhile, I rubbed the parmigiano and then pureed all the ingredients with the hand blender and then put it aside.
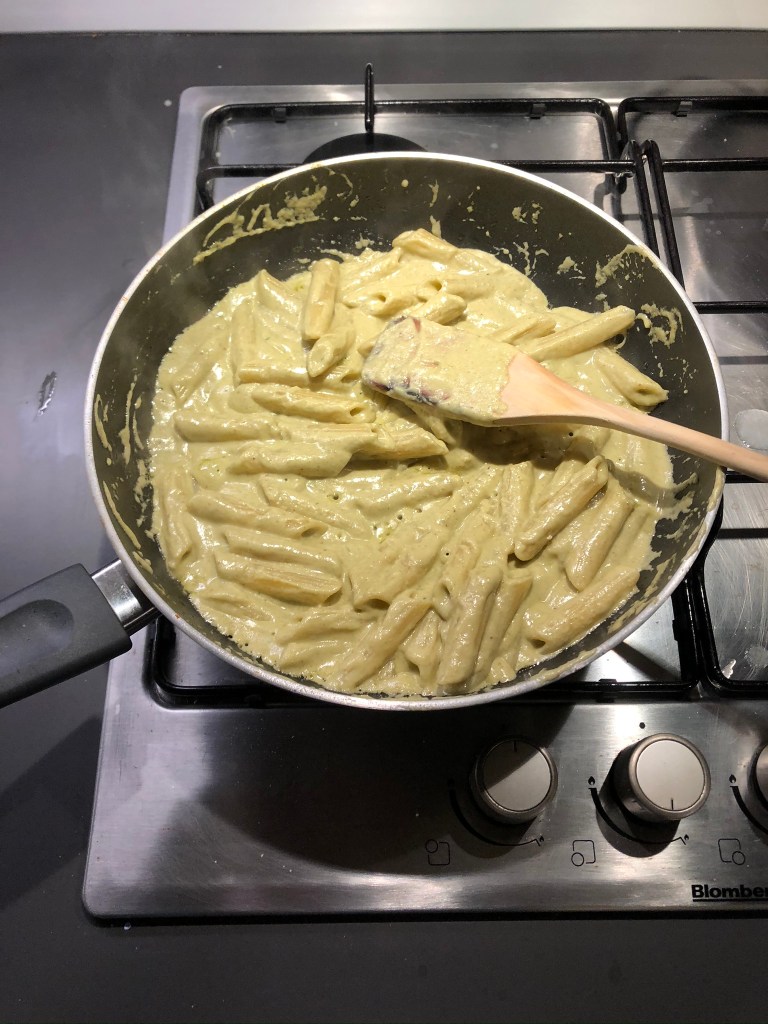
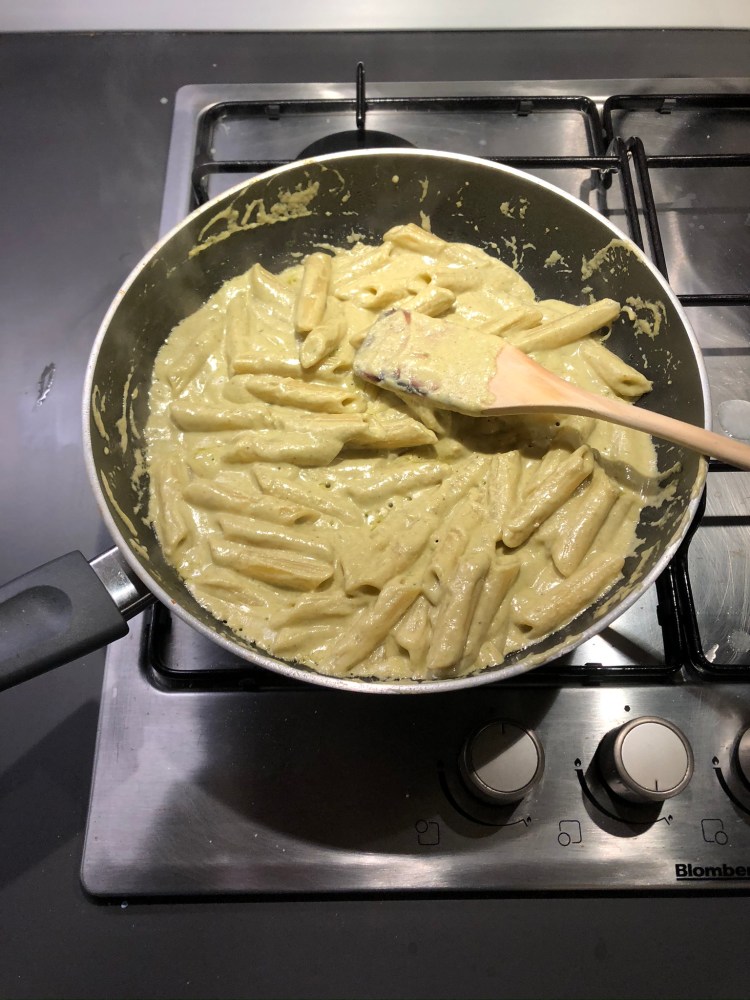
After the water started to boil again after adding the salt, I added the pasta. After about ¾ of the cooking time, I put 1 to 2 ladles of the cooking water together with the pesto in a pan and kept it on a low heat while simmering. Then I poured the pasta and put it into the pan to cook with the sauce. The cooking water I have kept and added portionwise in the pan whenever the sauce was too thick and by the way the sauce still tasted with a little pepper.
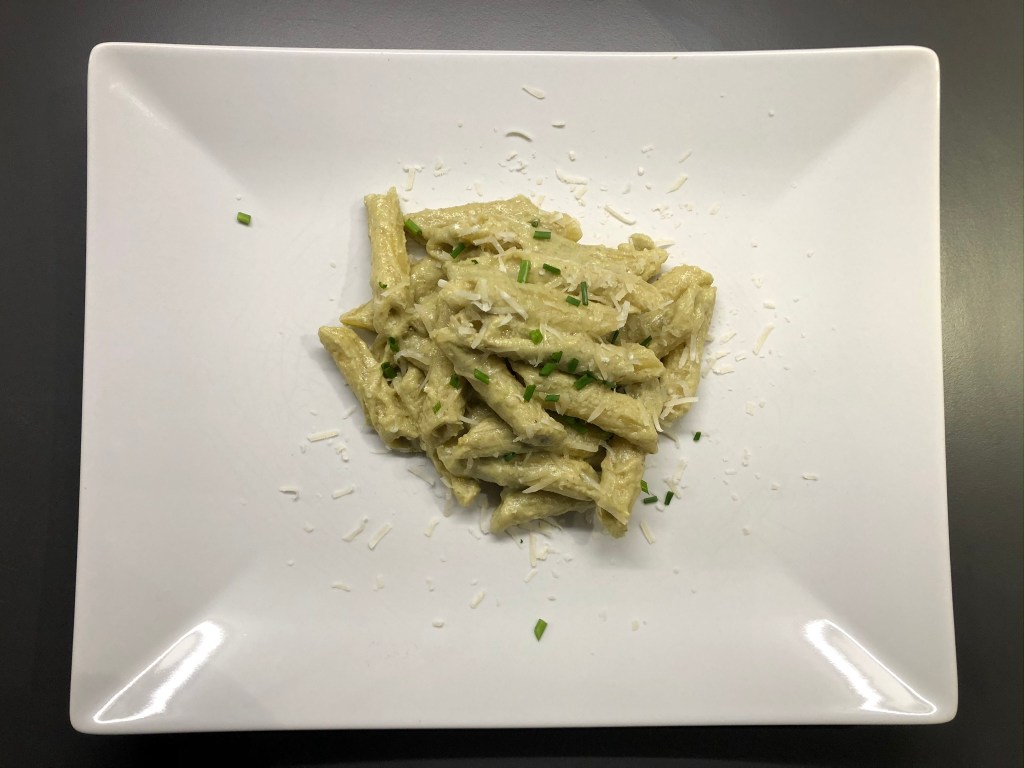
Once the pasta was al dente, I took the pan off the stove and put the pasta on a plate. Some grated Parmigiano and chives over it and done.
At the beginning, I was a bit skeptical, as it first looked like a lot of walnuts and chives. But neither the walnuts nor the chives have dominated the taste too much. I could taste both very fine without one of them too much in the foreground. Together with the easy and quick cooking, it is worth to do it more often.
Pasta con salsa di noci all’erba cipollina
Nach dem Experiment mit Heidelbeeren und Reis habe ich mich heute mal wieder an etwas herzhafterem Versucht. Passend zur Jahreszeit habe ich ein Soße auf Basis von Walnüssen mit Schnittlauch und Parmigiano gefunden. Das Rezept ist super einfach und geht auch extrem schnell…und man quasi nichts verkehrt machen.
Die Zutaten für zwei Personen sind:
200 g Pasta
120 g Walnusskerne
35 g Parmigiano
1/2 Knoblauchzehe
1 Bund Schnittlauch
80 ml Olivenöl
Salz und Pfeffer
Neben den wenigen Zutaten ist auch die Zubereitung sehr einfach:
Zuerst habe ich einen Topf mit Wasser für die Pasta aufgesetzt. Wie immer, pro 100 g Pasta 2 l Wasser und sobald dieses Kocht 10 g Salz dazu.
Währenddessen habe ich den Parmigiano gerieben und dann alle Zutaten zusammen mit dem Stabmixer püriert und dann beiseite gestellt.
Nachdem das Wasser nach dem hinzufügen von dem Salz wieder zu Kochen begonnen hatte habe ich die Pasta reingegeben. Nach etwa ¾ der Kochzeit habe ich 1 bis 2 Schöpfkellen des Kochwassers zusammen mit dem Pesto in eine Pfanne gegeben und auf kleiner Flamme am Köcheln gehalten. Dann habe ich die Pasta abgegossen und zum fertig Kochen zur Soße in die Pfanne gegeben. Das Kochwasser habe ich aufbewahrt und portionsweise in die Pfanne gegeben wenn die Soße zu dick wurde und nebenbei die Soße noch mit ein wenig Pfeffer abgeschmeckt.
Sobald die Pasta al dente war habe ich die Pfanne vom Herd genommen und die Pasta auf einen Teller getan. Noch etwas geriebenen Parmigiano und Schnittlauch drüber und fertig.
Am Anfang war ich ein bisschen Skeptisch, da es mir zuerst nach sehr viel Walnüssen und Schnittlauch ausgesehen hat. Aber weder die Walnüsse noch der Schnittlauch haben den Geschmack zu sehr dominiert. Ich konnte beides sehr fein herausschmecken ohne das sich eines davon zu sehr in den Vordergrund gedrängt hätte. Zusammen mit dem einfachen und schnellen Zubereiten werde ich das sicher öfters Kochen.
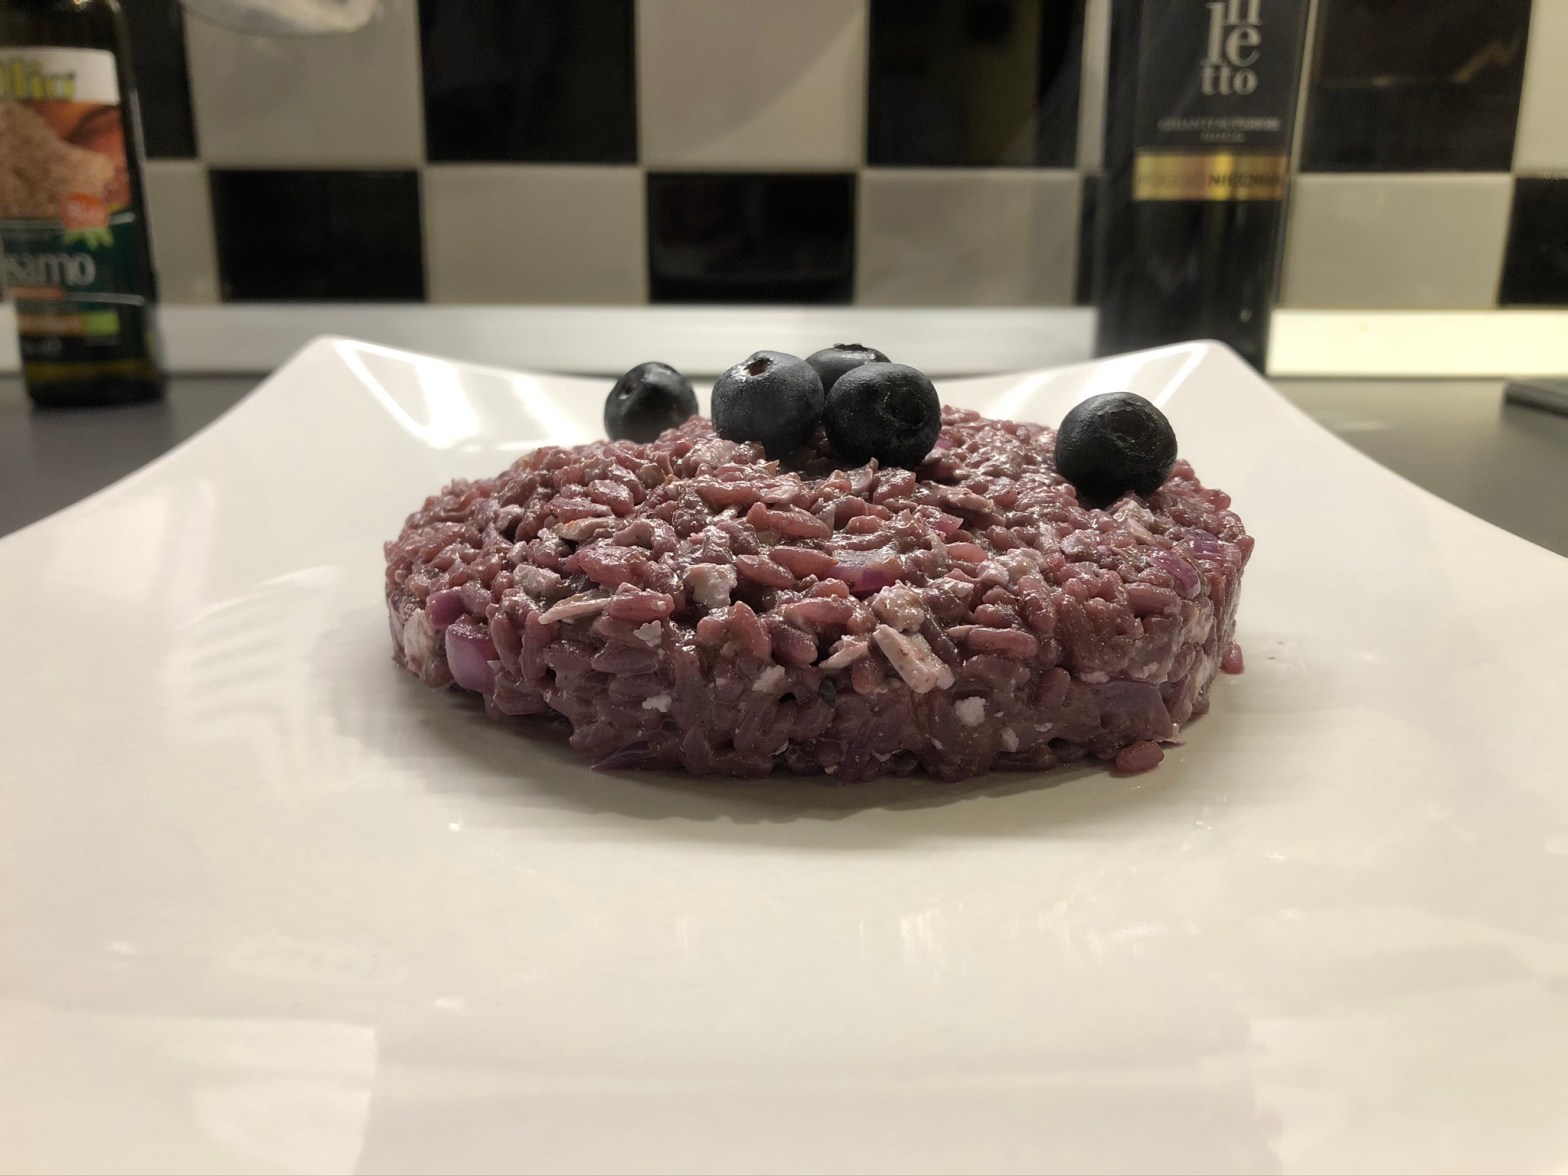
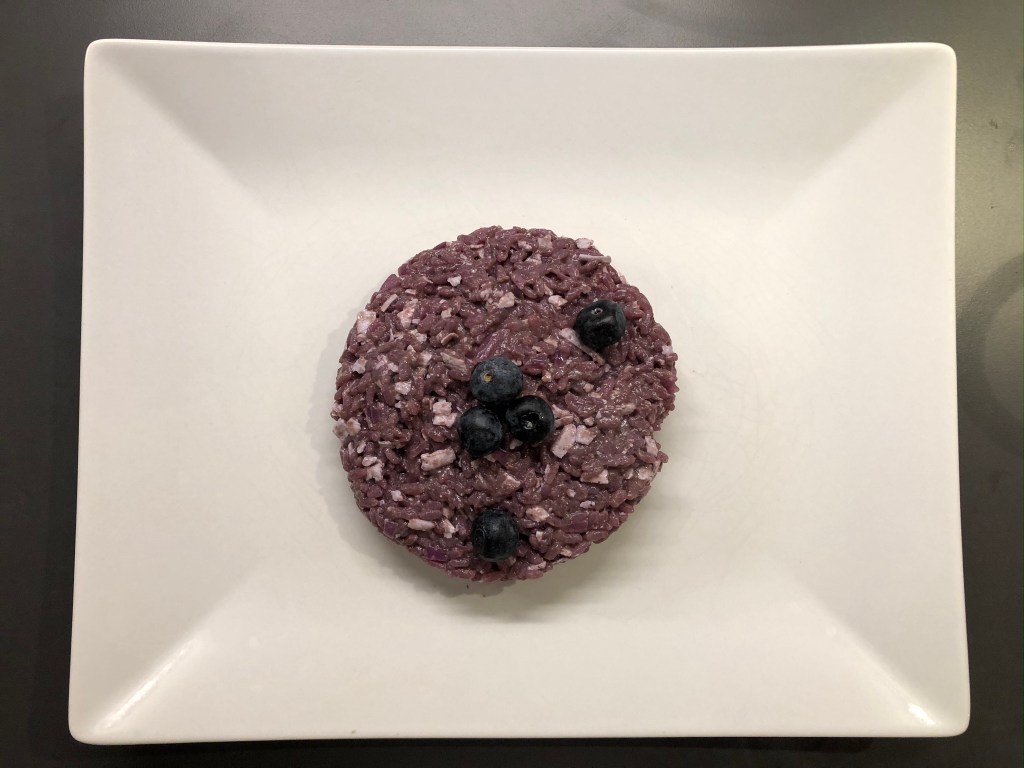
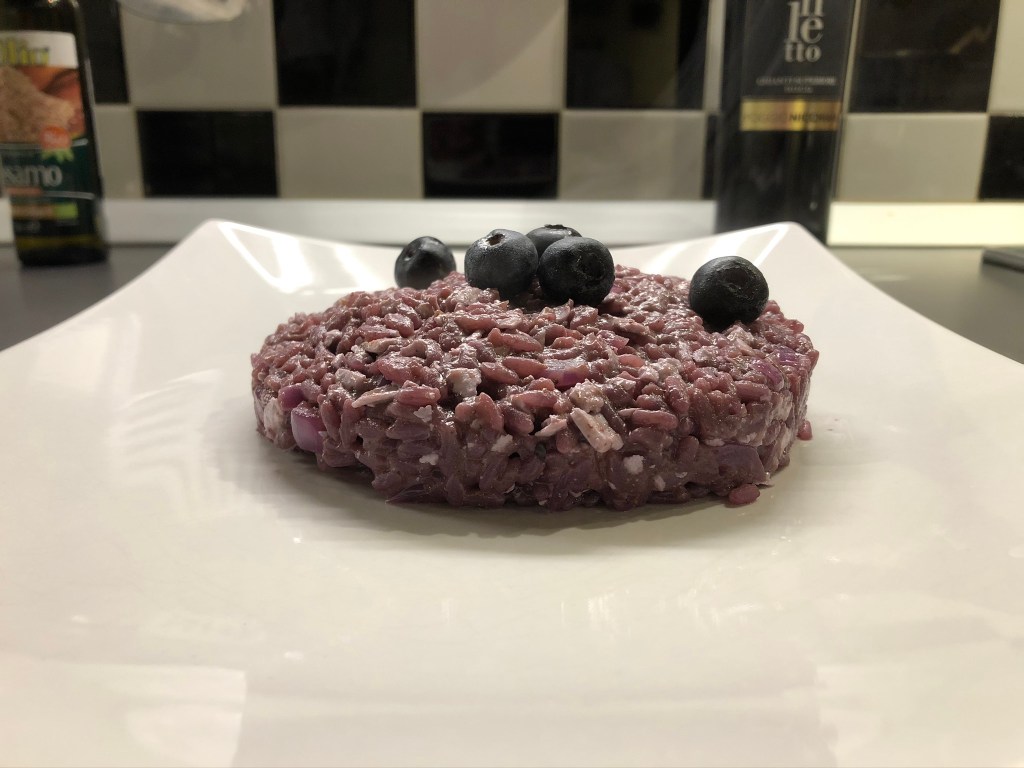
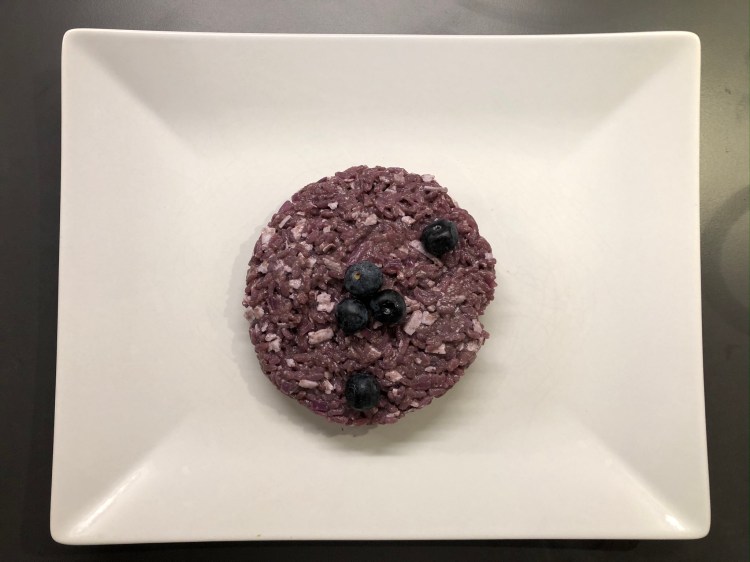
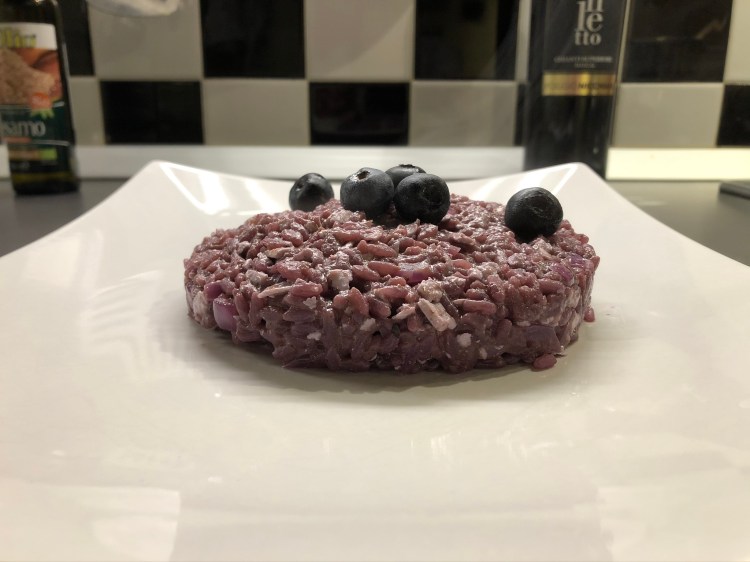
Yesterday I tried a risotto for the second time. I do not know why, but again with fruits. This time I chose Riso ai mirtilli, rice with blueberries. Maybe just because it looked delicious in the picture.
Where this recipe comes from I can not say exactly. As blueberries are cultivated in Italy in the north, I think that it comes more from northern Italy. In any case, there are quite a few variations of it and one also contains a certain cheese from northern Italy.
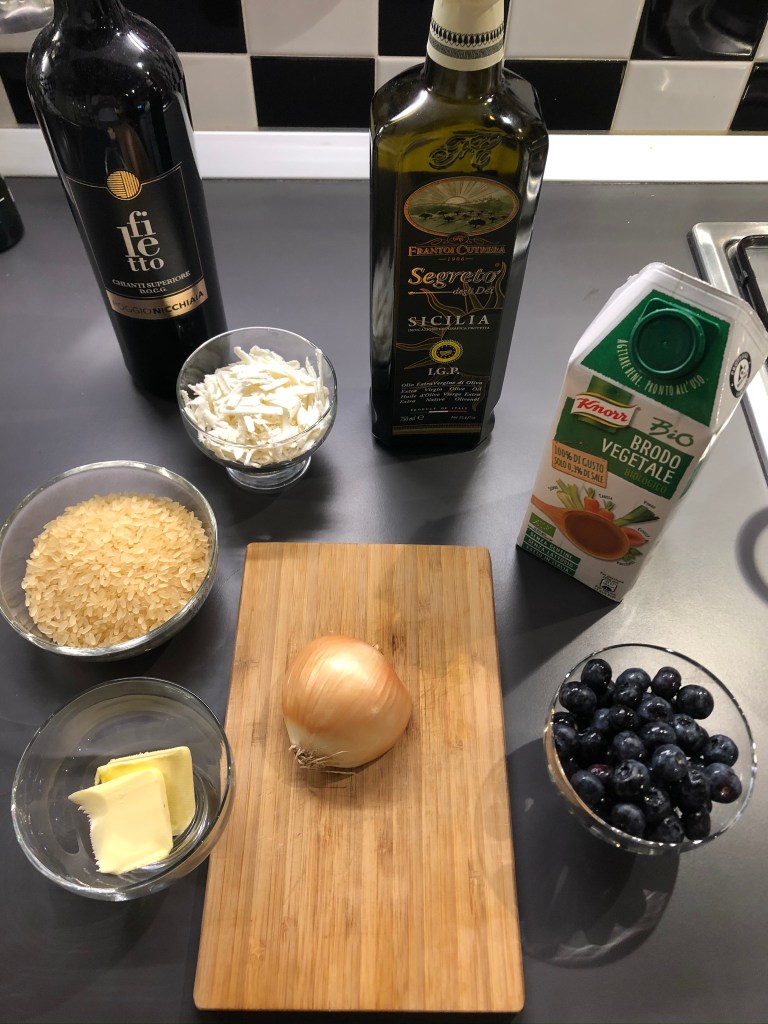
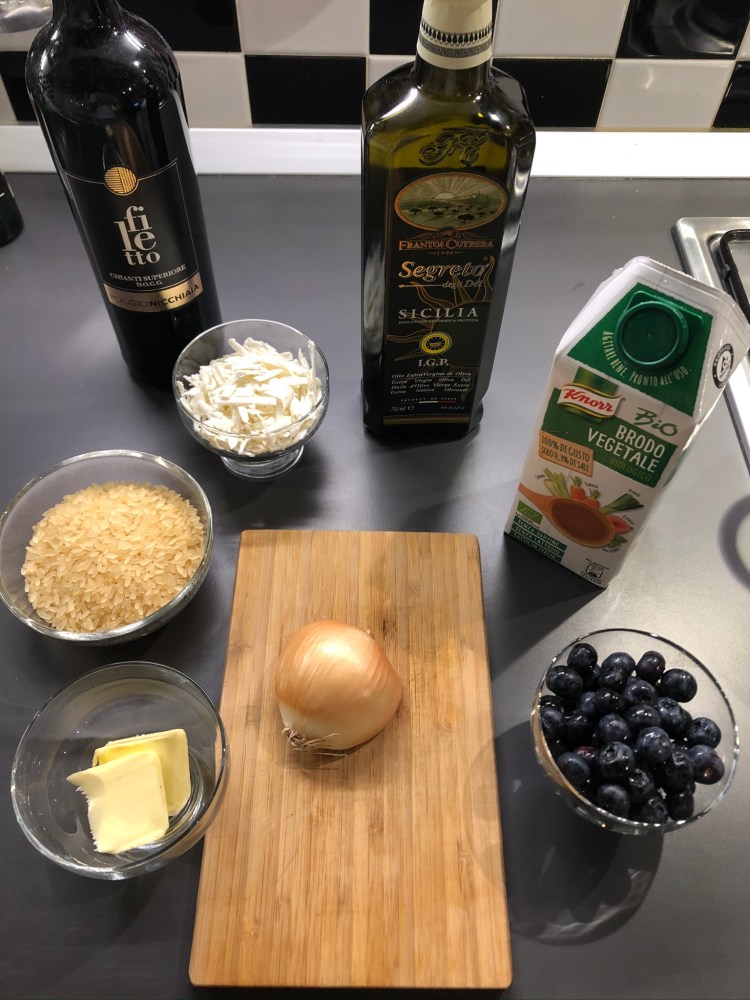
The ingredients for two servings I’ve used are:
125 g blueberries
160 g rice
1/2 onion
100 ml Chianti (red wine)
50 g ricotta salata
500 ml vegetable broth
butter
Other wine may be used as well, in some sources it was only pointed out that it should be a fruity red wine. Actually, a cheese called Taleggio should be used, but unfortunately I did not get it and the ricotta was still in my fridge. That’s why I used it for this.
The preparation is again typical of a risotto:
However, I first mashed half of the blueberries and cut the onion very finely.
Before lightly sweating the rice with butter I roasted the rice first in the pot with a little salt on a low flame. You can see very well how the rice slowly turns brownish. After 2-3 minutes I then added the butter and the chopped onion. At the same time I brought the vegetable broth to a boil in another pot.
After the butter had melted, I immediately added the wine and waited until it was cooked.
Afterwards, as always with a Risotto, I did the simmering vegetable broth to the rice in portions with a ladle. During this, I always stirred the rice. It is important to never add too much broth to the rice at once. After about 10 minutes, I then added the pureed and non-pureed blueberries. As soon as the rice was al dente, a small piece of butter and the grated ricotta were added. The ricotta salata has already ripened a few weeks and is a bit harder, so unfortunately he did not mix well. After that stirring again for e few moments and ready.
The taste is difficult to describe. It was tasty. But I could not say that it was particularly fruity or tasted of blueberries.
To be honest, the time for blueberries is also more likely from May to August, maybe it would have been better with fresh blueberries from the market. The risotto all’arancia definitely tasted much better, but maybe I have to give it another chance in summer. The next risotto will definitely be heartier, even here in Italy it will be winter, so no fruit!
Riso ai mirtilli
Gestern habe ich zum zweiten Mal ein Risotto versucht. Ich weiß nicht warum, aber schon wieder mit Früchten. Dieses Mal habe ich mich für Riso ai mirtilli, also Reis mit Heidelbeeren entschieden. Vielleicht einfach weil es auf dem Bild ganz lecker aussah.
Woher dieses Rezept stammt kann ich nicht genau sagen. Da Heidelbeeren in Italien eher im Norden angebaut werden, denke ich dass es auch eher aus Norditalien stammt. Es gibt jedenfalls ziemlich viele Abwandlungen davon und in einer ist auch ein bestimmter Käse aus Norditalien enthalten.
Die Zutaten für zwei Personen die ich verwendet habe sind:
125 g Heidelbeeren
160 g Reis
1/2 Zwiebel
100 ml Chianti
50 g Ricotta salata
500 ml Gemüsebrühe
Butter Salz
Es kann auch anderer Wein genommen werden, in einigen Quellen wurde lediglich darauf hingewiesen dass es ein fruchtiger Rotwein sein sollte. Eigentlich sollte auch ein Käse namens Taleggio verwendet werden, diesen hatte ich aber leider nicht bekommen und der Ricotta war noch in meinem Kühlschrank. Daher habe ich diesen dafür genutzt.
Die Zubereitung ist wieder typisch für ein Risotto:
Allerdings habe ich zuerst die Hälfte der Heidelbeeren püriert und die Zwiebel sehr fein geschnitten.
Vor dem leichten anschwitzen des Reises mit Butter habe ich den Reis zuerst im Topf mit etwas Salz auf kleiner Flamme geröstet. Man sieht dabei sehr gut wie der Reis sich langsam bräunlich verfärbt. Nach 2-3 Minuten habe ich dann die Butter und die gehackte Zwiebel dazu getan. Parallel dazu habe ich in einem anderen Topf die Gemüsebrühe zum Köcheln gebracht.
Nachdem die Butter geschmolzen war habe ich sofort den Wein dazugegeben und gewartet bis dieser verkocht war.
Im Anschluss daran, wie immer bei einem Risotto, portionsweise mit einer Schöpfkelle von der köchelnden Gemüsebrühe zu dem Reis gegeben. Den Reis habe ich dabei ständig gerührt. Es ist wichtig, dass man nie zu viel Brühe auf einmal zu dem Reis gibt. Nach etwa 10 Minuten habe ich dann die pürierten und nicht pürierten Heidelbeeren mit dazu gegeben. Sobald der Reis al dente war kam nochmal ein kleines Stück Butter und der geriebene Ricotta dazu. Der Ricotta salata ist schon ein paar Wochen gereift und etwas härter, daher hat er sich leider nicht gut vermischt. Danach noch einmal alles gut umgerührt und fertig.
Der Geschmack ist schwer zu beschreiben. Es hat durchaus geschmeckt. Ich könnte jetzt aber nicht sagen, dass es besonders fruchtig oder nach Heidelbeeren geschmeckt hat.
Um ehrlich zu sein, ist die Zeit für Heidelbeeren auch eher von Mai bis August, vielleicht wäre es mit frischen Heidelbeeren vom Markt besser geworden. Das Risotto all’arancia hat mir auf jeden Fall deutlich besser geschmeckt, aber vielleicht muss ich dem hier im Sommer noch einmal eine Chance geben. Das nächste Risotto wird auf jeden Fall etwas Herzhafter, selbst hier in Italien wird es Winter und so langsam kälter, also Schluss mit Früchten!
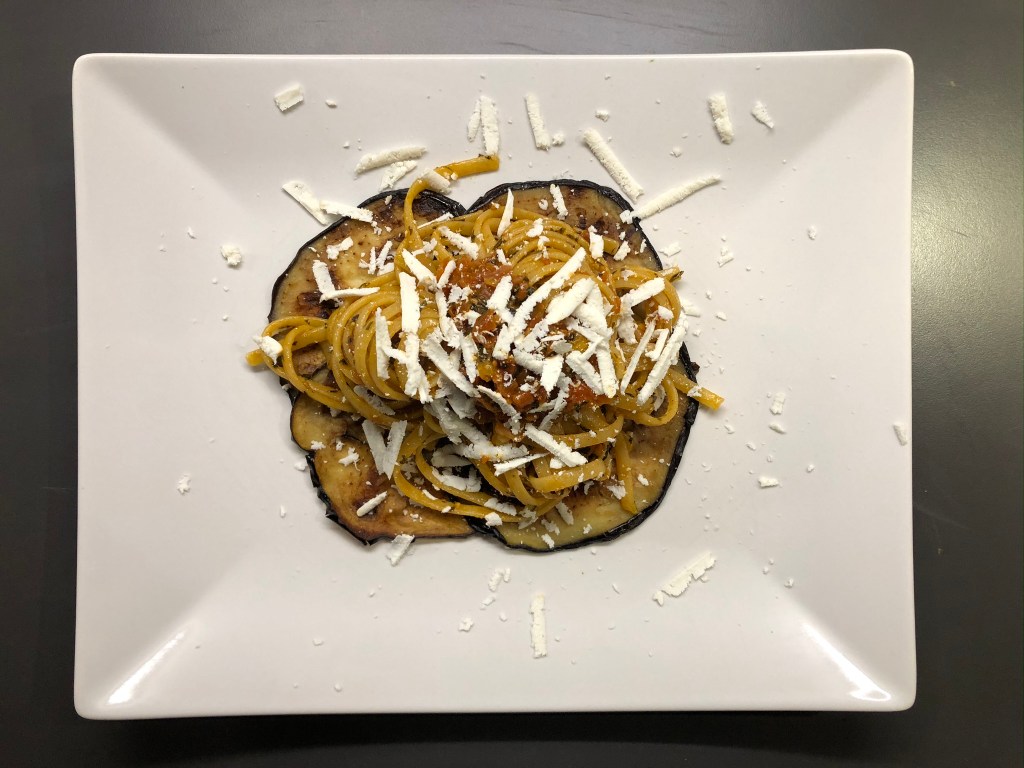
So, after I have not cooked anything with tomatoes for a long time, it was time today. This time again I found a nice dish in the south of Italy. More specificly in Sicily. As it is almost typical for the south, this means something had to be fried. Within the linguine alla norma this was the associated eggplants. At home in Germany, eggplants are heavily neglected as vegetables. So right away I can not think of any dish that contains eggplant. They have never really been on my shopping list. I first got to know and love them here in Italy. In the meantime they became one of my favorite vegetables and fortunately they are one of the main ingredients of a pasta alla norma.
Linguine or general pasta alla norma in generel comes from Sicily where there are again several variants of origin. Personally, I prefer the simpler story of the origin. Norma means normal or standard in Italian and the ingredients are just about the standard ingredients for a variety of dishes from Sicily. For me, this explanation of the name fits quite well because it also reflects the simplicity of cooking incredibly delicious food here in Italy.
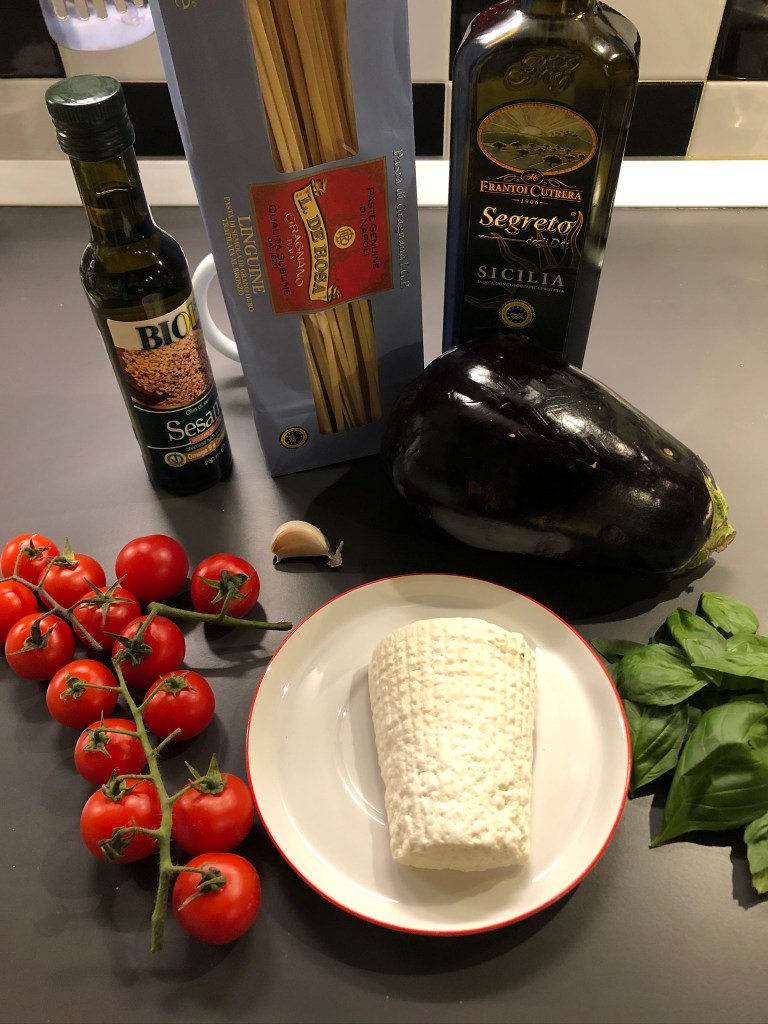
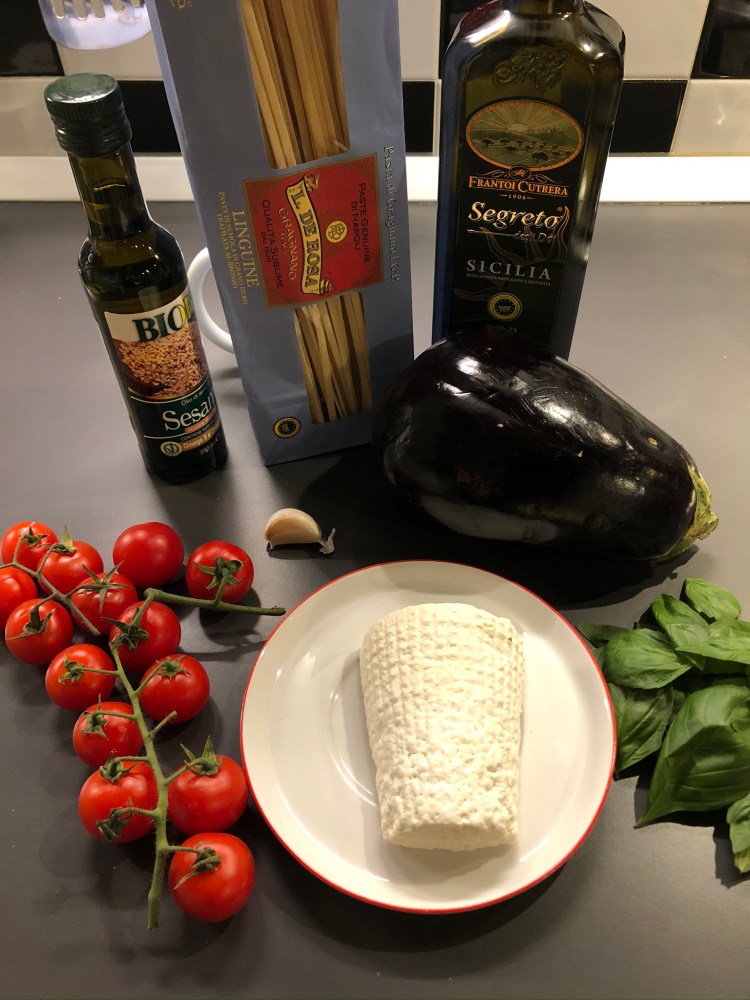
The ingredients for two servings are:
500 g tomatoes
200 g linguini (pasta)
200 g eggplant
sesame oil
olive oil
1 bunch of basil
1 glove of garlic
ricotta salata
salt
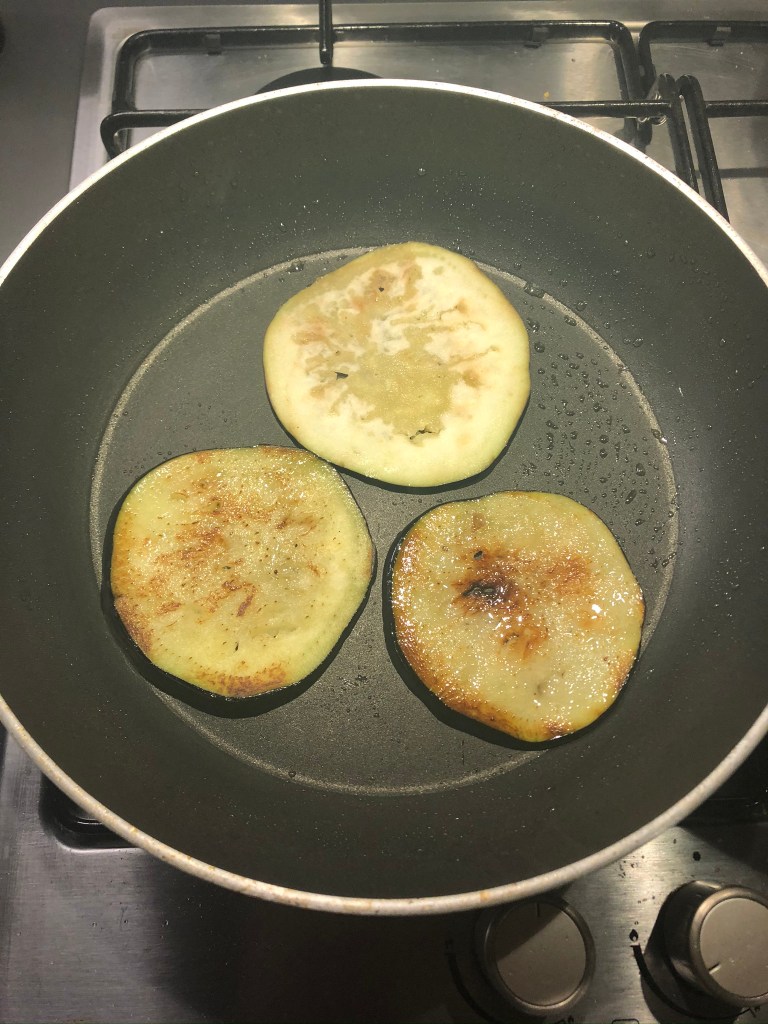
First, I cutted the eggplant into thin slices, not thicker than 5mm and then fried in plenty of sesame oil in a pan. You really need a lot of oil as the eggplants absorb the oil like a sponge. I then put the fried aubergine slices on paper towels to absorb the excess fat and then put them on a baking sheet in the oven to keep them warm.
Then I cutted the tomatoes on one side and for a few moments put them in boiling water to make peeling easier.
After the tomatoes were pealed, I heated 2 – 3 spoons of olive oil in a pan and sautéed the garlic clove until it turned slightly brown all around and then removed it again.
In the next step, I put the smashed tomatoes and the chopped basil in the pan and started cooking.
At the same time I put in a pot the water (1l per 100g of pasta) and only salted (10g per 100g of pasta) after it has started to boil.
Whenever there was too little liquid in the pan, I added a little of the cooking water to the pan.
After the pasta was almost al dente, I added a large amount of cooking water to the tomato sauce in the pan, drained the linguini and then put them into the pan to finish cooking al dente.
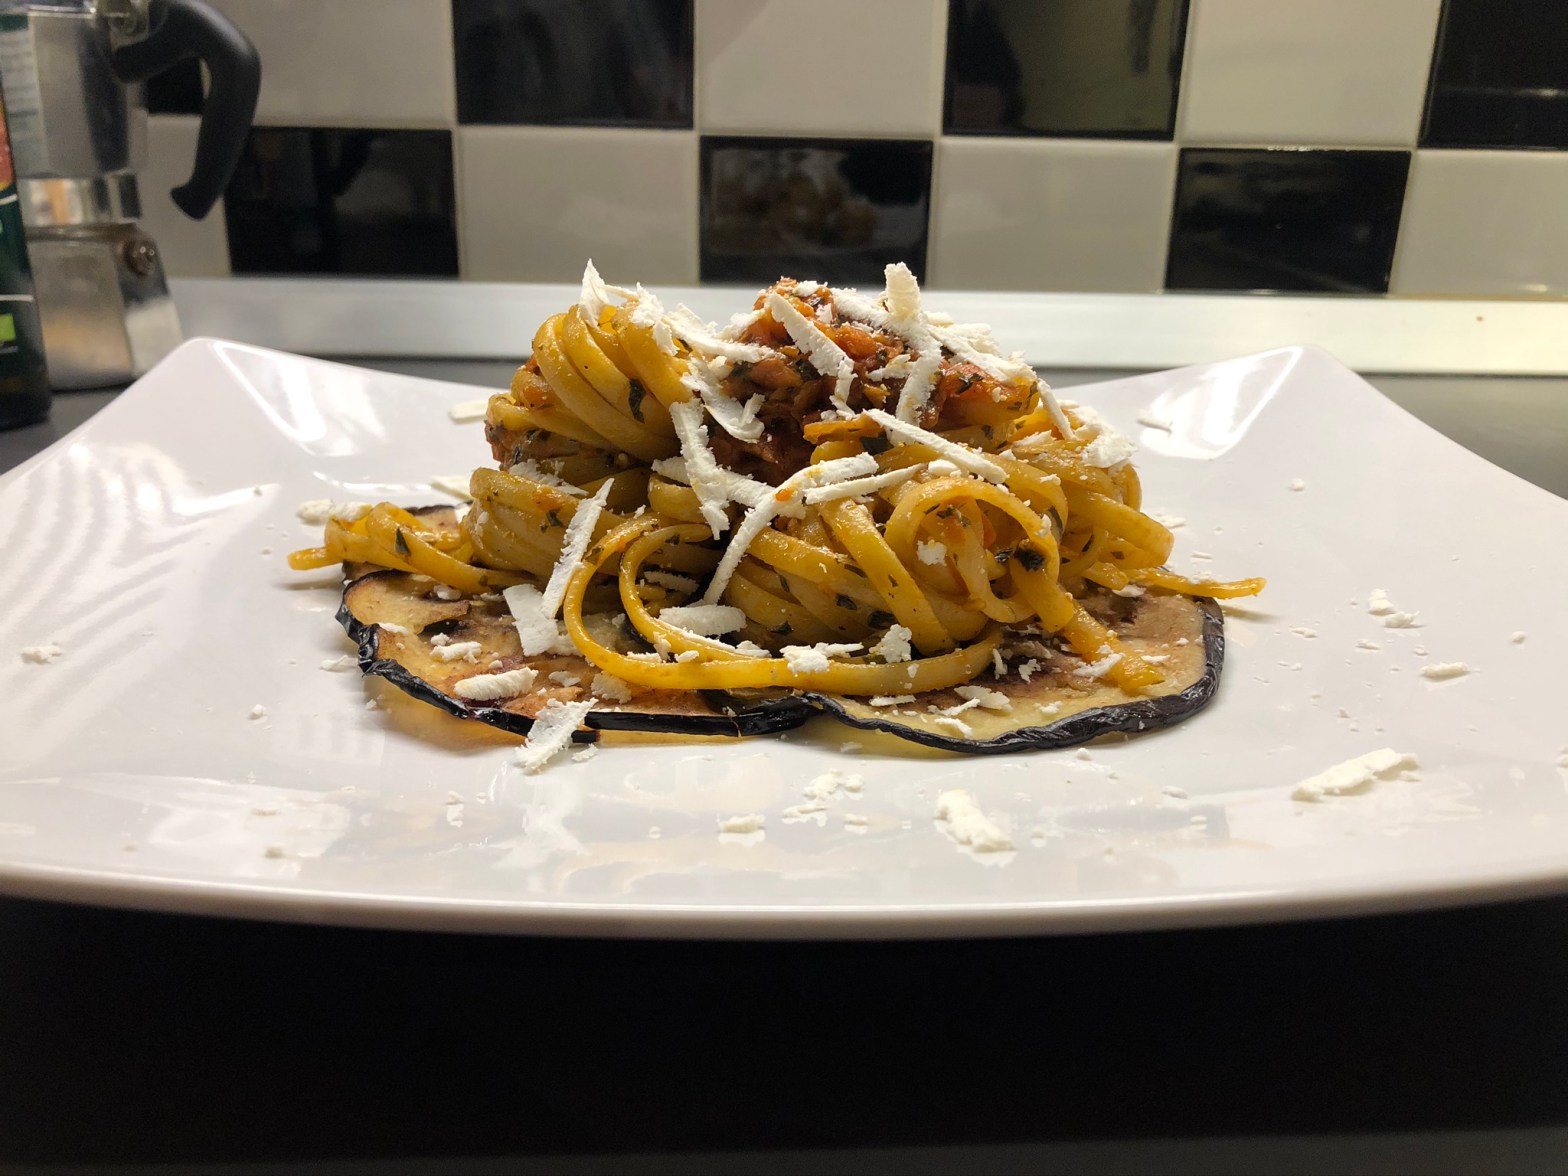
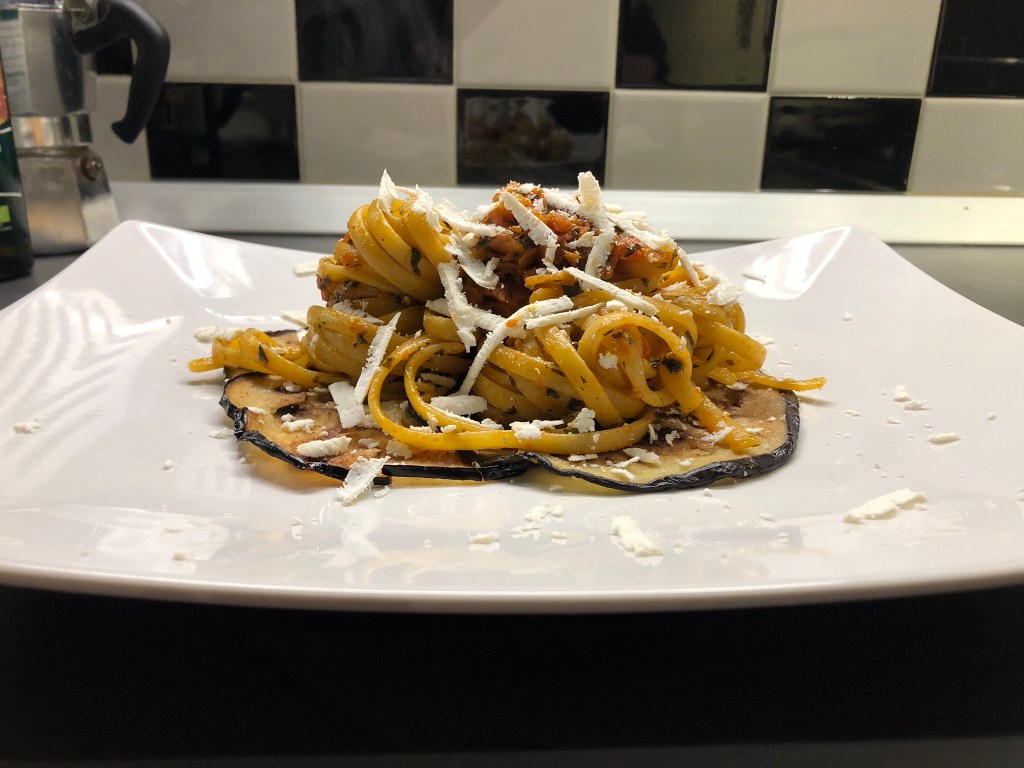
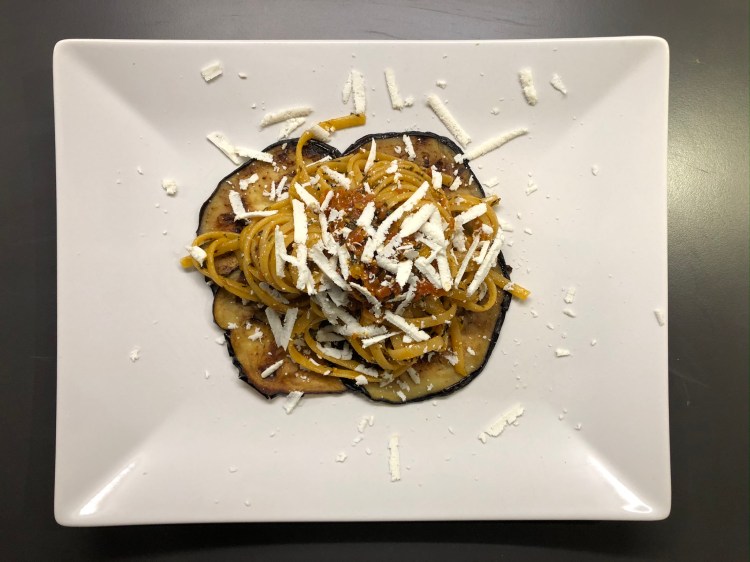
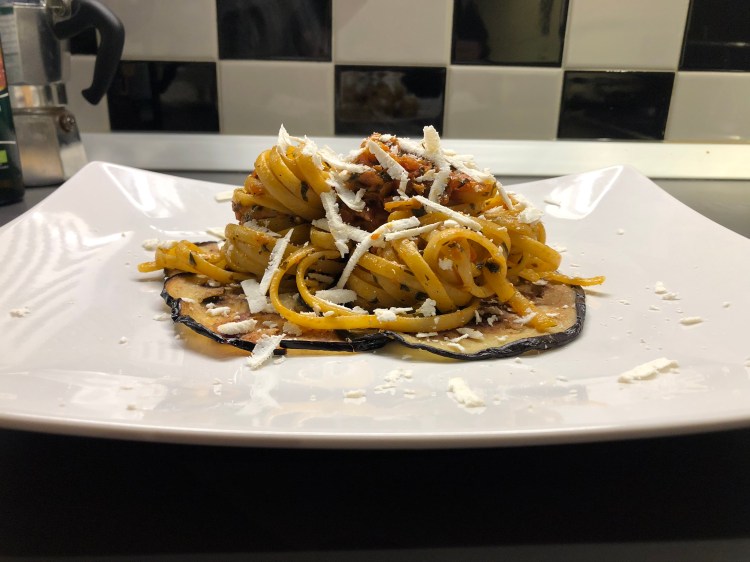
After the pasta in the pan was al dente, I put the fried eggplant slices on a plate and put the pasta on top. Then a spoonful of the tomato sugo on top and finally Ricotta salata with a coarse grater rubbed over it. Ricotta salata is a few weeks ripened and therefore slightly harder and salty ricotta. But you can also use some ripened pecorino.
By the separate deep-frying the taste of the eggplants shows up here clearly better and is not so much superimposed by the tomatoes and the basil, which I liked personally very much. It would be a lie if I not telling to have eaten one or two slices of eggplant just after frying.
Of course you can also cook the pasta in the pot al dente and then combine with the sauce. The procedure as I did it is always a bit difficult to find the right moment and the right amount of water. I prefer if the pasta has spent a few minutes together with the sauce in the pan.
Linguine alla norma
So, nachdem ich schon fast lange nichts mehr mit Tomaten gekocht habe wurde es heute mal wider Zeit. Dieses Mal bin ich wieder im Süden Italiens fündig geworden. Besser gesagt auf Sizilien. Wie es für den Süden schon fast typisch ist bedeutet das irgendetwas frittiert werden muss. Bei den Linguine alla Norma sind das die zugehörigen Auberginen. Zuhause in Deutschland werden Auberginen als Gemüse stark vernachlässigt. So auf Anhieb fällt mir kein Gericht ein bei dem Auberginen enthalten sind. Sie standen bisher auch nie wirklich auf meiner Einkaufsliste. Ich habe sie erst hier in Italien kennen und lieben gelernt. Dafür gehören sie mittlerweile schon zu meinen Lieblingsgemüsen und bei einer Pasta alla norma sind sie zum Glück ein Hauptbestandteil.
Linguine oder allgemeiner Pasta alla norma stammt aus Sizilien wo es wieder mehrere Varianten des Ursprungs gibt. Ich persönlich favorisiere die einfachere Geschichte zu der Herkunft. Norma bedeutet auf Italienisch Normal oder Standard und die Zutaten sind eben gewissermaßen die Standardzutaten für eine Vielzahl von Gerichten aus Sizilien. Für mich passt diese Erklärung des Namens daher ganz gut weil sie auch wieder die Einfachheit wiederspiegelt mit dem hier in Italien unglaublich leckeres Essen gekocht wird.
Es braucht wieder nur (für 2 Personen):
500 g Tomaten
200 g Linguine
200 g Aubergine
Olivenöl
Sesamöl
1 Bund Basilikum
1 Knoblauchzehe
Salz
Zuerst habe ich die Aubergine in dünne Scheiben geschnitten, nicht dicker als 5mm und sie dann in reichlich Sesamöl in einer Pfanne frittiert. Man benötigt wirklich sehr viel Öl da die Auberginen das Öl wie ein Schwamm aufsaugen. Die frittierten Auberginenscheiben habe ich dann auf Küchenpapier gelegt um das überschüssige Fett aufzusaugen und anschließend auf einem Backblech in den Ofen geschoben um sie warm zu halten.
Danach habe ich die Tomaten an einer Seite eingeschnitten und für wenige Augenblicke in kochendes Wasser gegeben um sie leichter Schälen zu können.
Nach dem die Tomaten vorbereitet waren habe ich in einer Pfanne 2 – 3 Esslöffel Olivenöl erhitzt und die Knoblauchzehe darin angebraten bis sie rundherum leicht braun wurde und sie danach auch schon wieder herausgenommen.
Im nächsten Schritt habe ich dann die zerdrückten Tomaten und den gehackten Basilikum in die Pfanne getan und angefangen einzukochen. Zeitgleich habe ich in einem Topf das Nudelwasser aufgestellt (1l pro 100g Pasta) und es erst gesalzen (10g pro 100g Pasta) nachdem es angefangen hat zu Kochen.
Immer wenn in der Pfanne zu wenig Flüssigkeit war habe ich ein wenig von dem Kochwasser in die Pfanne gegeben.
Nachdem die Pasta fast al dente war habe ich eine größere Menge von dem Kochwasser zur Tomatensoße in die Pfanne gegeben, die Linguine abgetropft und dann ebenfalls in die Pfanne zum fertigkochen gegeben.
Nachdem die Pasta in der Pfanna al dente war habe ich die frittierten Auberginenscheiben auf einen Teller gelegt und die Pasta darauf gesetzt. Dann noch einen Löffel von dem Tomatensugo darauf und zum Schluss Ricotta salata mit einer groben Reibe darüber gerieben. Ricotta salata ist ein wenige Wochen gereifter und daher etwas härterer und salziger Ricotta. Man kann hierfür aber auch gereiften Pecorino verwenden.
Durch das getrennte frittieren kommt der Geschmack der Auberginen hier deutlich besser zur Geltung und wird nicht so sehr von den Tomaten und dem Basilikum überlagert, was mir persönlich sehr gefallen hat. Es wäre gelogen wenn nicht behaupten würde nicht in ein oder zwei Scheiben der Auberginen nach dem frittieren einfach so gegessen zu haben.
Natürlich kann man die Pasta auch im Topf al dente kochen und erst dann mit der Soße vereinen. Bei der Prozedur wie ich es getan habe ist es immer ein bisschen schwierig den richtigen Moment und die richtige Menge Wasser zu treffen. Im Ergebnis finde ich es aber besser wenn die Pasta ein paar Minuten zusammen mit der Soße in der Pfann verbracht hat.
This morning I had breakfast with a friend first and then did some shopping for next week. In Italy it is common for most shops to be open on Sundays. By the time I got home, it was a little later and I wanted to cook something that was, well, fast and easy.
The really simplest that is there is pesto alla genovese.
The traditional pesto was first documented in the mid-19th century in the Liguria region. But it is still much older and goes back – probably – to a herbal sauce from the time of the Romans. It is a very good example that it does not need many ingredients to create an indescribable taste. The original uses only fresh basil, olive oil, garlic, Parmigiano and Pecorino. If necessary, some salt and I usually even leave the salt away, depending on how much ripened the Pecorino is that I use.
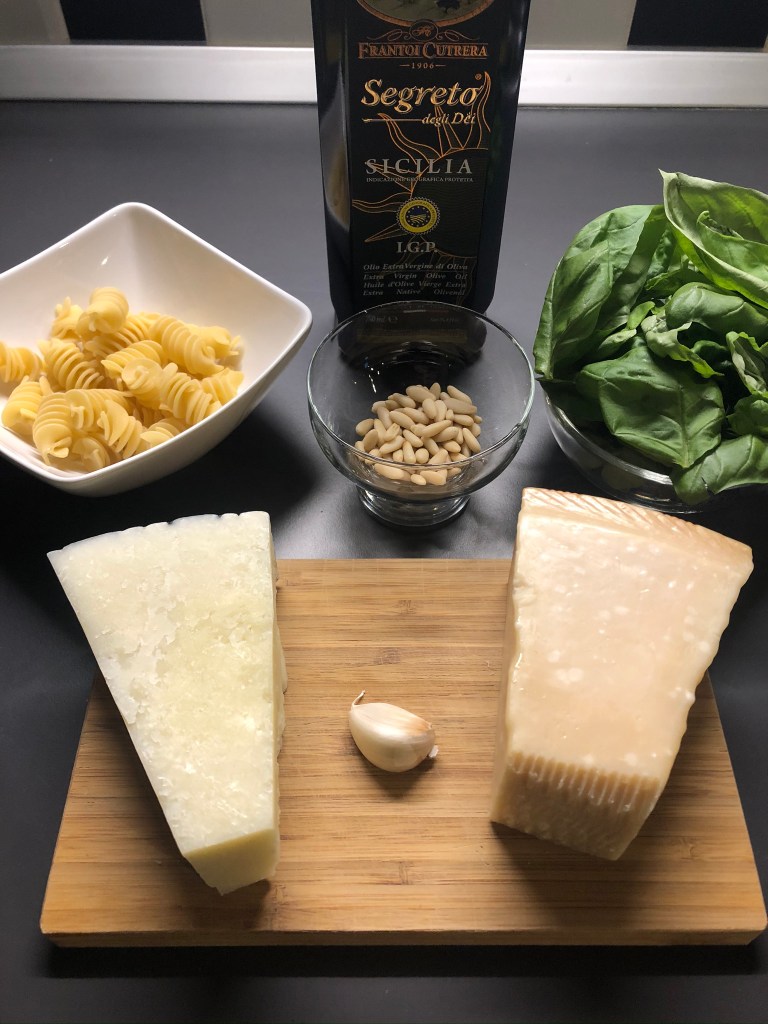
So, the list of ingredients is very manageable:
1 bunch of fresh basil
100 ml olive oil (good quality)
20 g pine nuts
1 clove of garlic
20 g Parmigiano
20 g Pecorino
The cheese should be ripened and hard. Of course, this is always true in principle, but here in particular: the olive oil must be of very good quality and the basil must be very fresh. A good olive oil can actually be easily tested. It must not be too oily on the fingers. Even if it is called an oil, rubbing it between two fingers should feel like water rather than oil. If you smell it it should have an intense smell of fresh grass. If you taste it and swallowed it should have on the palate a slight hot taste similar to pepper.
The preparation itself is then actually quite simple.
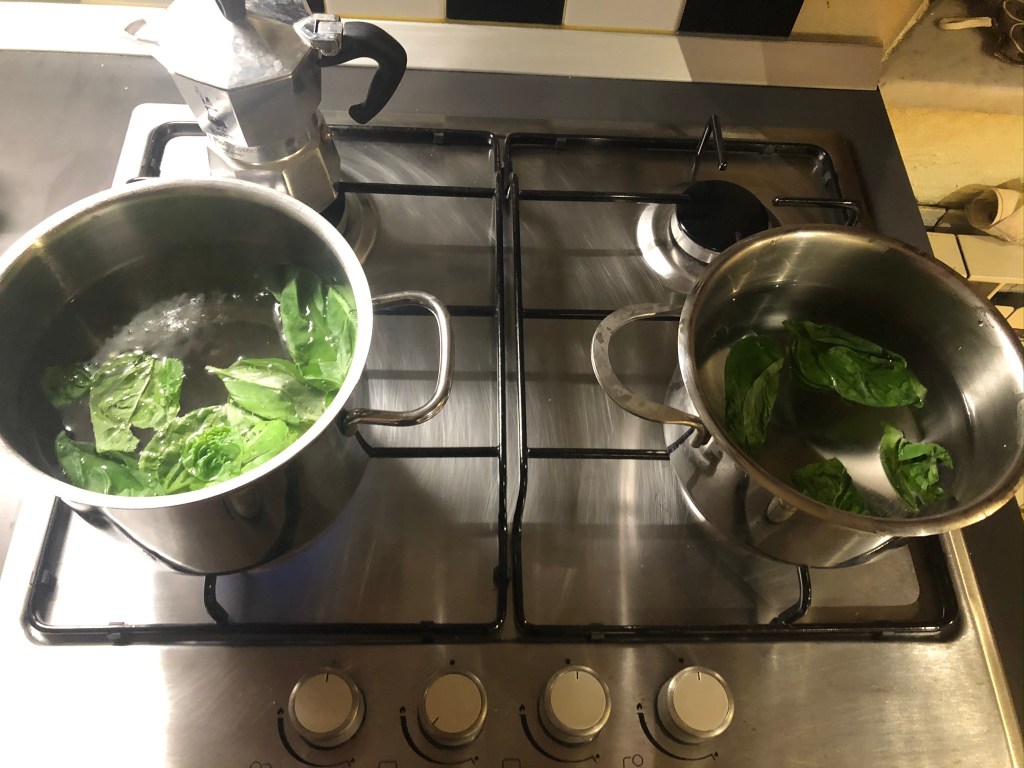
I first dipped the basil leaves in a pot of boiling and salted water and then quenched in ice water.
Then I rubbed the Parmigiano and Pecorino and then put all the ingredients together in a beaker and mashed well with the hand blender. If you want – some people swear by it – you can also crush all the ingredients in a mortar. To be honest, that would have taken me too long and I have no mortar. If you want to do that, you should not put all the basil all at once in the mortar, but gradually. It is claimed that by slowly pounding in a mortar, the taste of basil is even better.
At the same time I cooked the pasta al dente and then took two or three spoons of the water of the pasta to stretch the pesto and stir it smoothly. Due to the starch in the water that the pasta has given off, this results in a very creamy pesto. That’s why I usually leave the salt on the pesto itself, since enough salt is already contained in the cooking water.
The best of pesto alla genovese is that it is really fast, but the taste is indescribably delicious as well. It just tastes great fresh after basil and olive oil and is really nothing compared to what you can find in a supermarket shelf. I could actually eat it everyday but I have a few other recipes on my to-cook list.
Pesto alla genovese
Heute Morgen war ich erstmal mit einem Freund frühstücken und habe danach ein paar Einkäufe für nächste Woche erledigt. In Italien ist es üblich, dass die meisten Geschäfte sonntags geöffnet sind. Bis ich dann wieder zu Hause war, war es schon etwas später und ich wollte etwas Kochen das, naja, schnell und einfach ist.
Das wirklich so ziemlich einfachste das es gibt ist Pesto alla genovese.
Das traditionelle Pesto wurde erstmals Mitte des 19. Jahrhunderts in der Region Ligurien dokumentiert. Es ist aber noch viel älter und geht – wahrscheinlich – auf eine Kräutersoße aus der Zeit der Römer zurück. Es ist ein sehr gutes Beispiel, dass es nicht vieler Zutaten benötigt um einen Unbeschreiblichen Geschmack zu erzeugen. Im Original wird lediglich frischer Basilikum, Olivenöl, Knoblauch, Parmigiano und Pecorino verwendet. Bei bedarf noch etwas Salz wobei ich selbst den Salz meistens weg lasse, je nachdem wie sehr gereift der Pecorino ist den ich verwende.
Die Zutatenliste ist sehr überschaubar:
1 Bund frischer Basilikum
1 Knoblauchzehe
100 ml Olivenöl von guter Qualität
20 g Pinienkerne
20 g Parmigiano
20 g Pecorino
Der Käse sollte gereift also hart sein. Prinzipiell gilt das natürlich immer, aber hier ganz besonders: das Olivenöl muss von sehr guter Qualität sein und der Basilikum muss sehr frisch sein. Ein gutes Olivenöl kann man eigentlich ganz einfach erkennen. Es darf an den Fingern nicht zu ölig sein. Auch wenn es Olivenöl heißt sollte es sich beim Reiben zwischen zwei Fingern eher wie Wasser anfühlen als wie Öl. Wenn man daran riecht sollte es einen intensiven Geruch nach frischem Gras haben. Wenn man es kostet und herunterschluckt sollte es am Gaumen eine leichte Schärfe ähnlich zu Pfeffer aufweisen.
Die Zubereitung selbst ist dann eigentlich ganz einfach.
Ich habe zuerst die Basilikumblätter in einem Topf mit kochendem und gesalzenem Wasser getaucht und danach in Eiswasser abgeschreckt.
Danach habe ich den Parmigiano und den Pecorino gerieben und dann alle Zutaten zusammen in einen Becher getan und mit dem Stabmixer gut püriert. Wenn man will – machen Leute schwören darauf – kann man auch alle Zutaten in einem Mörser zerstoßen. Um ehrlich zu sein, das hätte mir zu lange gedauert und ich habe auch keinen Mörser. Wenn man das tun will, sollte man nicht den ganzen Basilikum auf einmal in den Mörser tun, sondern nach und nach. Es wird behauptet, dass durch das langsame Zerstoßen in einem Mörser der Geschmack des Basilikums noch besser zur Geltung kommt.
Parallel dazu habe ich die Pasta al dente gekocht und dann zwei, drei Löffel von dem Wasser der Pasta genommen um des Pesto etwas strecken und glatt zu rühren. Durch die Stärke im Wasser, dass die Pasta abgegeben hat entsteht dann ein sehr cremiges Pesto. Darum lasse ich den Salz am Pesto selbst auch meist weg, da im Kochwasser schon genug Salz enthalten ist.
Das Schöne an pesto alla genovese ist, dass es wirklich sehr schnell geht, der Geschmack aber unbeschreiblich lecker ist. Es schmeckt einfach super frisch nach Basilikum und Olivenöl und ist wirklich mit nichts zu vergleichen was man in einem Supermarktregal finden kann. Ich könnte es eigentlich jeden Tag essen aber ich habe noch ein paar andere Rezepte auf meiner To-Cook-Liste stehen.
Last night I was invited to a friend’s dinner. She occasionally organizes a dinner for tourists at her home. In addition, she still invites a few friends for company. It is then cooked together – of course Italian – good wine drunk and much told and laughed. This time, she not only invited me but also asked if I could bring a dessert for the dinner. Well, in my new apartment I quickly found four books of Italian desserts. Which of chocolate, which you can eat by hand, those that you need a spoon for, cake and and and … So I leafed through it until I found something that I’ve often seen in my favorite cake shop and always wanted to try – to eat, not to do it myself!
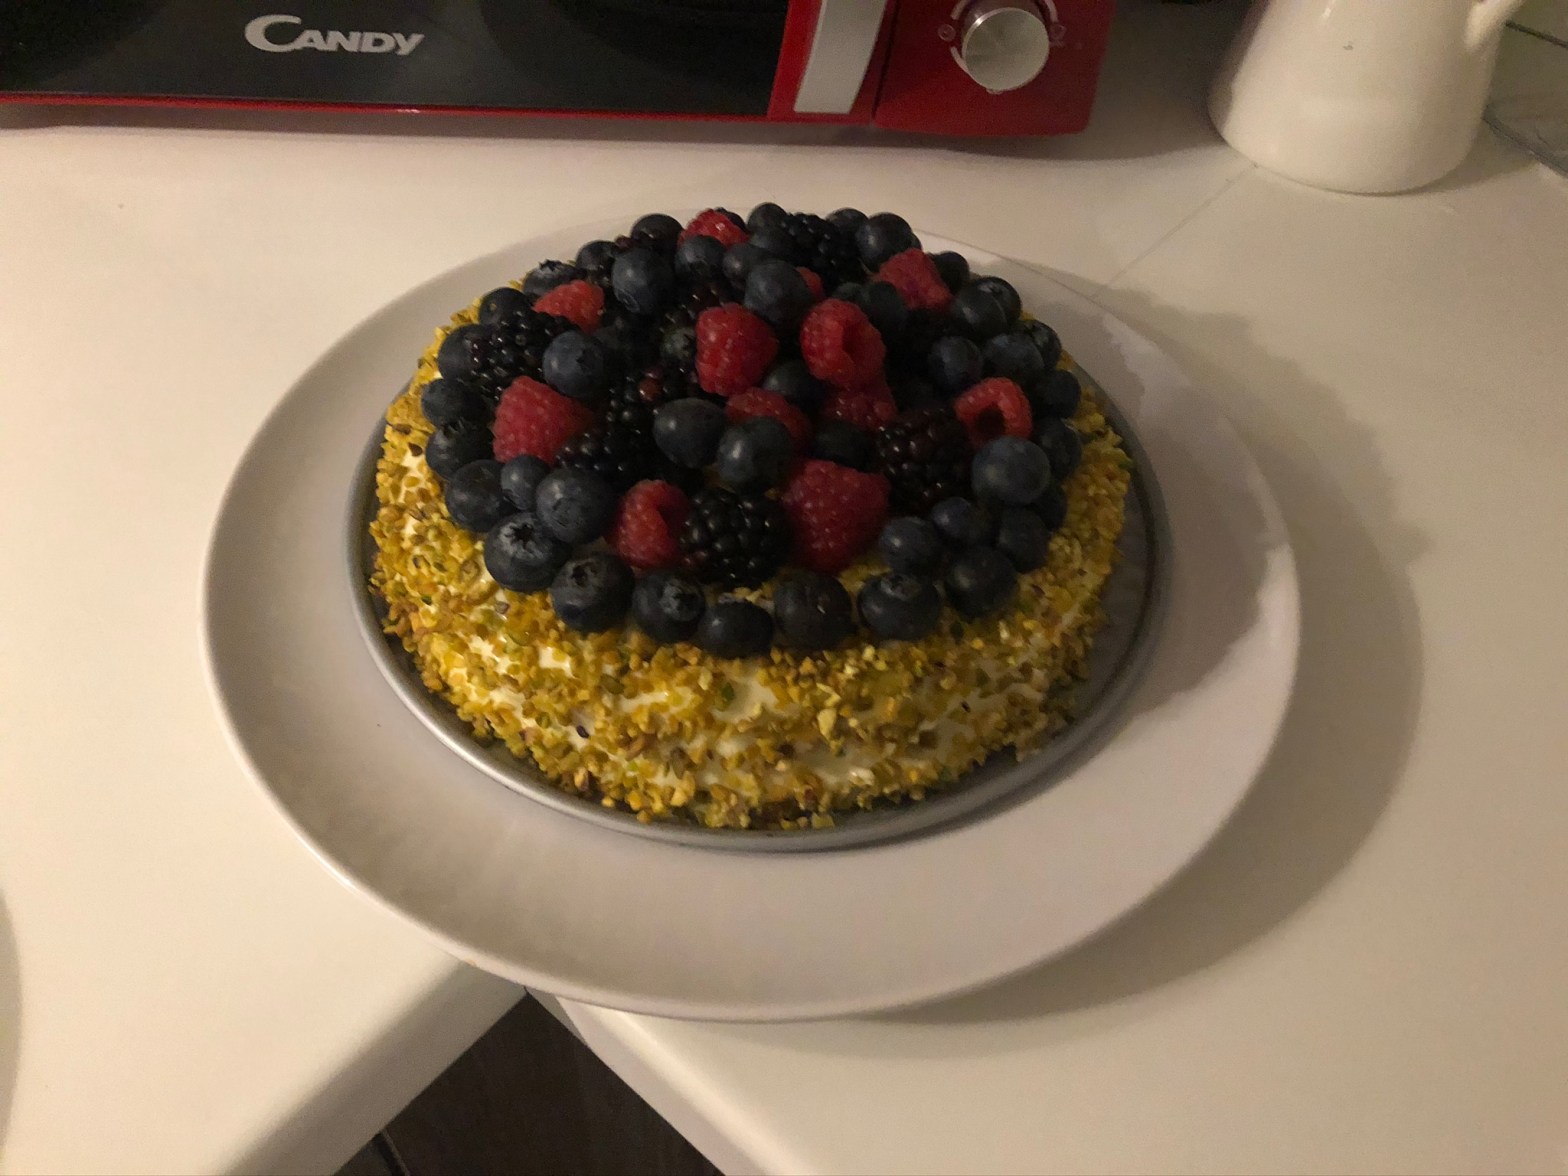
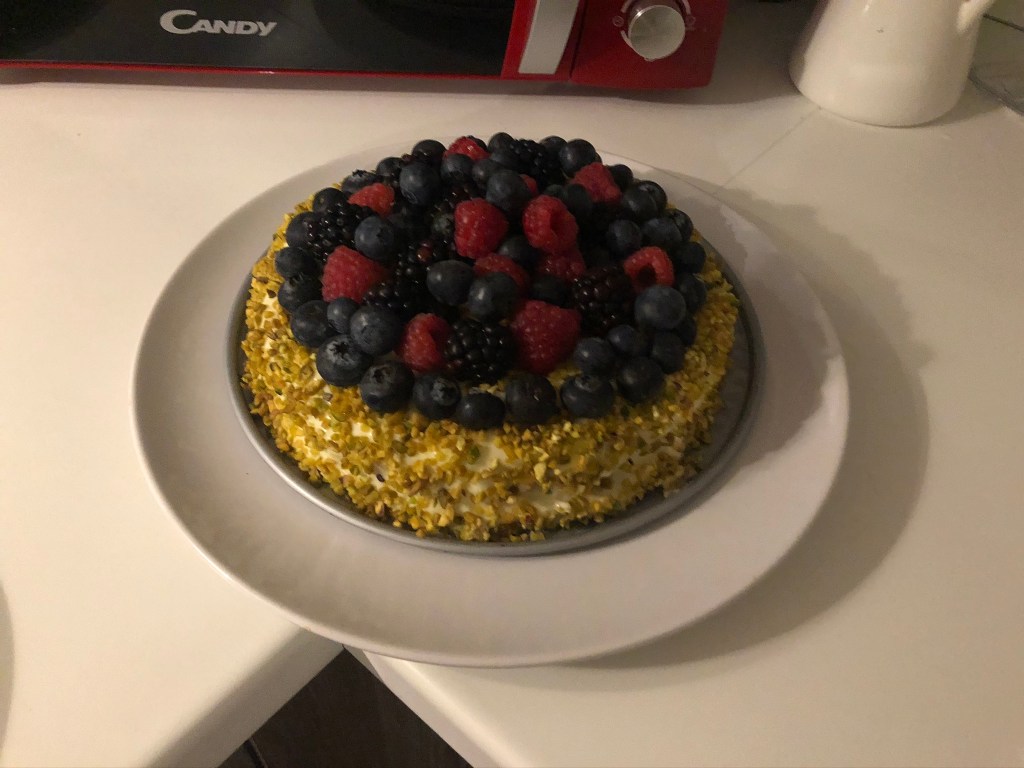
The choice fell on a Dacquoise alle mandorle con bavarese al cioccolato bianco e frutti rossi. It is a kind of meringue pie with a pudding filling.
So much in advance, you can pick easier things. Just translating the recipe, the ingredients and then finding the ingredients in the supermarket took hours.
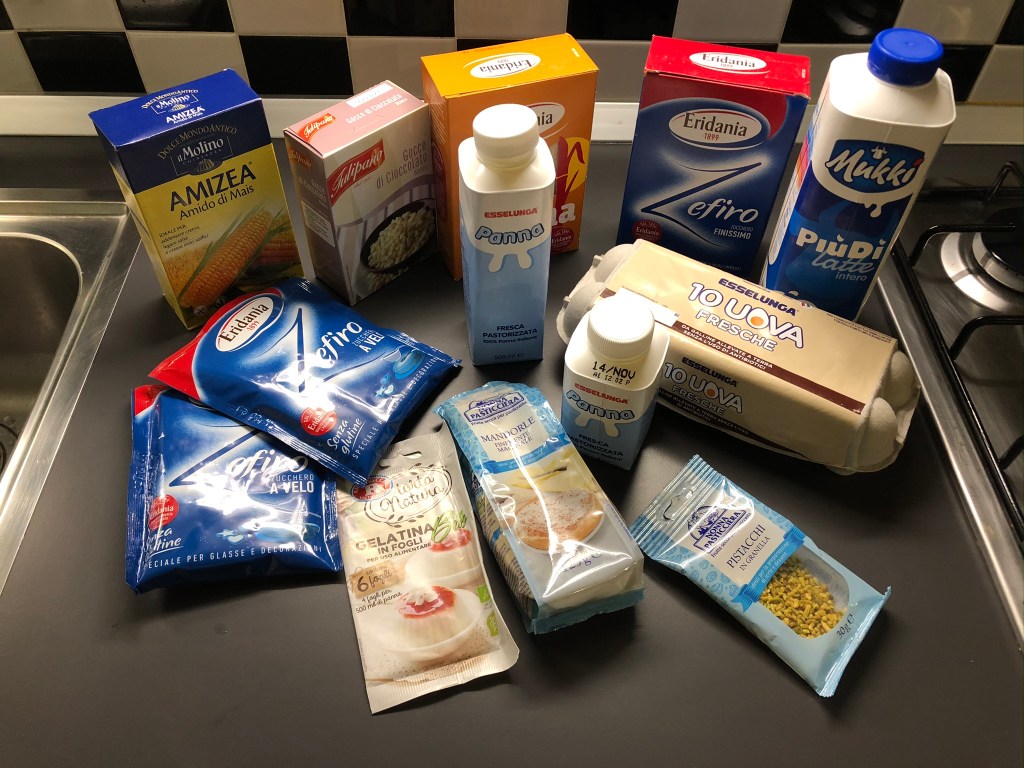
Especially since the ingredients were not very few:
210g protein
3 egg yolks
130g cane sugar
150g powdered sugar
80g refined sugar
125g almond flour
60g corn starch
260g fruits
crushed pistachio nuts
10g gelatin
0.6l whole milk
0.6l fresh cream
200g white chocolate
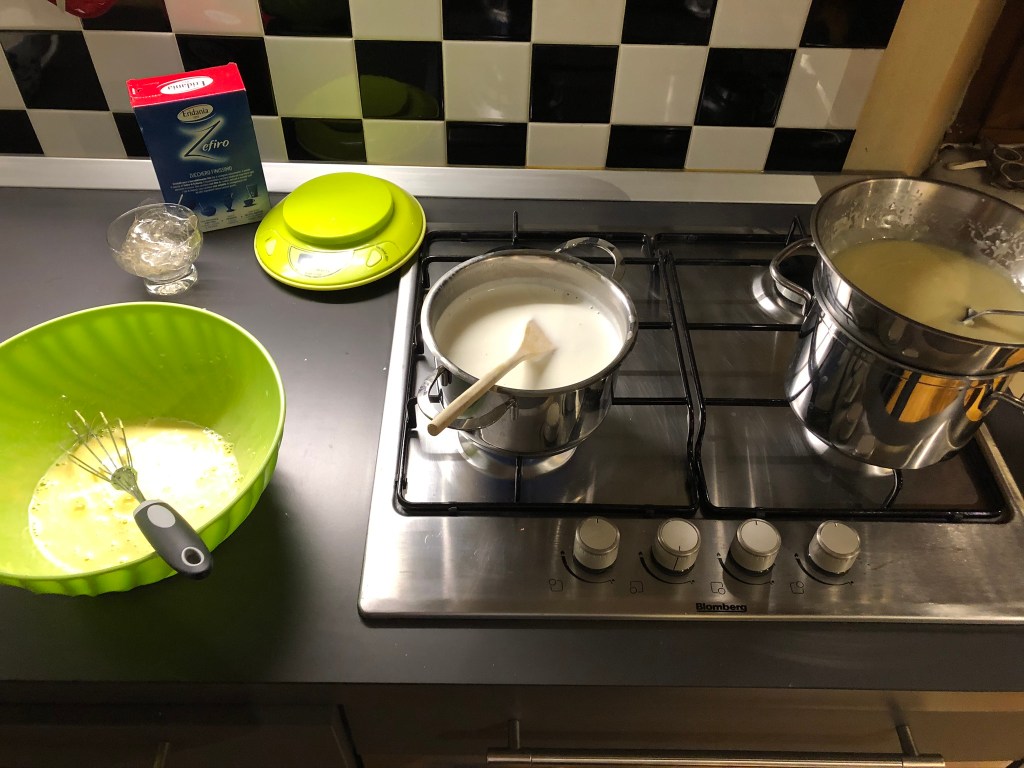
The preparation took two days. First of all, I prepared the cream at one evening, which then had to spend the night in the fridge. But step by step. Ok, first I stirred the yolks and the sugar in the food processor smoothly. At the same time, the gelatine was soaked in cold water, the chocolate was melted over a warm water bath and the milk and cream were simmered in another pot.
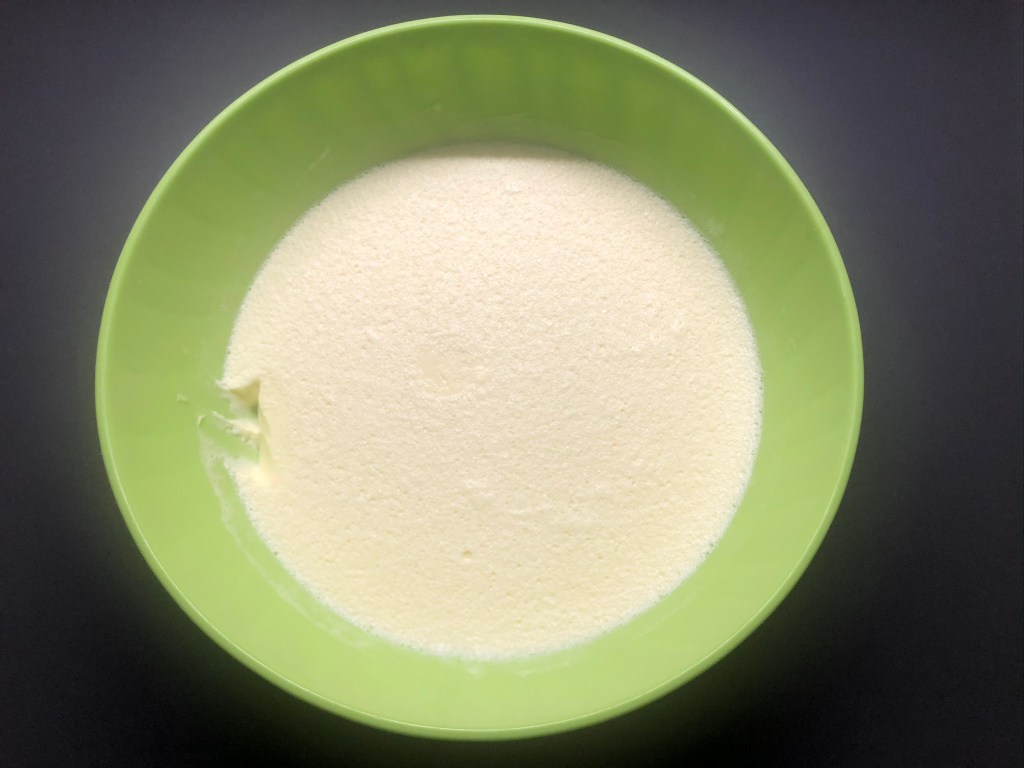
As soon as the milk and cream began to simmer, I added them to the eggs and the sugar in serveral steps and stirred well. The last sip, however, I stirred into the chocolate, so that it is a little more fluid and later comes easily out of the bowl.
Then I added the soaked gelatin to the cream and stirred it as well. At the end then I added the chocolate and mix well, so that no lumps form anywhere.
I expected that the cream would be a lot thicker now, but it was very liquid and I was afraid to have to buy a cake the next day. Well, at some point I got stirred up without the cream getting less liquid, put it in the fridge and went to bed.
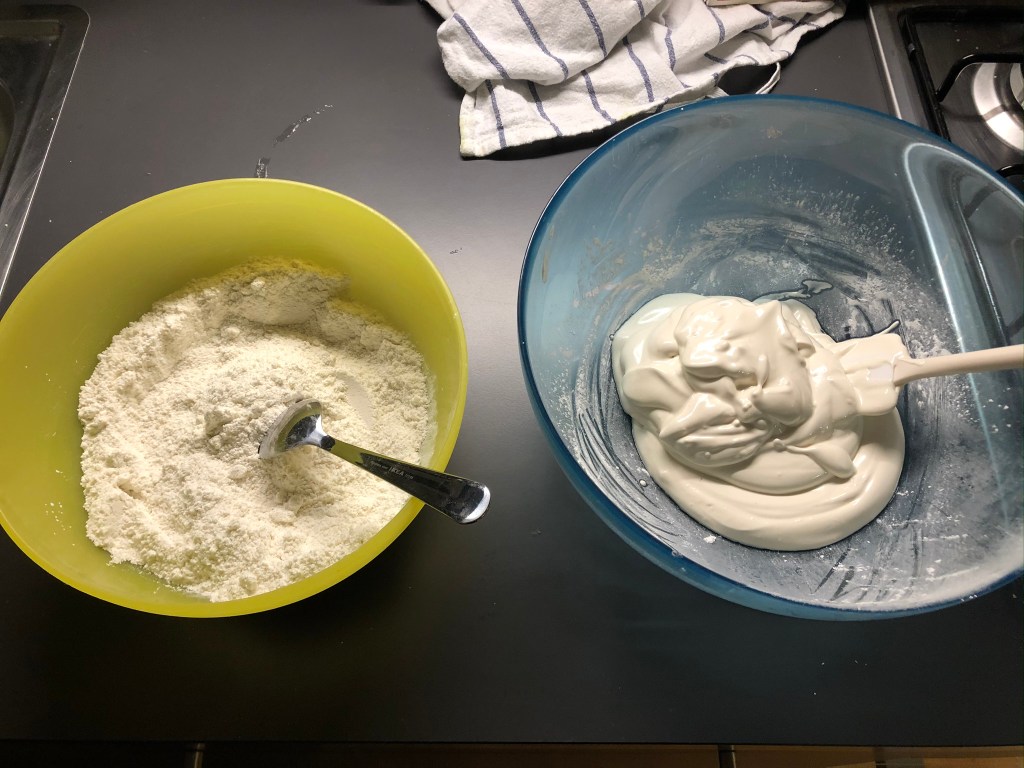
The next morning I got up a bit earlier and prepared the meringue. For this, first the almond flour, the powdered sugar and the cornstarch had to be sieved. At the same time, the egg whites and the cane sugar were beaten until foamy in the food processor.
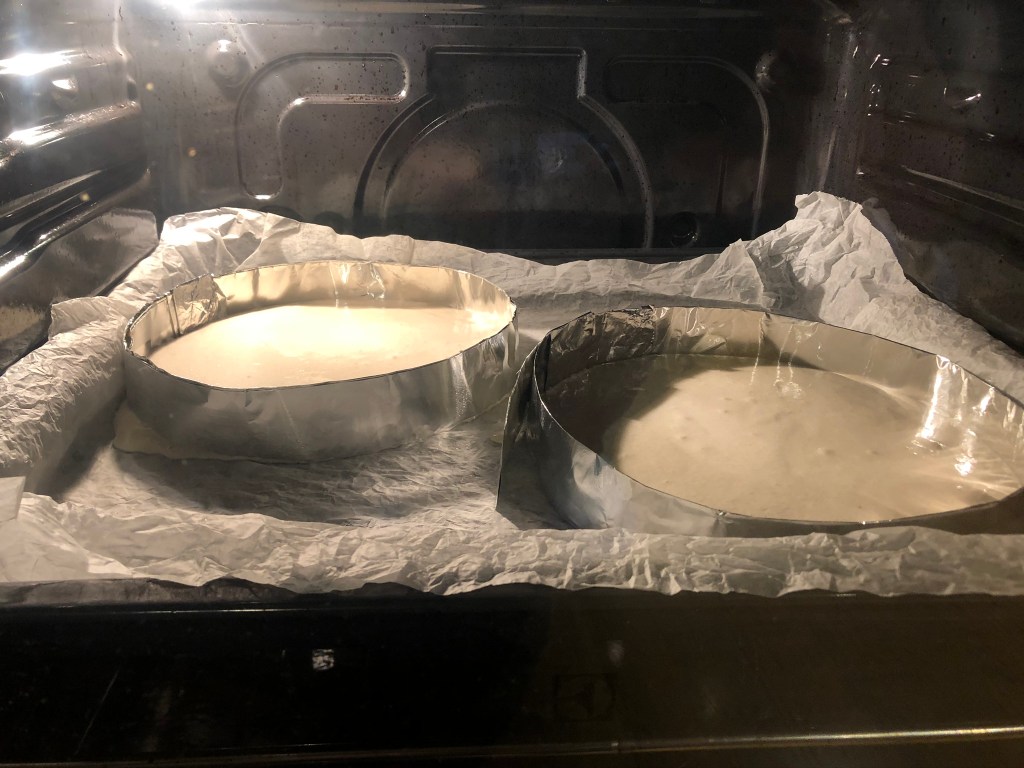
Then I mixed gently the flour with the whipped egg white with a spatula and then baked on a baking sheet two slices with about 20cm diameter for 25 minutes at 160°C.
After these finished, I took them out of the oven and put them on the table to cool down. Then unfortunately I had to go to work, so off in the office …
I’m honest, as there was still a lot of work to do, I quit a little earlier and went back home to my kitchen. The cream of the eve has fortunately become stiff overnight.
and yes, I tasted a little bit 🙂
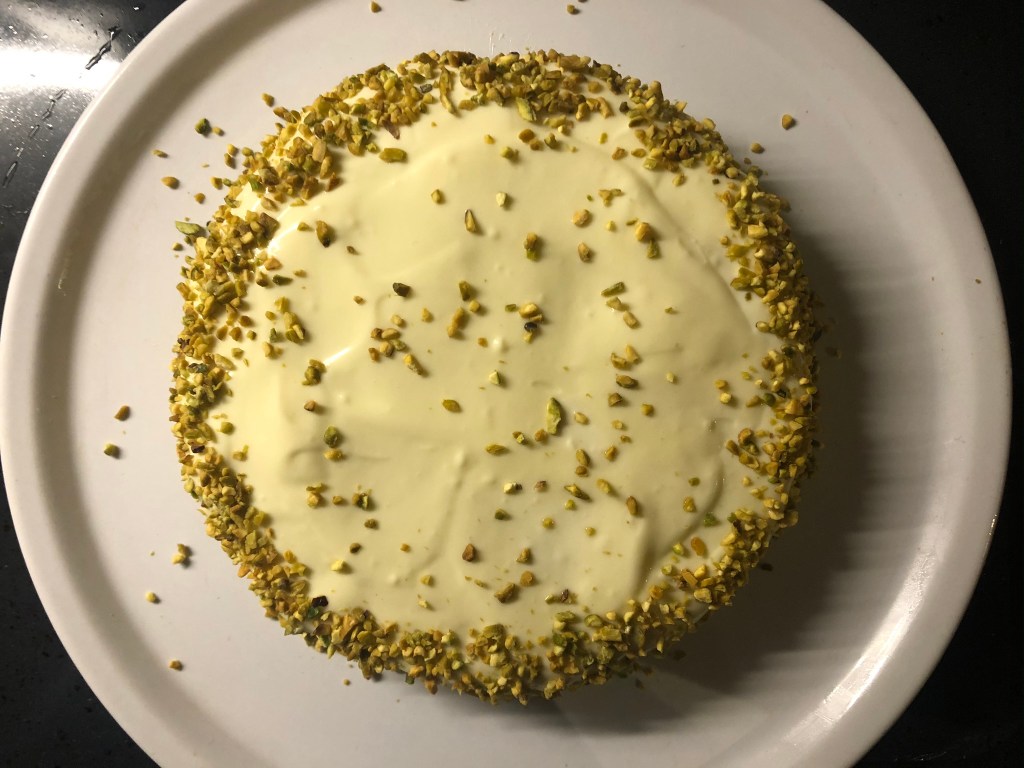
So I did a layer of the cream between the two meringue slices and the rest on top and all around. I decorated the sides with pistachios and then put it back into the fridge.
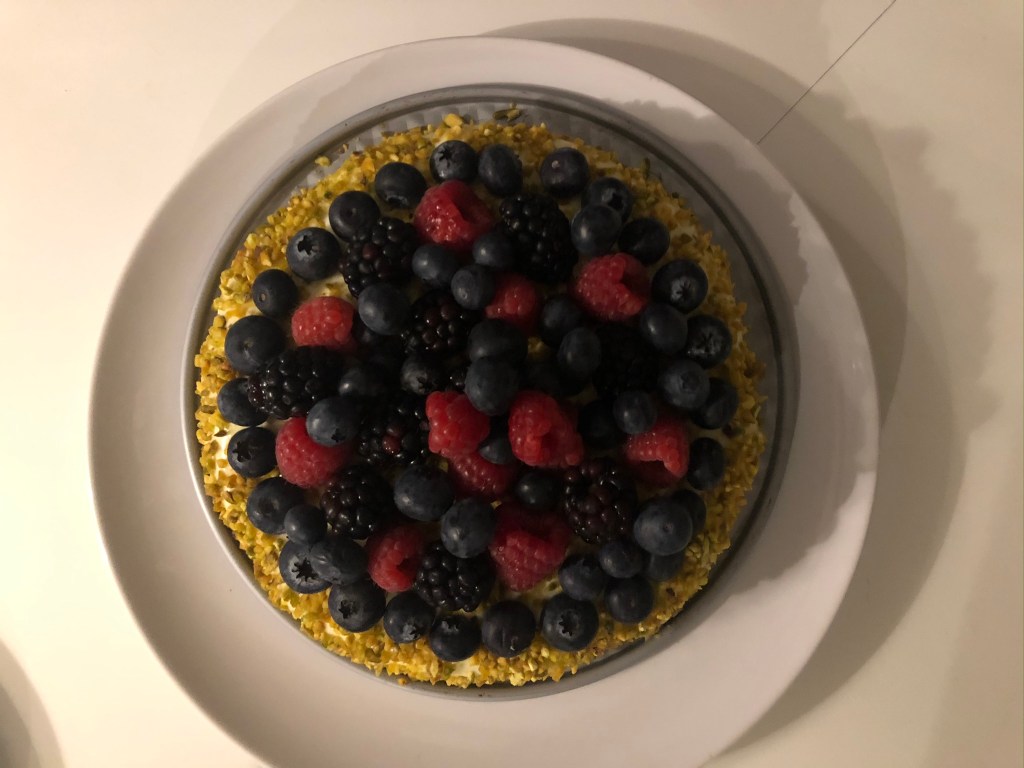
So that the whole thing is not too sweet – and it was really unspeakably sweet – I have done, immediately before serving, still blackberries, raspberries and blueberries on top.
In between, I was really scared that it would be too sweet, but the berries have reduced the sweetness well. At least everyone else said that the cake tasted delicious. Maybe they just did not want to discourage me, who knows… If I’ll be asked to bring a dessert again next time again, that will be a good sign 🙂
What surprised me a bit about the recipe is that I still have a lot of cream left over. I think half of the cream is completely sufficient.
Dacquoise alle mandorle con bavarese al cioccolato bianco e frutti rossi
Gestern Abend war ich bei einer Freundin zum Abendessen eingeladen. Sie veranstaltet ab und zu ein Abendessen für Touristen bei sich zu Hause. Zusätzlich lädt sie dazu immer noch ein paar Freunde ein. Es wird dann zusammen gekocht – natürlich italienisch – guter Wein getrunken und viel erzählt und gelacht. Dieses Mal hat sie mich aber nicht nur Eingeladen sondern auch gefragt ob ich ein Dessert für das Essen mitbringen könnte. Nun, in meiner neuen Wohnung habe ich auf die Schnelle vier Bücher mit italienischen Desserts gefunden. Welche aus Schokolade, welche die man mit der Hand Essen kann, solche für die man einen Löffel braucht, Kuchen und und und… Also habe ich los geblättert bis ich etwas gefunden habe, das ich auch schon oft in meiner Lieblingskonditorei gesehen habe und schon immer mal probieren wollte – zu Essen, nicht selbst zu machen!
The choice fell on a Dacquoise alle mandorle con bavarese al cioccolato bianco e frutti rossi. It is a kind of meringue pie with a pudding filling.
Die Wahl fiel also auf eine Dacquoise alle mandorle con bavarese al cioccolato bianco e frutti rossi. Es ist eine Art Baiser-Torte mit einer Pudding-Füllung.
Soviel vorweg, man kann sich einfachere Sachen aussuchen. Alleine das Übersetzen des Rezeptes, der Zutaten und das anschließende Finden der Zutaten im Supermarkt hat Ewigkeiten gedauert.
Zumal die Zutaten auch nicht gerade wenige waren:
210g Eiweß
3 Eigelb
130g Rohrzucker
150g Puderzucker
80g Zucker
125g Mandelmehl
60g Maisstärke
260g Früchte (Beeren)
gehackte Pistazien
10g Gelatin
0.6l Vollmilch
0.6l frische Sahne
200g weiße Schokolade
Die Zubereitung hat fast zwei Tage gedauert. Zuerst habe ich an einem Abend die Creme vorbereitet, die dann erstmal eine Nacht im Kühlschrank verbringen musste. Aber Schritt für Schritt. Ok, als erstes habe ich die Eigelb und den Zucker in der Küchenmaschine glatt gerührt. Parallel dazu die Gelatine in kaltem Wasser eingeweicht, die Schokolade über einem warmen Wasserbad geschmolzen und in einem weiteren Topf die Milch und die Sahne zum Köcheln gebracht.
As soon as the milk and cream began to simmer, I added them to the eggs and the sugar in serveral steps and stirred well. The last sip, however, I stirred into the chocolate, so that it is a little more fluid and later comes easily out of the bowl.
Sobald die Milch und Sahne zu köcheln begonnen hatten, habe ich sie schubweise zu den Eiern und dem Zucker gegeben und gut verrührt. Den letzten Schluck habe ich allerdings in die Schokolade eingerührt, damit diese etwas flüssiger wird und später leicht aus der Schüssel kommt.
Dann habe ich die eingeweichte Gelatine in die Creme gegeben und untergerührt. Ganz zum Schluss dann noch die Schokolade dazu und alles wieder gut verrührt, damit sich nirgends Klümpchen bilden.
Ich hatte erwartet, dass die Creme jetzt schon viel Dicker wäre, aber sie blieb sehr Flüssig und ich hatte schon befürchtet am nächsten Tag eine Torte kaufen zu müssen. Naja, irgendwann habe ich aufgerhört zu rühren ohne dass die Creme weniger Flüssig geworden wäre; habe sie einfach in den Kühlschrank gestellt und bin ins Bett gegangen. Am nächsten Morgen bin ich dann etwas früher aufgestanden um den Baiser vorzubereiten.
Hierzu habe ich zuerst einmal das Mandelmehl, den Puderzucker und die Maisstärke gesiebt und parallel dazu die Eiweiß und den Rohrzucker in der Küchenmaschine schaumig geschlagen.
Danach habe ich Mehl und Zucker mit dem aufgeschlagenen Eiweiß vorsichtig mit einem Spatel vermischt und anschließend auf einem Backblech zwei Scheiben mit etwa 20cm Durchmesser für 25 Minuten bei 160°C gebacken.
Nachdem diese fertig Waren habe ich sie aus dem Backofen geholt und zum Abkühlen auf den Tische gestellt. Dann musste ich leider erstmal Arbeiten gehen, also ab ins Büro…
Ich bin ehrlich, da immer noch viel Arbeit vor mir lag hatte ich etwas früher Feierabend gemacht und bin zurück nach Hause in meine Küche.
ab und zu darf man natürlich auch etwas probieren 🙂
Die Creme vom Vorabend ist zum Glück über Nacht fest geworden. Eine Schicht Creme habe ich zwischen die beiden Baiser-Scheiben und den Rest oben drauf und um den Rand herum verstrichen. Den Rand der Torte habe ich mit den gehackten Pistazien verziert und dann erstmal wieder für ein paar Stunden – bis zum Abendessen – in den Kühlschrank gestellt.
Damit das Ganze nicht zu Süß wird – und es war wirklich unsagbar süß – habe ich, unmittelbar vorm Servieren, noch Brombeeren, Himbeeren und Heidelbeeren oben drauf getan.
Zwischendurch hatte ich wirklich etwas Angst, dass es zu süß werden würde, aber die Beeren haben die Süße gut reduziert. Zumindest alle anderen haben gesagt, dass die Torte sehr lecker geschmeckt hätte. Vielleicht wollten sie mich aber auch nur nicht entmutigen, wer weiß… Wenn ich beim nächsten Mal wieder ein Dessert mitbringen soll ist das ein gutes Zeichen 🙂
Was mich an dem Rezept etwas gewundert hat ist, dass ich immer noch sehr viel von der Creme übrig habe. Ich denke die Hälfte der Creme ist vollkommen ausreichend.
When I moved to Italy, I had thought that there is bright sunshine all year round. Or at least that’s what I was hoping for. Well, here in the north the last days are pretty rainy and cold. So I wanted to try something to eat in which is something more sun. In one of the books I actually found a recipe for an orange risotto from Sicily. Although it scared me off a bit at first – not because of the oranges – rather because a risotto sounds somehow difficult. Well, for whom fruits in the food are nothing … I like it, as well as Camenbert with cranberries or deer with dark sauce and pears … what I also had some difficulties to imagine is how it will be with oranges… Back to the difficulties of risotto. Just like pasta, the rice should be “al dente” at the end and at the same time it should not boil the whole liquid, but it should have a semi-liquid consistency. Sounds more complicated than the microwave rice I’ve prepared so far …
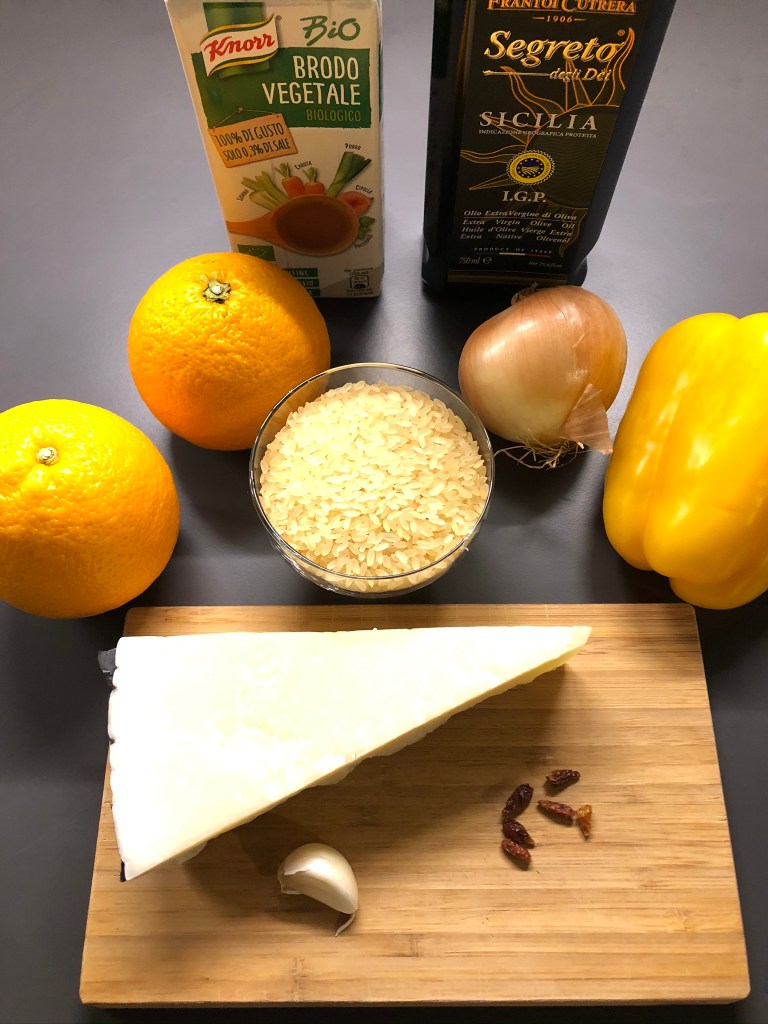
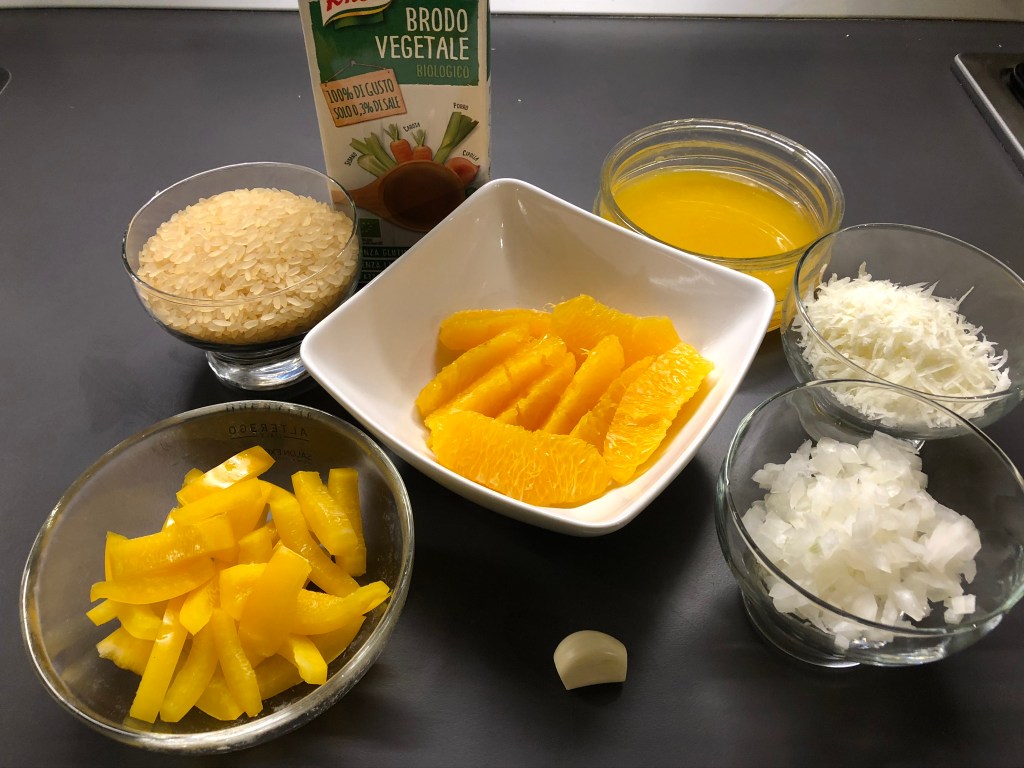
Like the other two dishes I’ve tried, the list of ingredients is again very manageable:
160 g Rice (Carnaroli)
1/2 onion
30g Butter
1/2 yellow pepper
1 clove of garlic
450ml vegetable broth
30g Pecorino (matured sheep cheese)
salt and hot peppers
The olive oil does not really belong in the photo. To be honest, I was a bit surprised, because in Italy everything is eaten with olive oil. By the way, the olive oil tastes great here!
Hot Peppers 🙂 it gets spicy again!
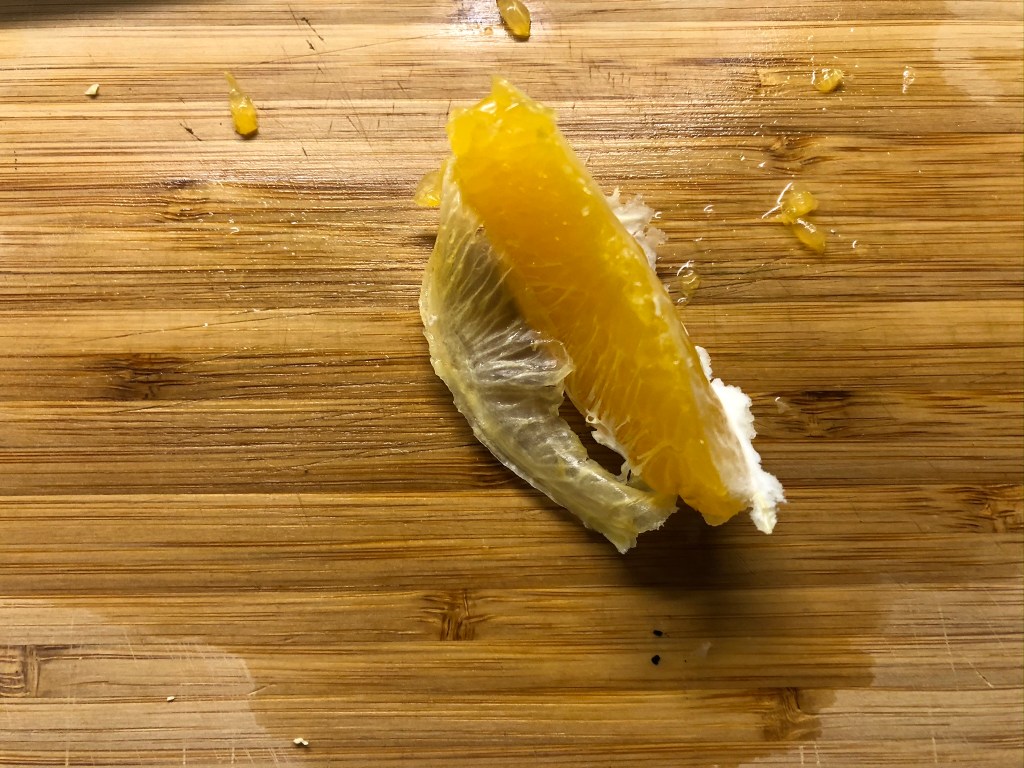
Weighing the ingredients and preparing is obligatory. But it is important to cut the onion into fine little cubes. The really annoying part is the peeling and filleting of the oranges!
I do not even know how angry I would have to be on someone to give him such a job. Maybe, certainly, there are more efficient methods than mine. It was definitely a huge hassle and has lasted forever.
Ok, so then … I’ve heated 2/3 of the butter in a pot over medium flame. Then I added the onions, peppers and the garlic clove and stewed for a minute or two. Afterwards I put the rice into the pot and sweated for 3 to 4 minutes with constant stirring and then removed the garlic clove. Then I added the juice of the squeezed second orange to the rice and in parallel in a second pot the vegetable broth to simmer (on the gas stove is quite fast). From then on I used a spoon to add some of the broth to the pot of rice. At the same time the rice has to be stirred constantly. By keeping the broth simmering, the cooking process of the rice should not be interrupted if the broth is added in portions to the rice. It is important to not give too much liquid at once to the rice, but always in small portions. The whole thing took about 20 minutes.
After 15 minutes I have tasted the almost ready-made risotto with salt and the hot peppers. From then on, I tried again and again until I thought that it was finished or better “al dente”. At that time, I also had some of the broth left, but that’s just how it is. Then stired in the fillet of orange pieces and as soon as they are warm the pecorino as well. I left out the remaining butter, as the risotto was creamy enough for me.
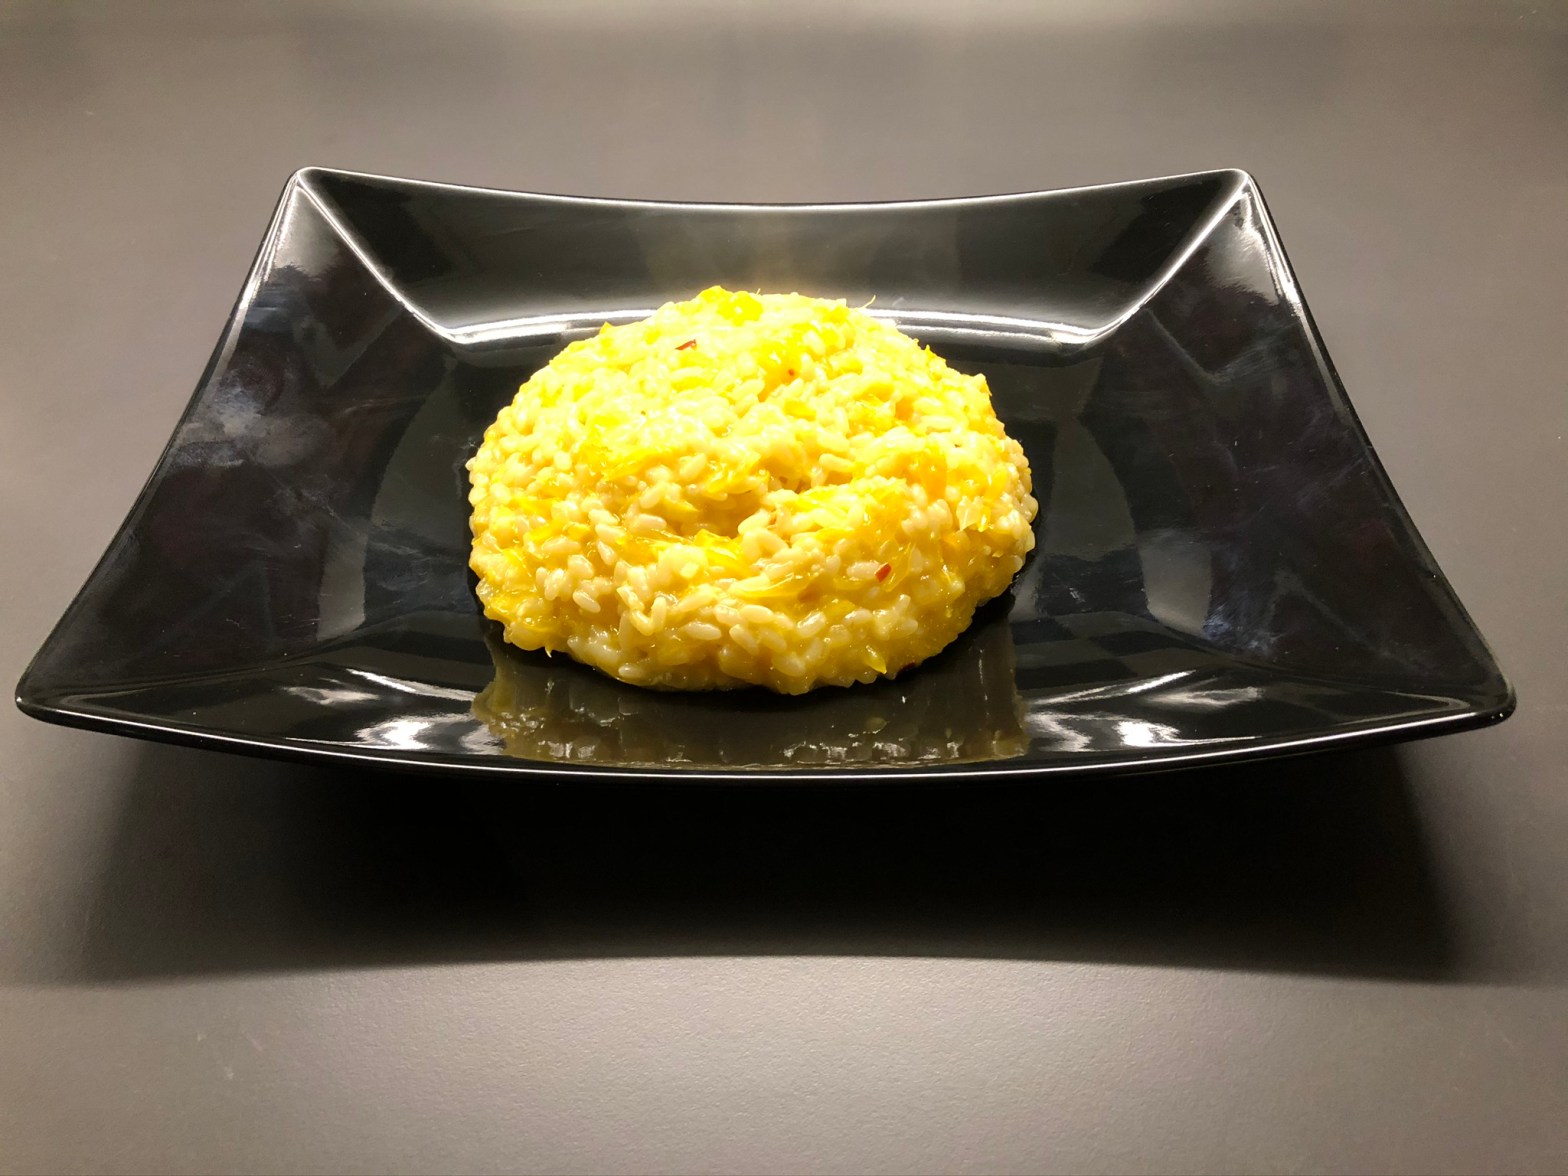
The taste is really interesting and quite unusual. It first reminded me a bit of the typical sweet and sour sauce from some chinese shops. However, with a clear orange note. It is, I think, very important to take ripe sweeter oranges as it might otherwise get too sour. For my first risotto quite good, but I believe that the rice could have tolerated a little more liquid.
Anyway, I’ll try a risotto again…
Orangen-Risotto
Als ich nach Italien gezogen bin hatte ich eigentlich gedacht, dass dort das ganze Jahr über strahlender Sonnenschein herrscht. Oder zumindest habe ich das gehofft. Naja, zumindest hier im Norden ist es die letzten Tage ziemlich verregnet und kalt. Also wollte ich mal etwas zum Essen probieren in dem etwas mehr Sonne steckt. In einem der Bücher habe ich tatsächlich ein Rezept für ein Orangenrisotto aus Sizilien gefunden. Wobei es mich zuerst etwas abgeschreckt hat – nicht wegen der Orangen – eher, weil ein Risotto sich irgendwie schwierig anhört. Gut, für wen Früchte am Essen nichts sind…ich mag es, genauso Camenbert mit Preiselbeeren oder Wild mit dunkler Soße und Birnen…wobei ich auch Schwierigkeiten hatte mir vorzustellen wie es mit Orangen werden wird. Zurück zu den Schwierigkeiten des Risottos. Genau wie Pasta soll der Reis am Ende „al dente“ sein und gleichzeitig darf nicht die ganze Flüssigkeit verkochen, sondern es soll eine halbflüssige Konsistenz aufweisen. Hört sich erstmal komplizierter an als den Mikrowellenreis den ich bisher zubereitet habe…
Wie die anderen beiden Gerichte die ich schon probiert habe ist die Zutatenliste wieder sehr Überschaubar:
160 g Reis (Carnaroli)
1/2 Zwiebel
30g Butter
1/2 gelbe Paprika
1 Zehe Knoblauch
450ml Gemüsebrühe
30g Pecorino (gereifter(!) Schafskäse)
Salz und getrocknete Chili’s
Das Olivenöl gehört eigentlich nicht mit auf das Foto. Ich war ehrlich gesagt ein bisschen überrascht, weil in Italien quasi alles mit Olivenöl gegessen wird. Wobei das Olivenöl hier auch super schmeckt!
Es kommen Chili’s mit rein 🙂 es wird wieder pikant!
Das Abwiegen der Zutaten und vorbereiten ist ja obligatorisch. Es ist aber wichtig die Zwiebel in möglichst feine kleine Würfel zu schneiden. Der wirklich nervige Teil ist das Schälen und Filetieren der Orangen!
Ich weiß gar nicht wie wütend ich auf jemanden sein müsste um ihm so eine Arbeit aufzutragen. Vielleicht, bestimmt, gibt es effizientere Methoden als meine. Es war auf jeden Fall ein riesen Aufwand und hat gefühlt ewigkeiten gedauert.
Ok, also dann…ich habe zuerst 2/3 der Butter in einem Topf bei mittlerer Flamme erhitzt. Dann habe ich die Zwiebeln, Paprika und die Knoblauchzehe dazugetan und ein bis zwei Minuten gedünstet. Im Anschluss habe ich den Reis mit in den Topf getan und unter ständigem Rühren für 3 bis 4 Minuten angeschwitzt und danach die Knoblauchzehe entfernt. Danach habe ich den Saft der ausgepressten zweiten Orange zum Reis gegeben und parallel dazu in einem zweiten Topf die Gemüsebrühe zum köcheln gebracht (auf dem Gasherd geht das recht schnell). Ab dann hieß es immer wieder mit einem Löffel etwas von der Brühe in den Topf mit Reis zu geben. Gleichzeitig muss der Reis ständig gerührt werden. Dadurch, dass die Brühe am Köcheln gehalten wird, soll der Garprozess von dem Reis nicht unterbrochen werden, wenn man die Brühe portionsweise zu dem Reis gibt. Wichtig ist, dass man nicht zu viel Flüssigkeit auf einmal zum Reis gibt, sondern immer nur in kleinen Portionen. Das Ganze hat etwa 20 Minuten gedauert.
Nach 15 Minuten habe ich das schon fast fertige Risotto mit Salz und den Chilis abgeschmeckt. Ab dann habe ich immer mal wieder Probiert, bis ich der Meinung war, dass es fertig bzw. „al dente“ ist. Zu diesem Zeitpunkt hatte ich auch noch etwas von der Brühe übrig aber das ist dann halt so. Dann noch die filetierten Orangenstücke untergerührt und sobald diese warm sind den Pecorino unterrühren.vDie restliche Butter habe ich weggelassen, da mir das Risotto so schon cremig genug war.
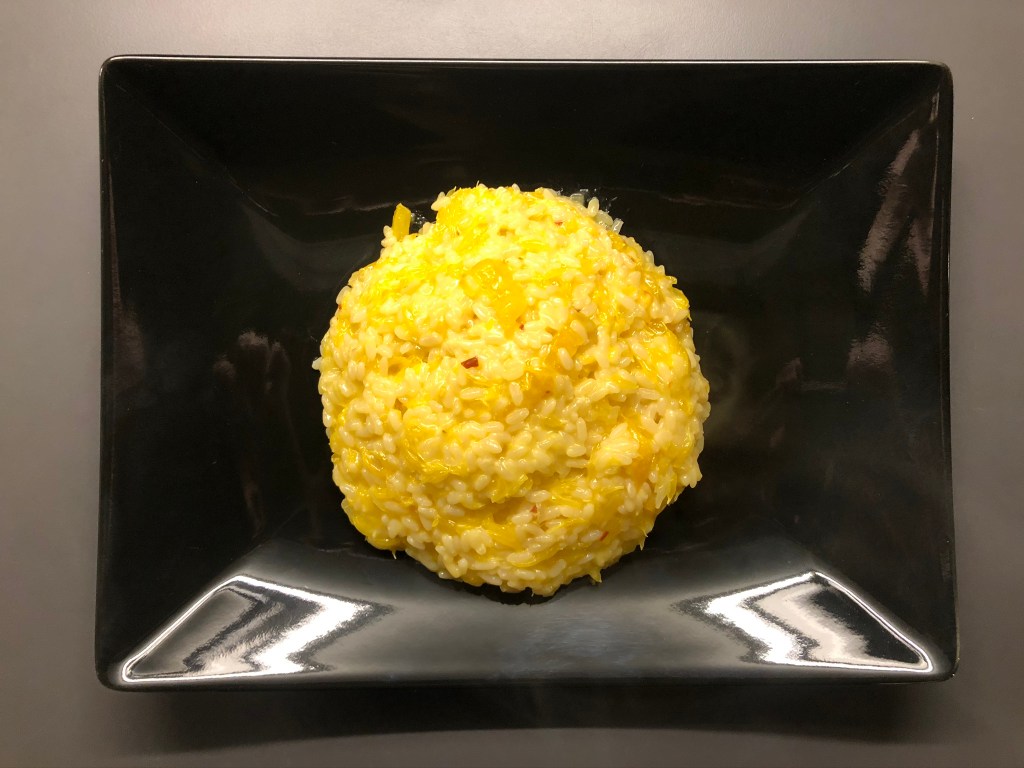
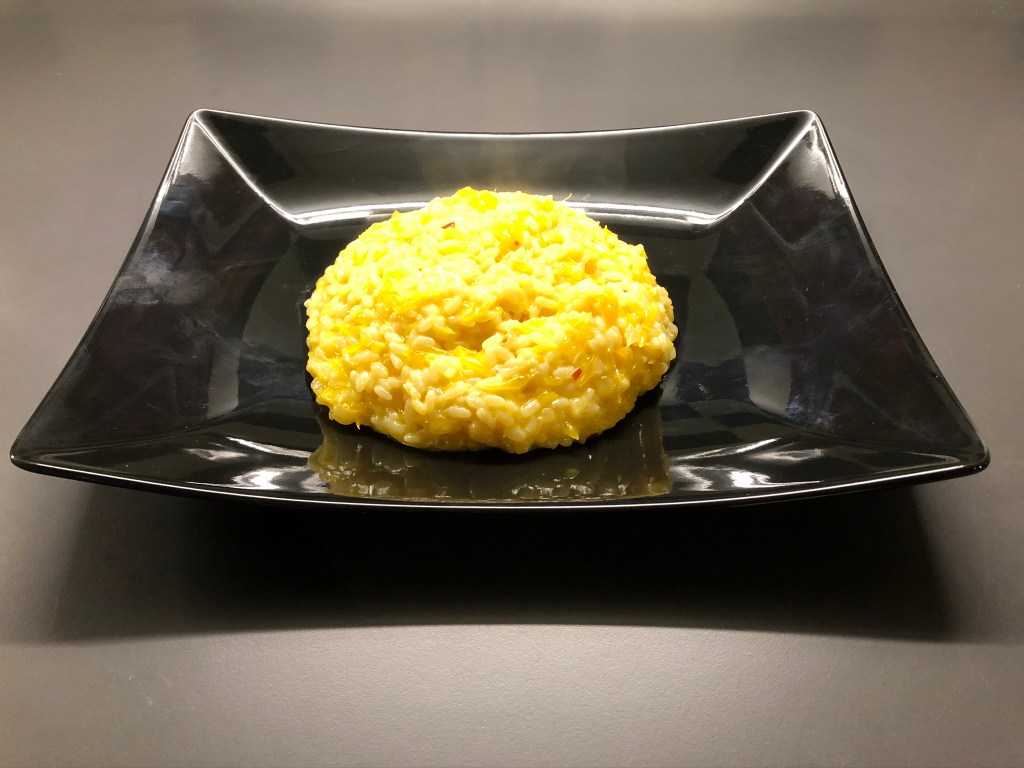
Der Geschmack ist wirklich interessant und ziemlich ungewöhnlich. Es hat mich zuerst ein wenig an die typisch süßsaure Soße vom China-Imbiss erinnert. Allerdings mit einer deutlichen Orangennote dabei. Es ist, denke ich, sehr wichtig Reife süßere Orangen zu nehmen, da es ansonsten zu sauer werden könnte. Für mein erstes Risotto schon mal ganz gut, aber ich glaube, dass der Reis doch noch etwas mehr Flüssigkeit hätte vertragen können.